I’ve been quiet online, mostly because I’ve been playing with the latest tool in my toolbox, a fax machine! No, I’m not passing along chain letters and bad jokes, but rather using the thermal printer component of the machine for creating stencils from Risograph masters. This year I already tried purchasing a cheap thermal printer, and subsequently discovered it is utterly inadequate for my needs; it was chucked back to the Amazon Overlords the same day. After a few months of daily checking for fax machines in my area, I managed to snag one for $10. Granted, it’s not as compact and store-able as the portable thermal printers, but thus far it has spit out a perfect stencil every time. It doesn’t rely on battery/USB-C power nor do I have to finesse inconsistent Chinese printing software to get it to do my bidding.
I’m almost finished with an upcoming video about experimenting with hectographs, of all things. Hopefully it’ll be done soon!
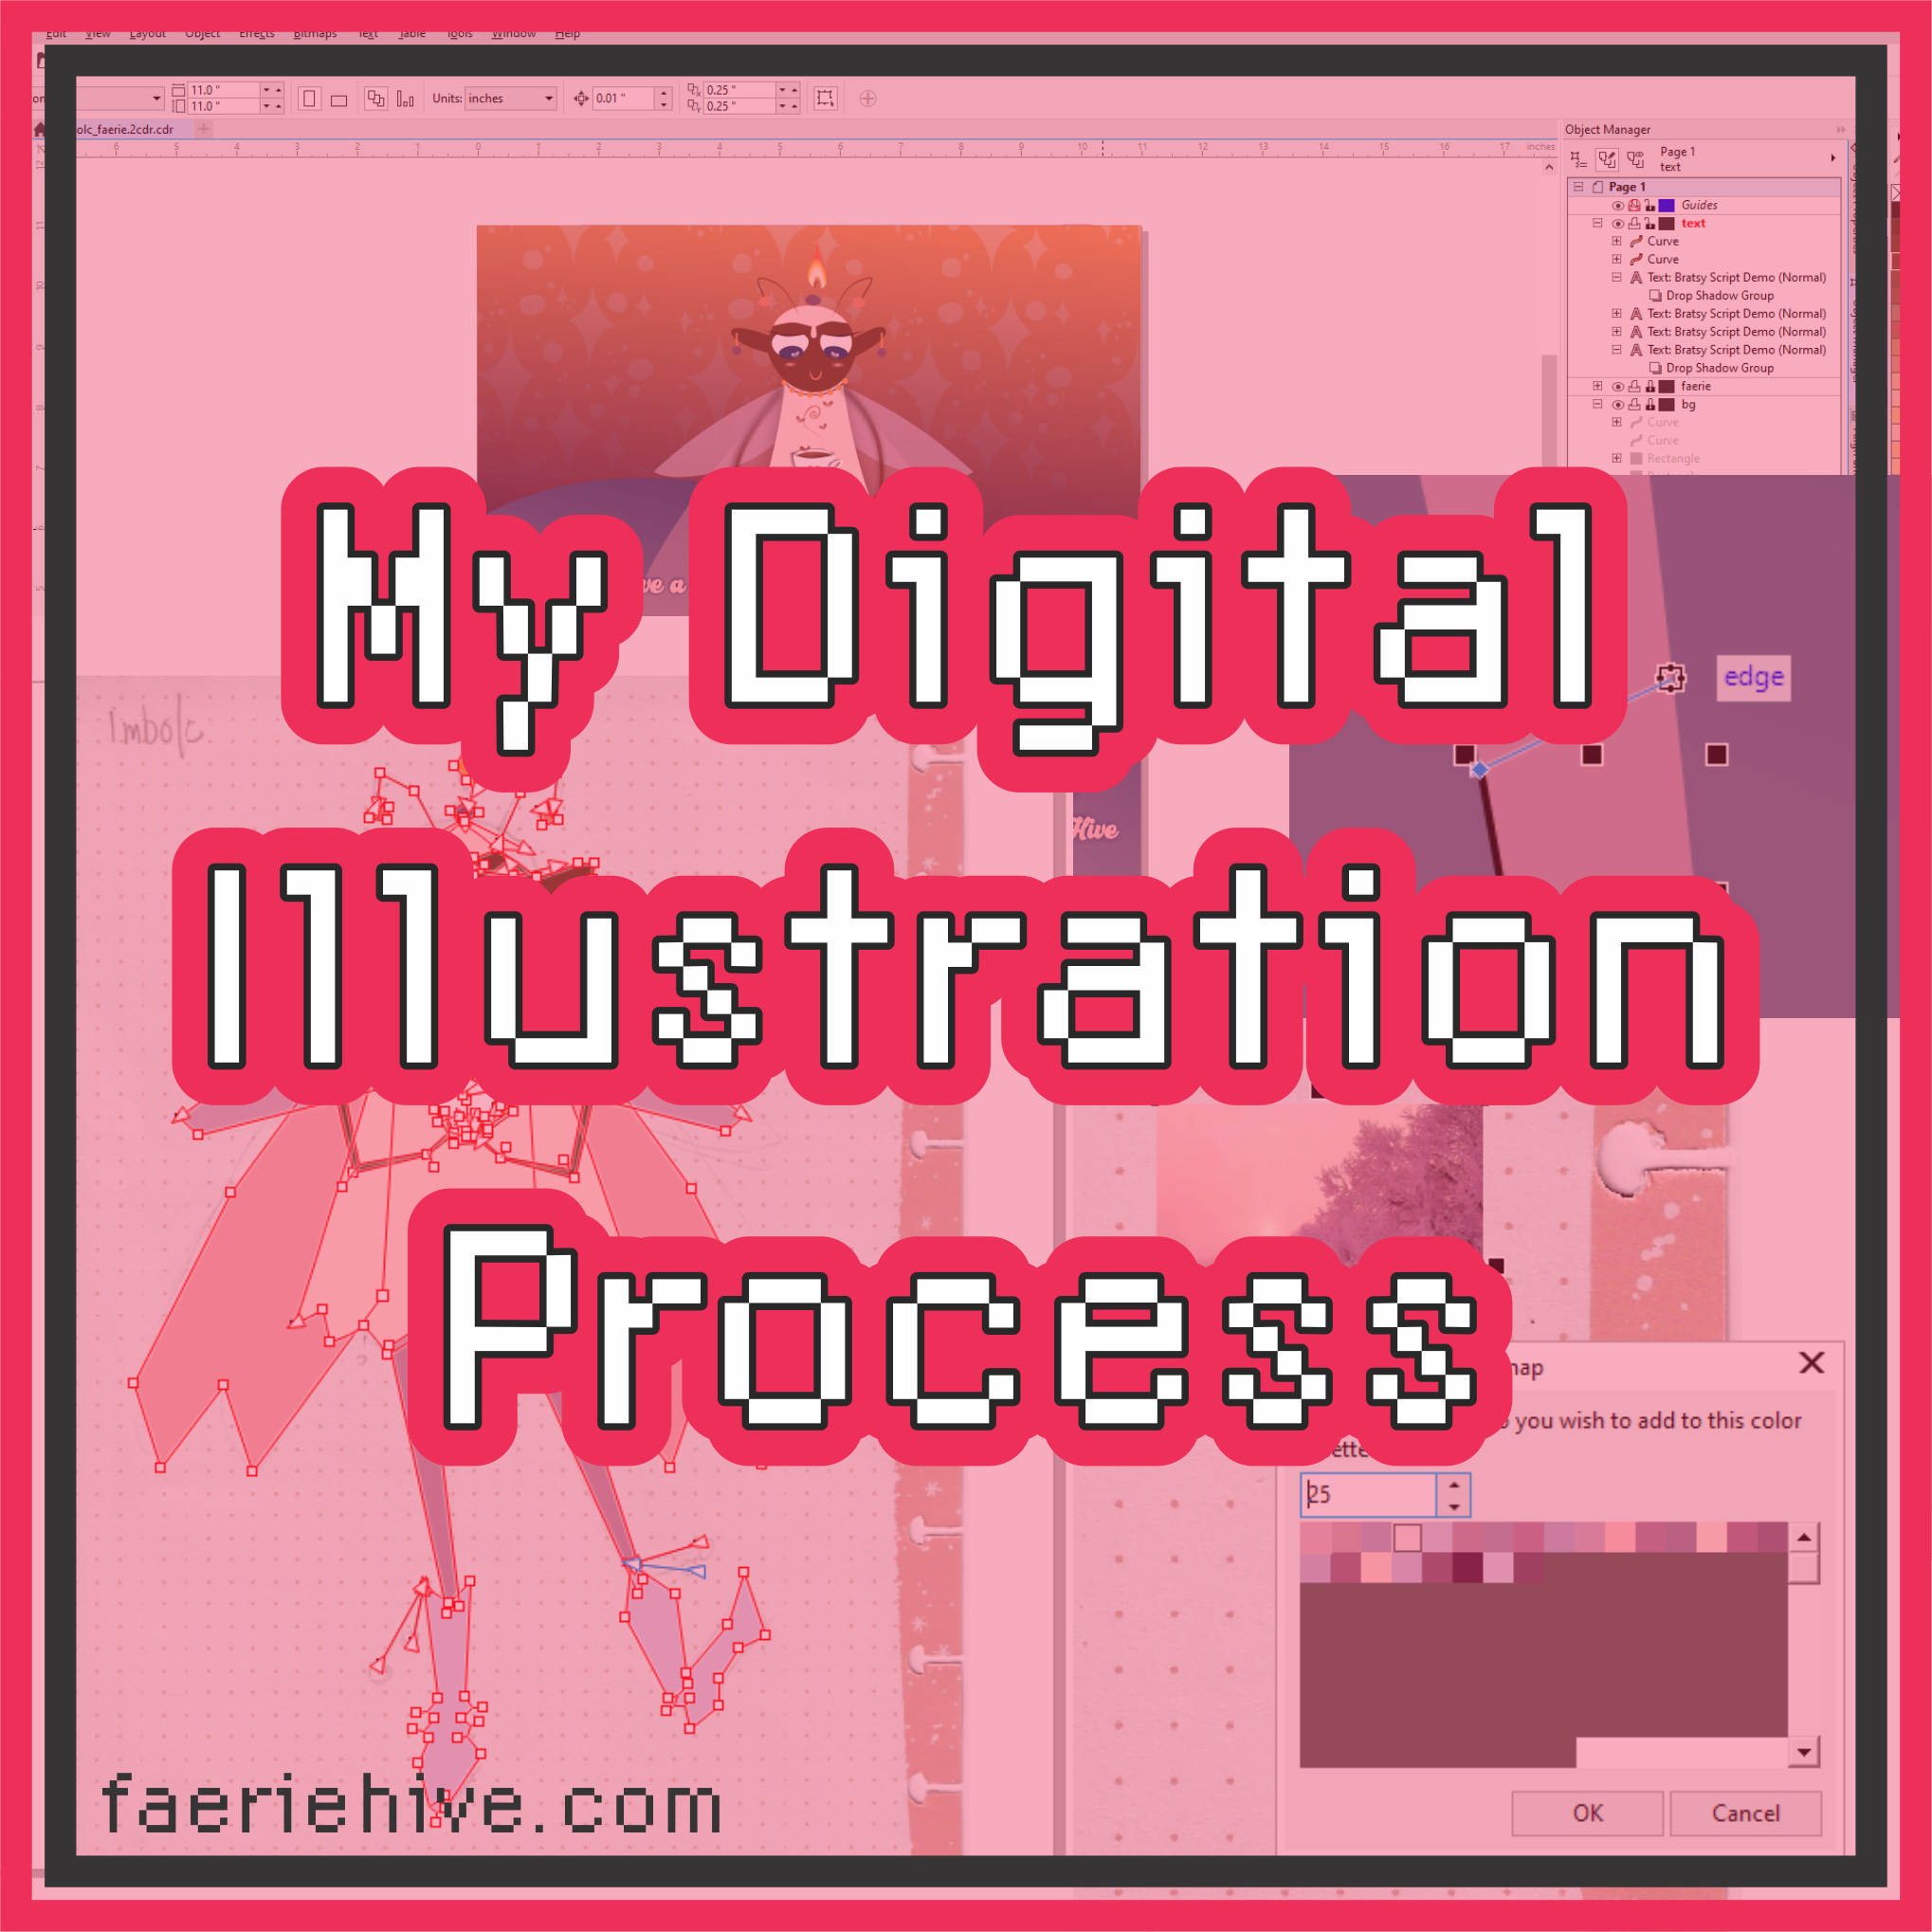
This is my process for how I make my digital illustrations. In a world where AI-generated images are proliferating our Internet life, it’s important to understand the amount of planning and work that goes into actual illustrations made by artists.
What program do you use?
I use CorelDRAW, a vector-based drawing program. For over 15 years, I used Adobe Illustrator; but when the started offering a subscription-only model, I made the switch. For what it’s worth, Inkscape is a great open-source vector-based drawing system.
What is a vector-based drawing program?
Simply put, there are two types of images: raster and vector. Raster images use pixels to create a picture, vector images use math and geometry to create an image. Wikipedia has a more in-depth article on the topic.
Why vectors? Why not just draw on your iPad?
I use CorelDRAW for illustration, but also for designing 3D prints, text, sticker cut-outs, laser cutting, and more. I like the control I have over the elements of my designs as well as the ability to size and resize everything. Also I do not have an iPad; digital painting and I have never really “clicked”.
How long does this take you?
It varies. After importing a sketch, if I can sit down uninterrupted, a drawing can take me a few hours. Sometimes, “life” happens, and it can take a few days or weeks to get something completed.
What’s my process? Let’s follow along an illustration I did for “The Imbolc Faerie” for a pagan holiday.
Step 1: Import the Sketch
I almost always start somewhere in my sketchbook. After I have a doodle I’m happy with, I scan it in and import it into CorelDRAW.
Step 2: Rough in the Vectors
Here, I’m using vector lines to build rough polygons of the shapes in my drawing. At this stage, there are no curvy lines; I have to visualize where lines will curve and flow.
Step 3: Create a Color Palette
Sometimes, I will find an image with colors I like and want to use. In this case, I’ve found a picture with lots of soft pinks and lavenders, so I auto-extract the colors into a new palette.
I also have a number of palettes with custom spot colors, as well as patterns I’ve created.
Step 4: Color Blocking
After I’ve a palette, I fill in all those polygons with blocks of color. The image kinda looks like paper cut-outs at this point. It is at this stage I can shuffle what order my shapes are in: some shapes should be in the front, some should be at the back. I also can determine which lines are going to be thicker, or become specialty shapes that simulate brush strokes.
Step 5: Convert to Curves
Now I tell the program that I don’t actually want all of my polygons to be straight-edged polygons: I want them to be curvy shapes.
Every dot you see on the screen is a point where I can adjust the curve of a shape, called a bezier curve. The general rule in vector drawing is less points. Mo’ points = Mo’ problems
Step 6: Adjust the Curves
This part takes the longest; time to fiddle with all the points and curves to make it look less like paper cut-outs and more like a drawing.
Sometimes I will use freehand curves rather than drawing polygon shapes if I can’t get the look I want.
Step 7: Background Colors/Designs
After most things are shaped and colored in, I’ll fiddle with the background colors. Sometimes a choice in background necessitates changing the main subject’s colors.
Step 8A: Gradients, Shadows, & Transparencies
Now I start to play with adding gradients, transparencies, and shadows to help define objects in the image.
Step 8B: Custom Fills
I have a number of custom fills I’ve made. This, for example, is a fill that simulates what I want a flame to look like.
Step 9: More Details
At this end-stage, I may add more details in that weren’t in my original sketch, or things that I feel like give the final image a little more sparkle.
In this image, I’m adding some stripes to the faerie’s legs.
Step 10: Add Text and 1,000 Tiny Adjustments
Finally, if the image calls for text, I add that in. Not pictured, the thousands of tiny adjustments, changes, and whatnot that lead to the final image.
So there you have it! How to make an image in 10 EZ steps! Seriously, though, while I follow this general procedure, the reality of drawing is that I flip flop back and forth between adjusting shapes, adding them in, changing colors, and so forth.
This is how I draw the illustrations for my oracle deck, Tarot cards, and more.
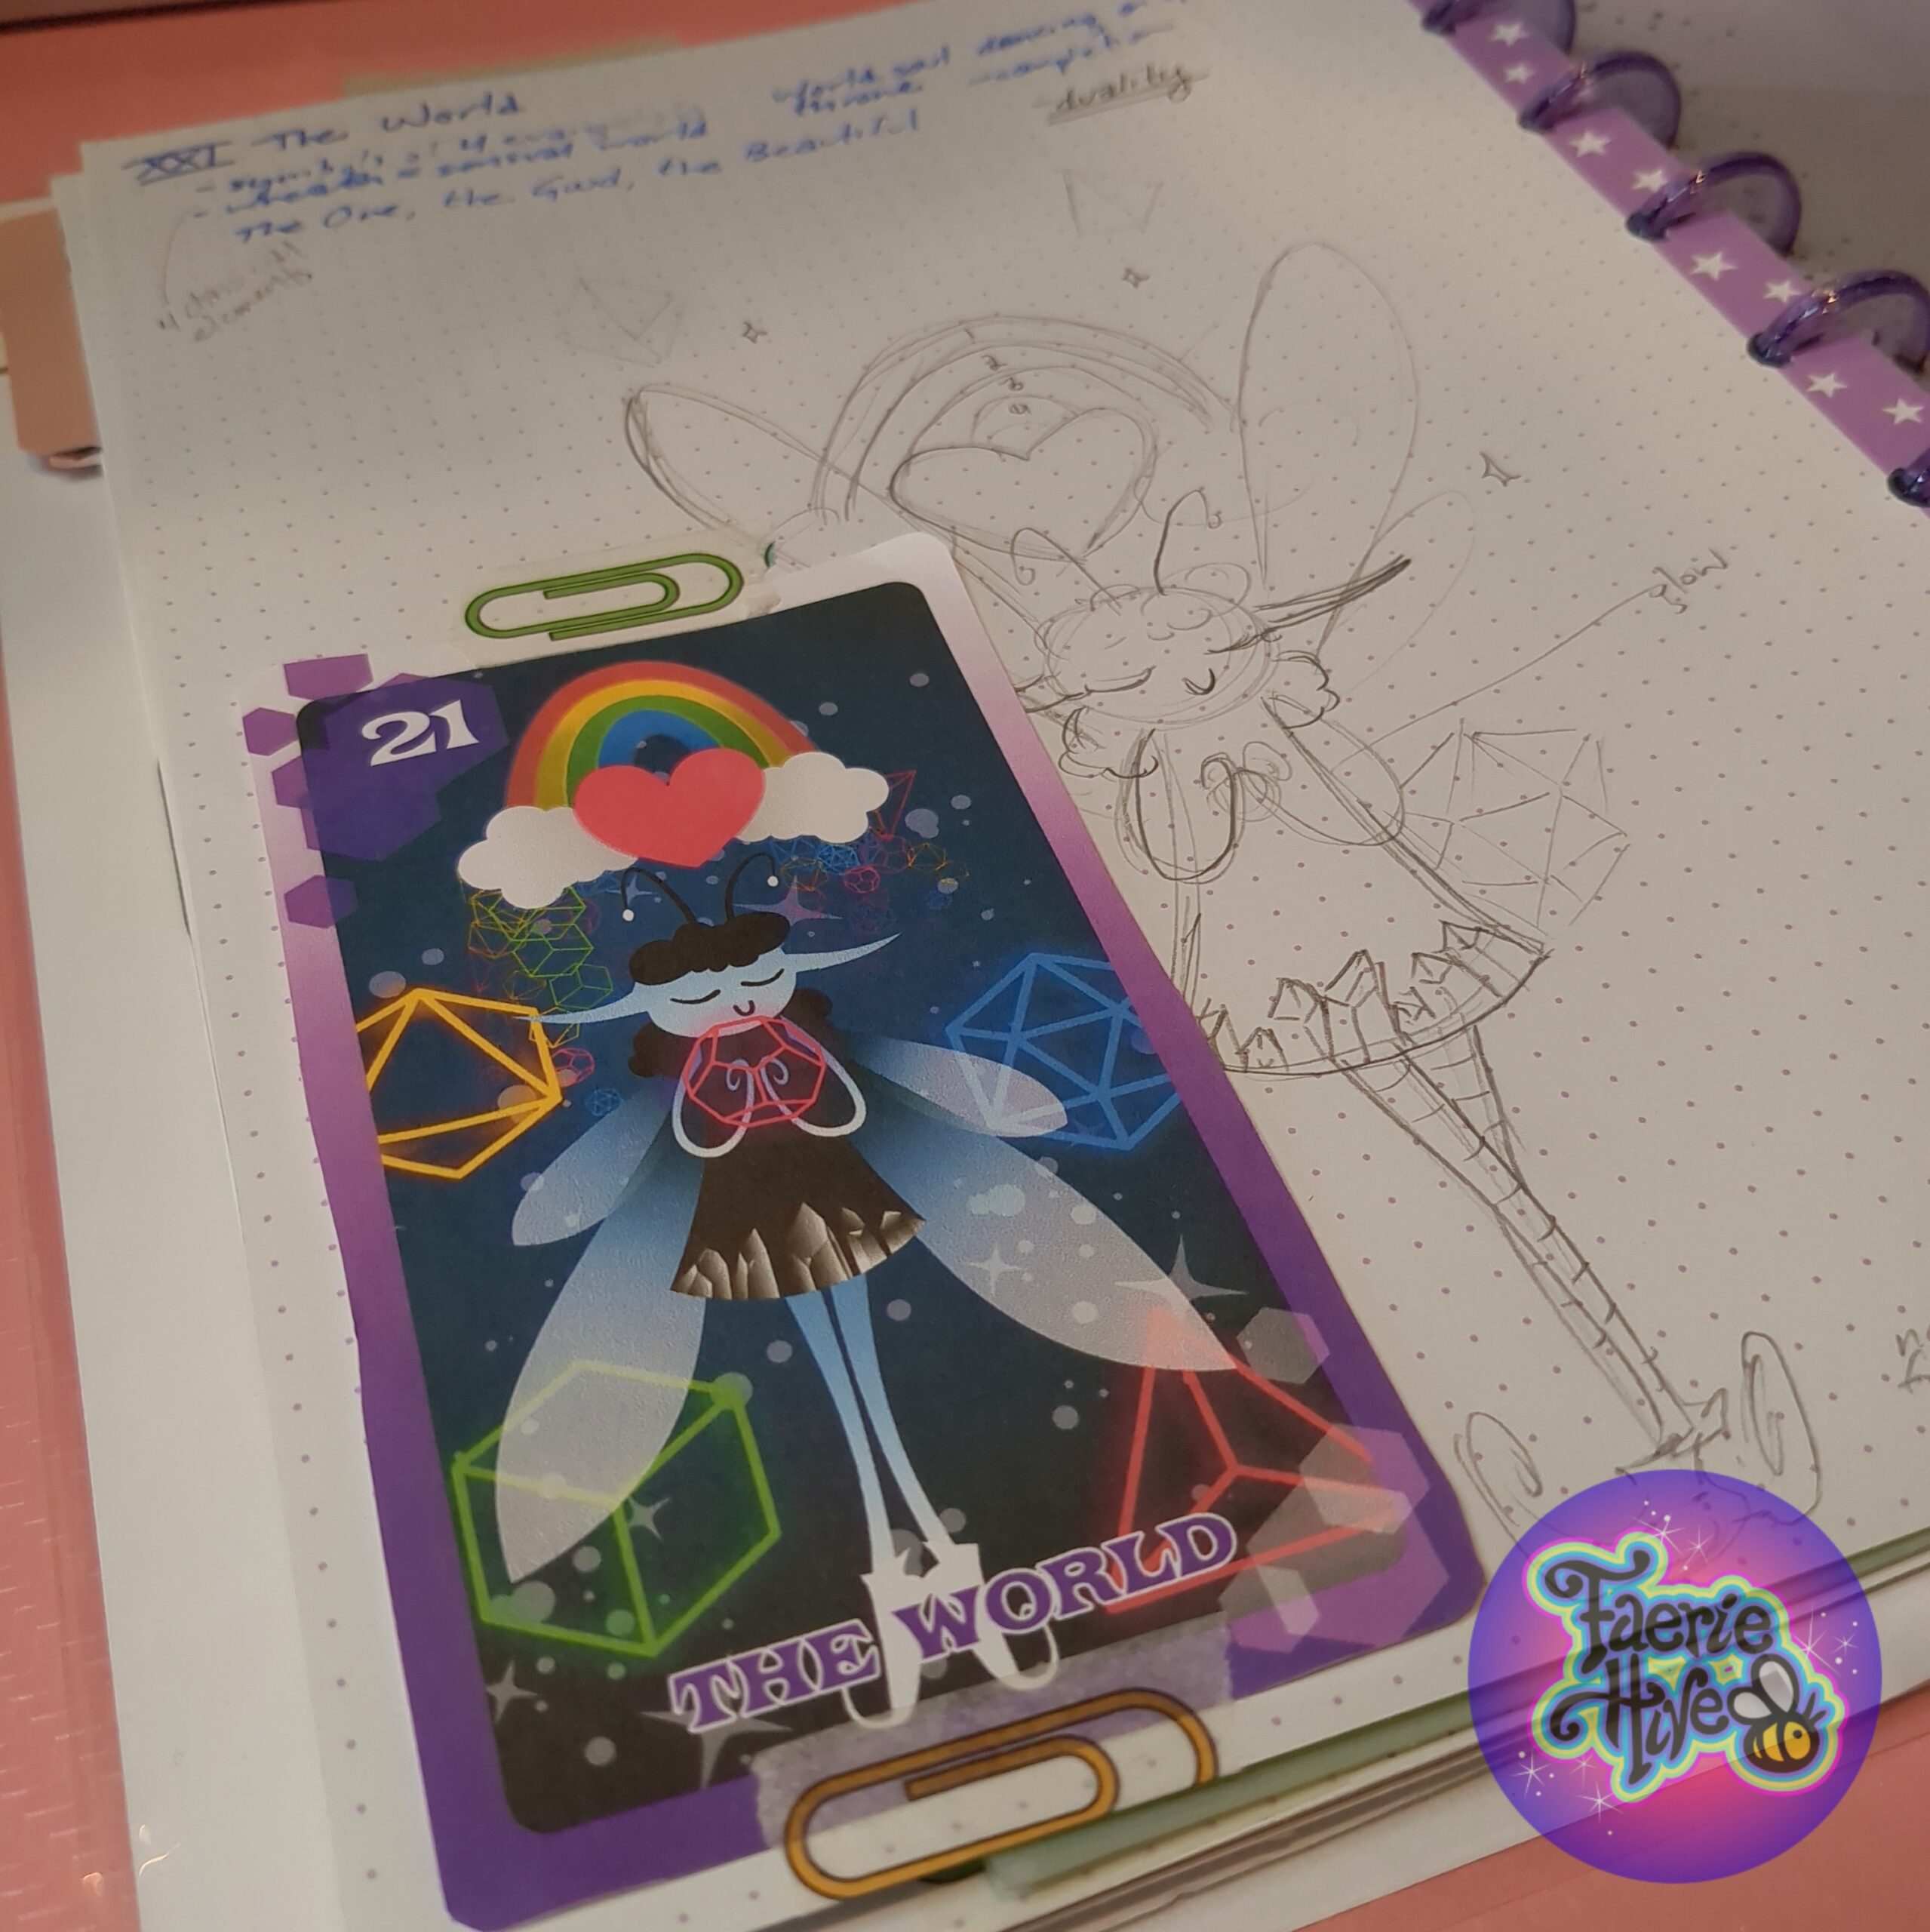
Big news today: I have finished the Major Arcana for the Tarot deck I have been working on! That’s 21 cards into my 78 card journey. I’ve been doing a lot of background work prepping for doing the pip cards: making patterns, color swatches, studying card history and meanings.
This has been an amazing project thus far: the sheer amount of art history alone crammed into these decks is incredible. Frankly, it’s been more fun for me to study the card history than to do actual practice readings! In any event, while hard to share my journey (Livestream me reading and taking notes? No thanks haha) I do broadcast live on YouTube every Tuesday while I’m drawing each card. I can’t wait to see what the next cards bring!
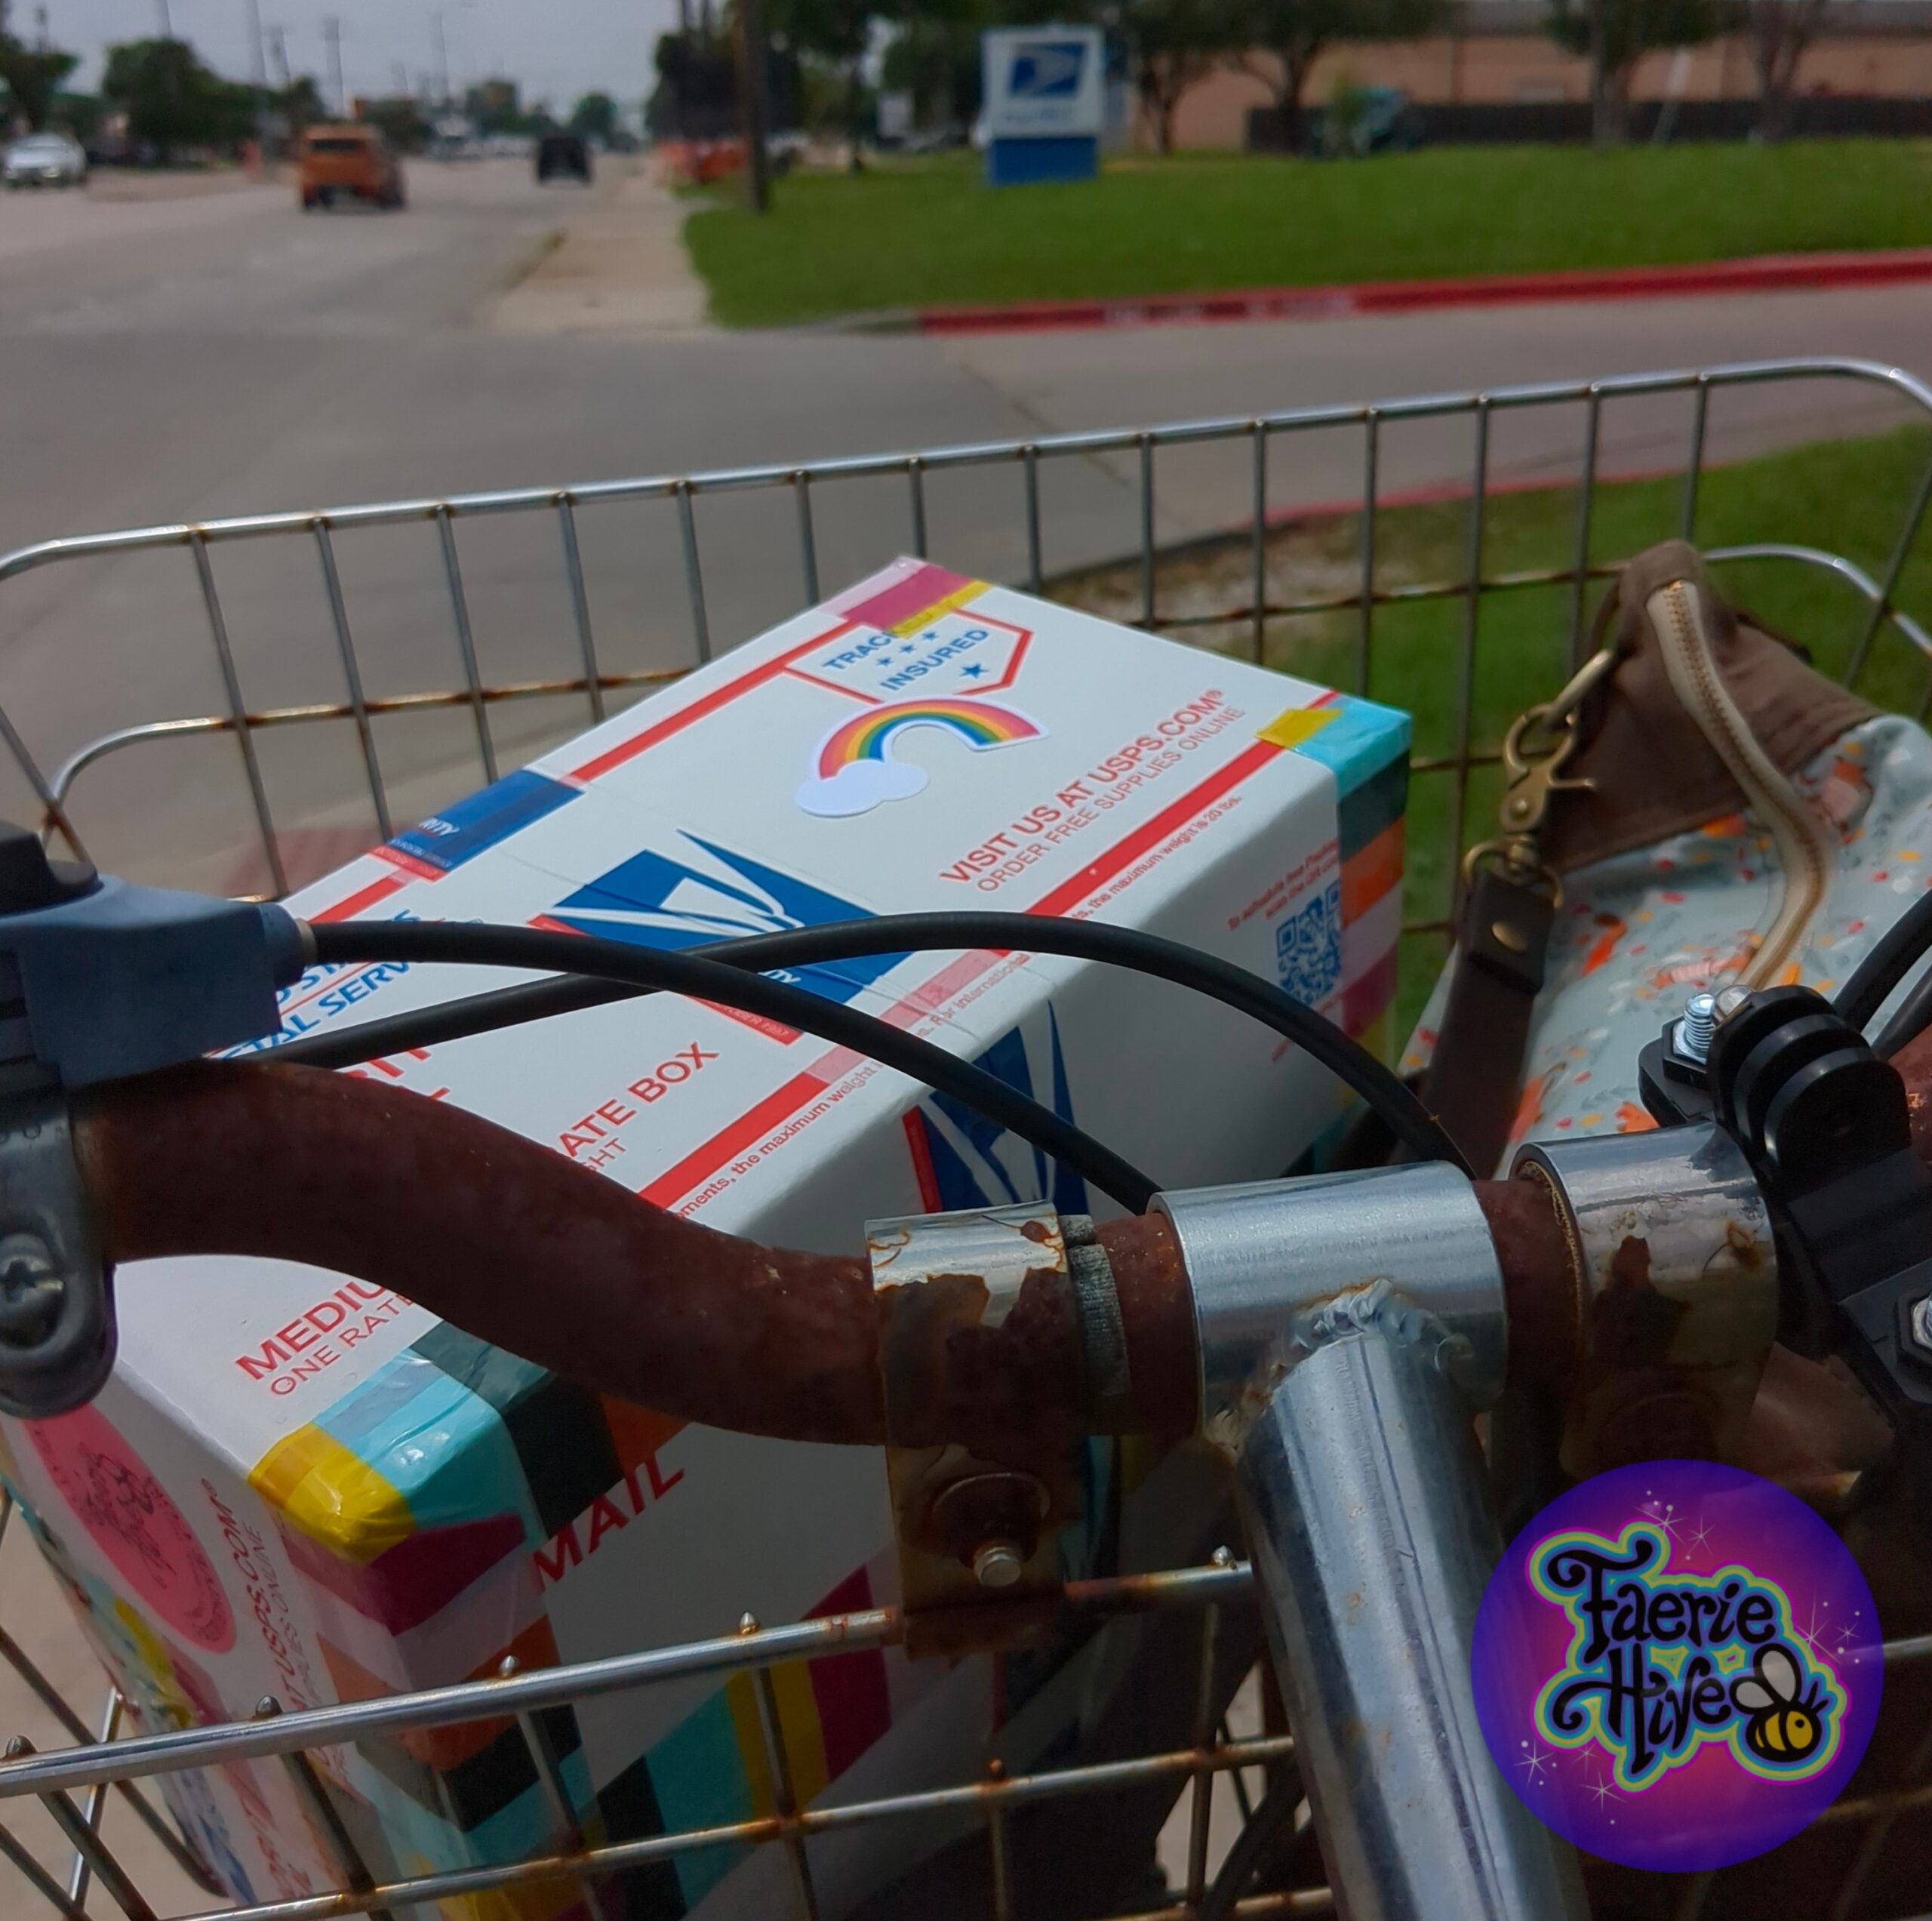
Austin Witchfest 2024 was an absolute delight. I met so many interesting people, and am blown away at the support I received. Coming off the heels of Staple! Expo, I am humbled by the number of folks who recognized my art and were excited by seeing it again.
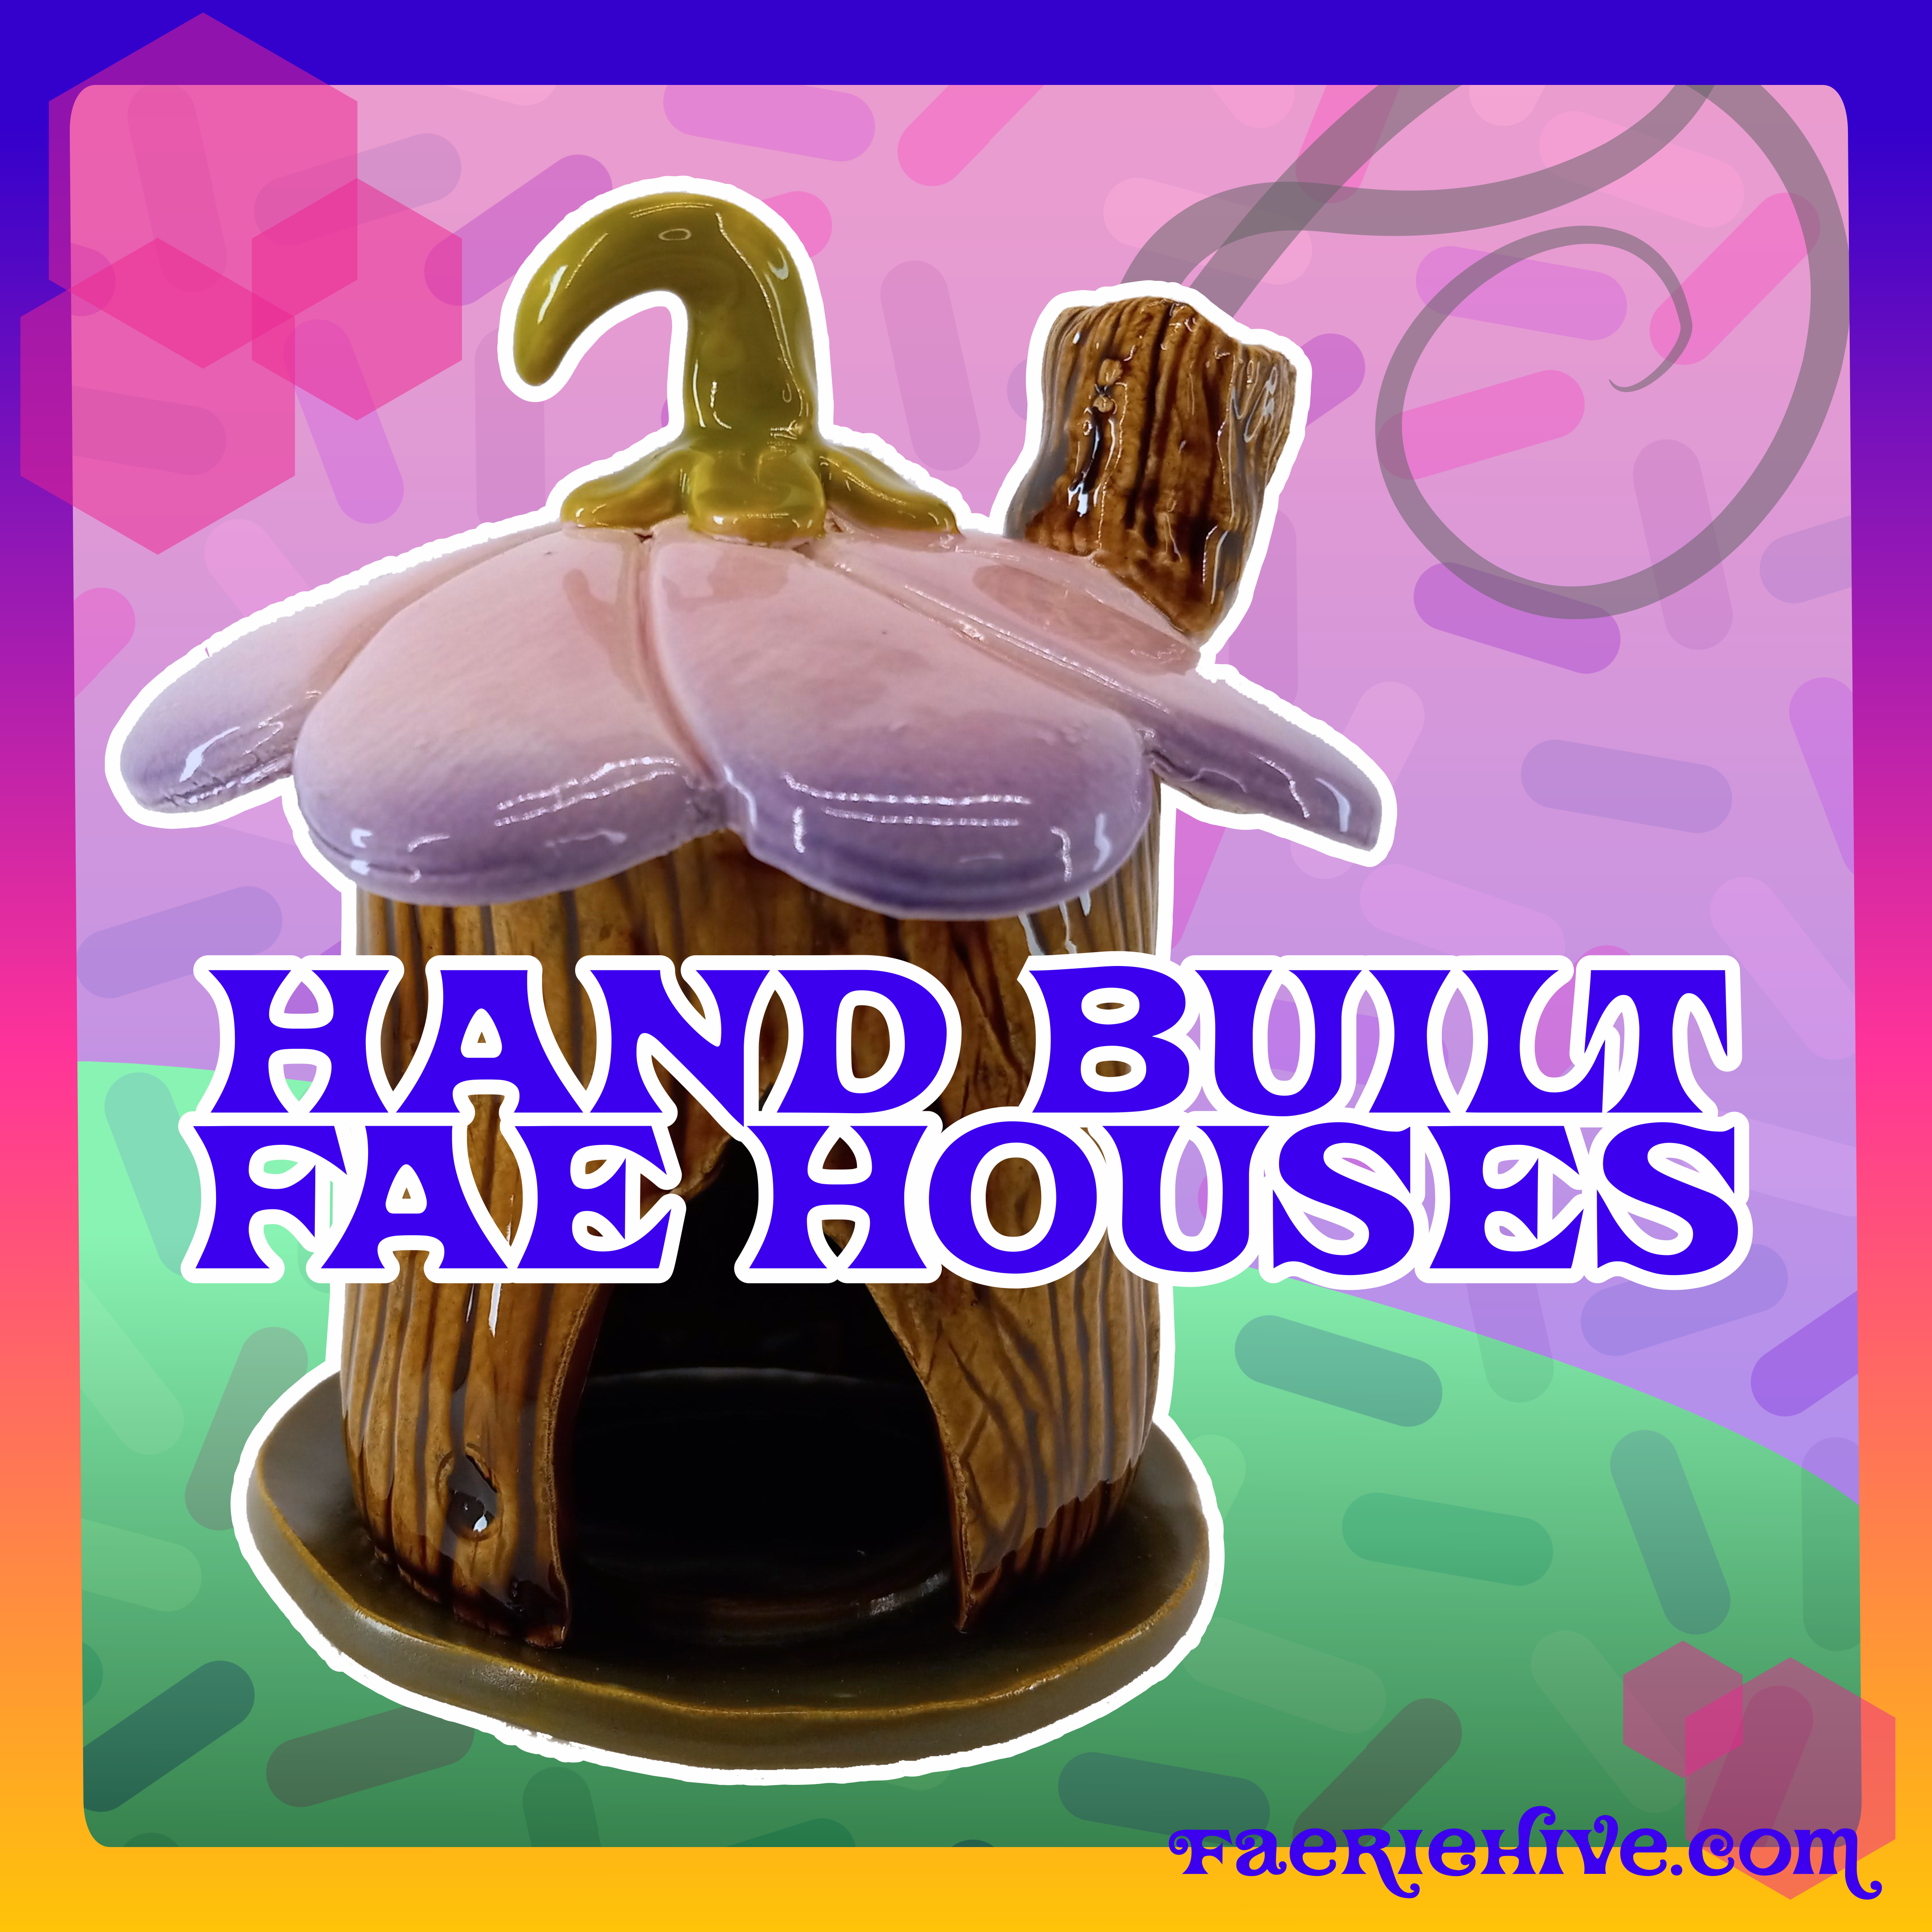
Knowing I make zines, ceramics, and paintings that bring some light into people’s lives astounds me with how fortunate I am to be able to do so.
Thank you, everyone, from the bottom of my heart. Pictured: my rusty ol’ bike taking me to the Post Office to drop off a package. ♥️
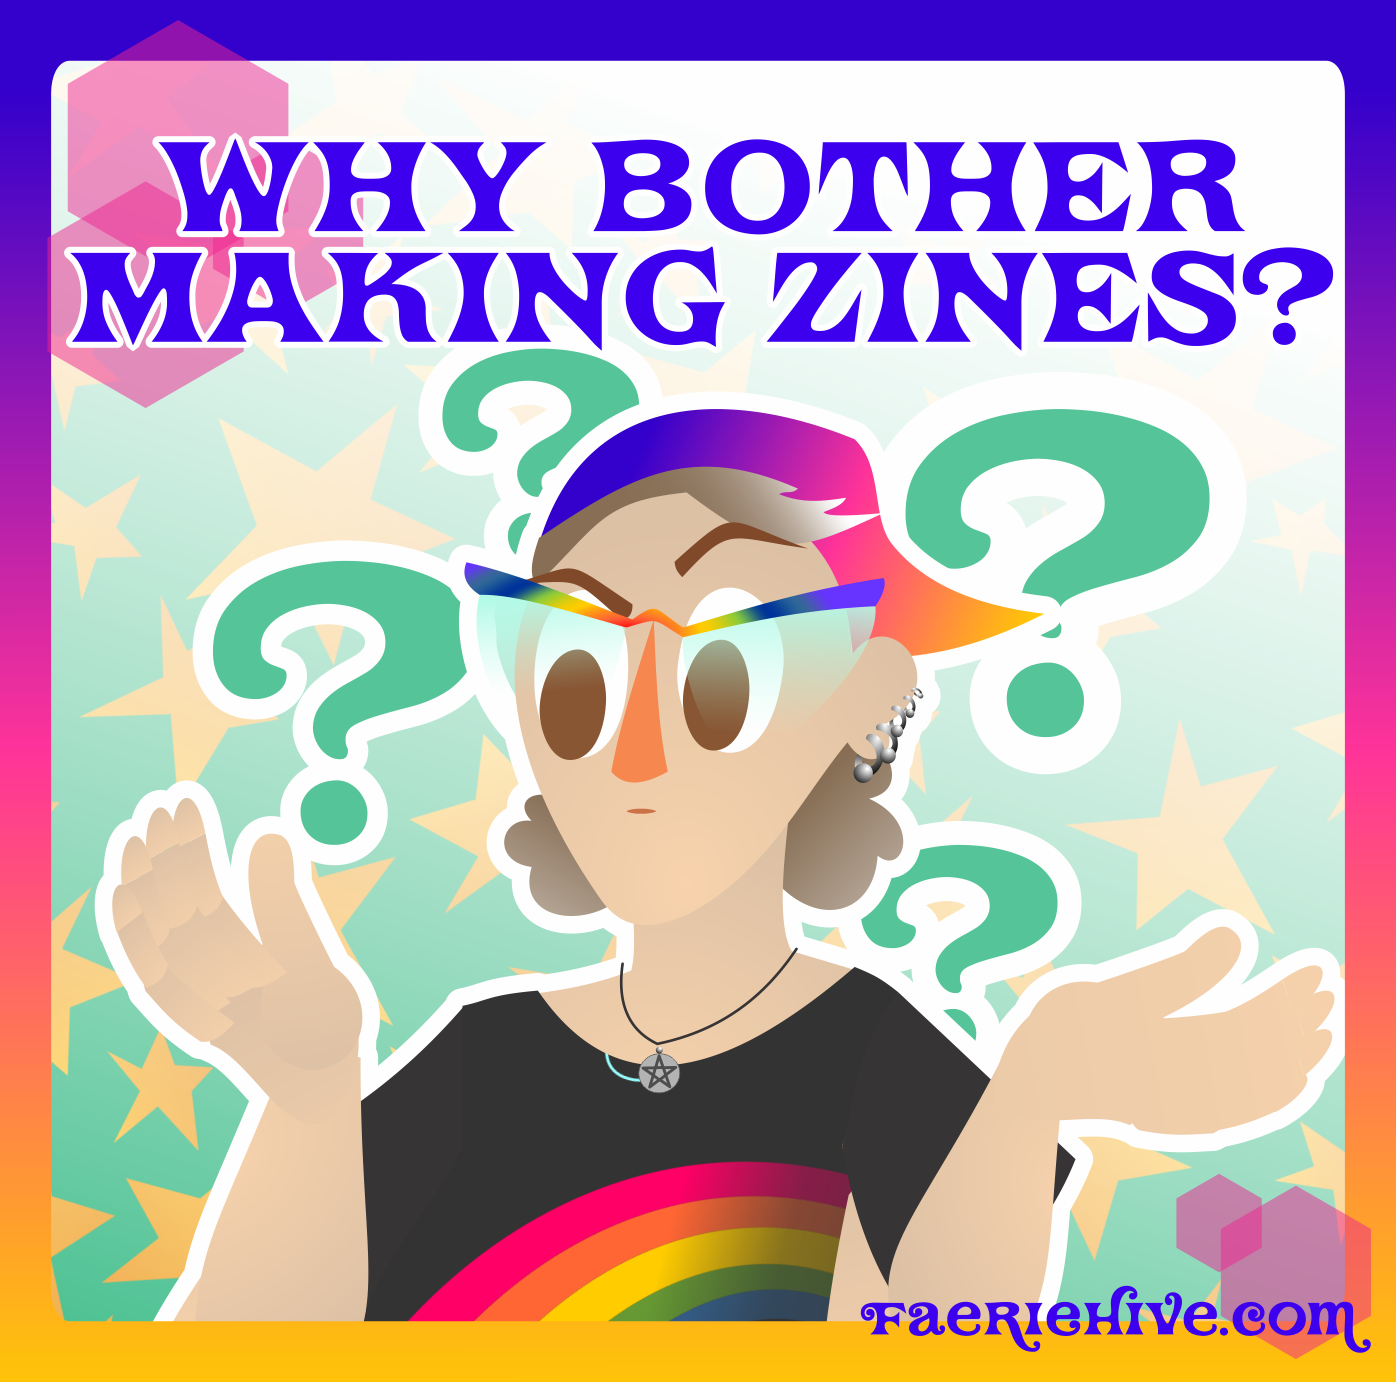
Why, in the world of the FUTURE should you bother making zines? I address why, in this handy video!
Are you interested in your OWN zine that talks about why you should bother making zines? You can either purchase your own copy OR download a FREE PDF to print and read/distribute without modification.
WHY should you bother making zines? Check out this cute lil’ zine for some reasons why! (You can also print out this zine for free and make your own zine to distribute, if you like!)
WHY should you bother making zines? Check out this cute lil’ zine for some reasons why! You are welcome to print out and distribute this zine freely, though please do not sell or modify it. If you wish to purchase a finished version, check that out in my shop as well!
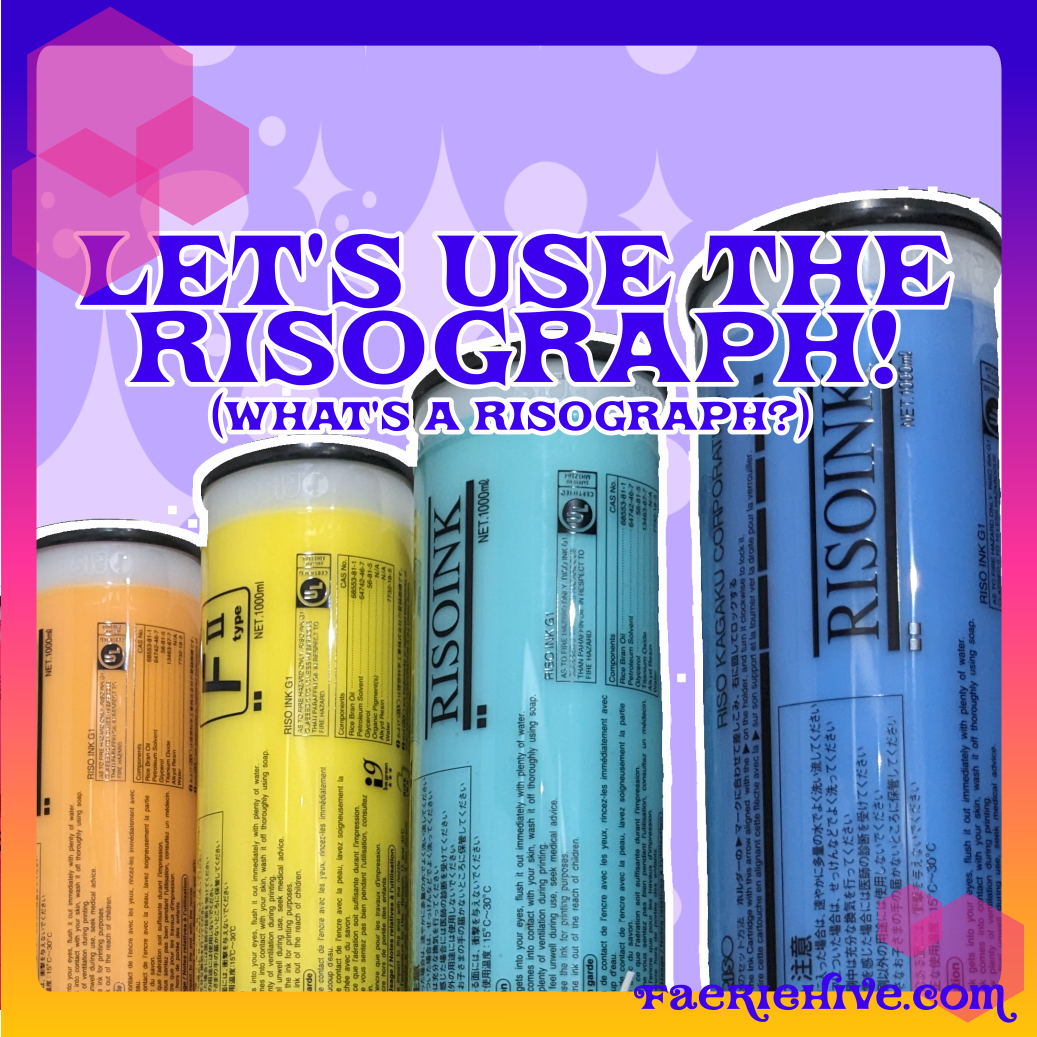
What’s a risograph? How do I use it? Don’t worry, this video doesn’t get technical at ALL, but we get to enjoy a nice visit to Soft Spots Risograph Press in Dallas. Check it out!
MY GOODNESS. This past weekend was AH-MAZING. Austin Pagan Pride and Lone Star Zinefest, y’all wiped me out! Deepest thanks to everyone who came by my booth or table and purchased something. It makes me so happy to make art, moreso when I get to see how happy people are when they take one of my pieces home.
My next event is ArtsGoggle on October 21st. In the meantime, I will be working to restock everything I sold out of! If there’s something that’s out-of-stock in the store, it should return soon.
So, one of the reasons I call myself a “maker” is because I truly derive joy from the creation and process of bringing new art into the world. I’ve always had a soft spot for printmaking because of the involvement of process.
A Brief History
One of the “cute” methods of printmaking I’ve always had my eyeball on is that of Print Gocco, a now-defunct process for making handmade greeting cards. It was largely for the Japanese card-giving market, and ultimately was killed off by the rise and affordability of desktop publishing. The parent company, Riso, eventually ceased production of not only the device, but the consumables required to actually produce cards/prints. My misfortune was to discover the existence of Print Gocco a mere year after the system’s demise. I never actually acquired a Gocco system because, why? It might be a nifty novelty, but then becomes a dust-collection trinket in my studio after all consumables are gone.
Fast forward to 2017, when I discovered an insanely valuable tool for my maker’s toolbox, 3D printing. I still had the idea of Print Gocco: a cute, tiny print-production studio. I drew up designs to create one using LED lights and small photo emulsion screens to make little screenprinted cards. It kinda fell by the wayside, never to come to fruition, mostly because of how irritating getting materials for the “occasional” screenprint became. I’d have to buy enough emulsion to coat something like 20 giant screens, but it seemed such an absolute waste when I ended up making two tiny screens for cards or ceramics. Emulsion doesn’t last forever.
Last week, I randomly decided to poke into the world of Print Gocco again. I wondered if the system was easier to get? Maybe someone was making bootleg supplies? What’s up? I stumbled on a great blog post on No Bad Memories discussing a deep dive on the Gocco process. Long story short, the dots were connected for me that Print Gocco was made by the same company that owns the Risograph, the Riso Kagaku Corporation.
In hindsight, I’m not sure how I didn’t immediately connect Print Gocco with Risographs.
I love making zines, and haven’t been able to find a place in DFW that offers Risographs to the general public. Oh, I’m sure there’s a place out there, but I haven’t found it yet. In the meantime! Thanks to No Bad Memories‘ additional blog post, I’ve put my mail label printer to work and have made my first two-color print using a method related to Print Gocco.
Unlike screenprinting, Print Gocco uses heat to essentially burn away a thin plastic film from a super-thin fiber substrate. No Bad Memories uses a label printer to accomplish this, another source, Stampalofi, uses a repurposed thermal fax machine to do so.
It took me a bit of experimenting to find settings that worked for me, but here’s a little rundown of my process, may it help other people also interested in hand-making little mimeographs. I highly recommend reading both of the blogs on No Bad Memories, in addition to watching Stampalofi’s videos if you’re unfamiliar with the process.
Materials & Settings
The name of the magical material to make stencils is typically referred to as “Risograph master”. You can find rolls of this on eBay for at various price points: I got lucky and snagged a roll for $13 including shipping. (Generally they seem to go for around $50 for 2+ rolls. Shop around.) This gives me enough material to make literally hundreds of cards. It is essentially a roll of super-thin tissue with a super-duper-thin layer of plastic. You will want very sharp scissors/blades/papercutter to cut this stuff.
Me, I have a Munbyn label printer. They’re not too expensive, and super handy when you have to make thermal stickers like mailing labels and bag labels for your small business. The label printer prints via heat, not ink. Thus, it is perfect for this project.
I’ve screenshotted the settings I have found to work: yours may be different! But in my testing I’ve found that you want the label to go slow enough to allow for the plastic to burn away, and a power level in that Goldilocks area of not too hot and not too cold. Too hot will melt too much plastic and you’ll be scraping melted plastic off the heat element of your printer.
Color! This biggest issue with screenprinting is you don’t want your inks to dry on you. In big boi screenprinting at the factory, a lot of inks need to be heat-dried, so they don’t dry superfast. Fancy pants artists often use oil-based inks to print. I phased out all oil-based materials in whatever I’m doing because it smells terrible, gives me a headache, and is a PITA to clean. For our little Print Mocko, we want something that gives us working time and won’t dry faster than we can print. Stampalofi has a great video on making nori paste to extend the working time of acrylic paints. However, if you have them available to you, Speedball’s Block Printing Inks have a moderate working time and are water clean-up. They worked perfectly for this.
A block print roller or brayer. Screenprinting uses a squeegee. I started out using a squeegee for this, but it was MUCH too aggressive for the delicate fiber stencil. I noticed it breaking down after a short while. Finding inspiration from devices like the Edison Mimeograph, I found that using a roller was much better suited to the process. Again, Stampalofi has a great video on using a Lion Menucator, which illustrates the hand-rolled Mimeograph. (If you’re a huge dork like me, check out this filmstrip on “Mimeographing Techniques“. Yessir, us old folks remember getting purple copies in school for our worksheets.) In short, a hard rubber brayer worked great.
A frame of some sort. In my pictures, I used one of these I obtained at Daiso for cheap and cut it up. (Believe me, I’m mulling on how to best over-engineer a reusable 3D printed solution.) For an even cheaper solution cut up an old cereal box and tape your stencil to it.
Paper. You can’t used a toothy/textured paper for this. You’re not gonna get a clear impression. Use something smooth. For this project, I used some generic cardstock I got at HEB. My proofs were done on index cards. Entire project was great for the wallet-area.
General Process
This isn’t an especially detailed tutorial, rather an overview of my process after I manufactured a stencil. I will reiterate that 1) I’m assuming someone endeavoring to make lil’ mimeograph prints is familiar with the general idea behind risographs/mimeographs and B) has checked out linked blogs.
Checking fits with my Daiso frame I made. The plastic is soft enough to bend a bit, but stiff enough to provide a nice frame for the stencil to fit into.
In this shot you can barely see where the plastic material has been burned away. Crucially, you will need to do two things when running the stencil material through your printer:
Lay it shiny-side UP
Print the MIRROR IMAGE of whatever it is your are printing.
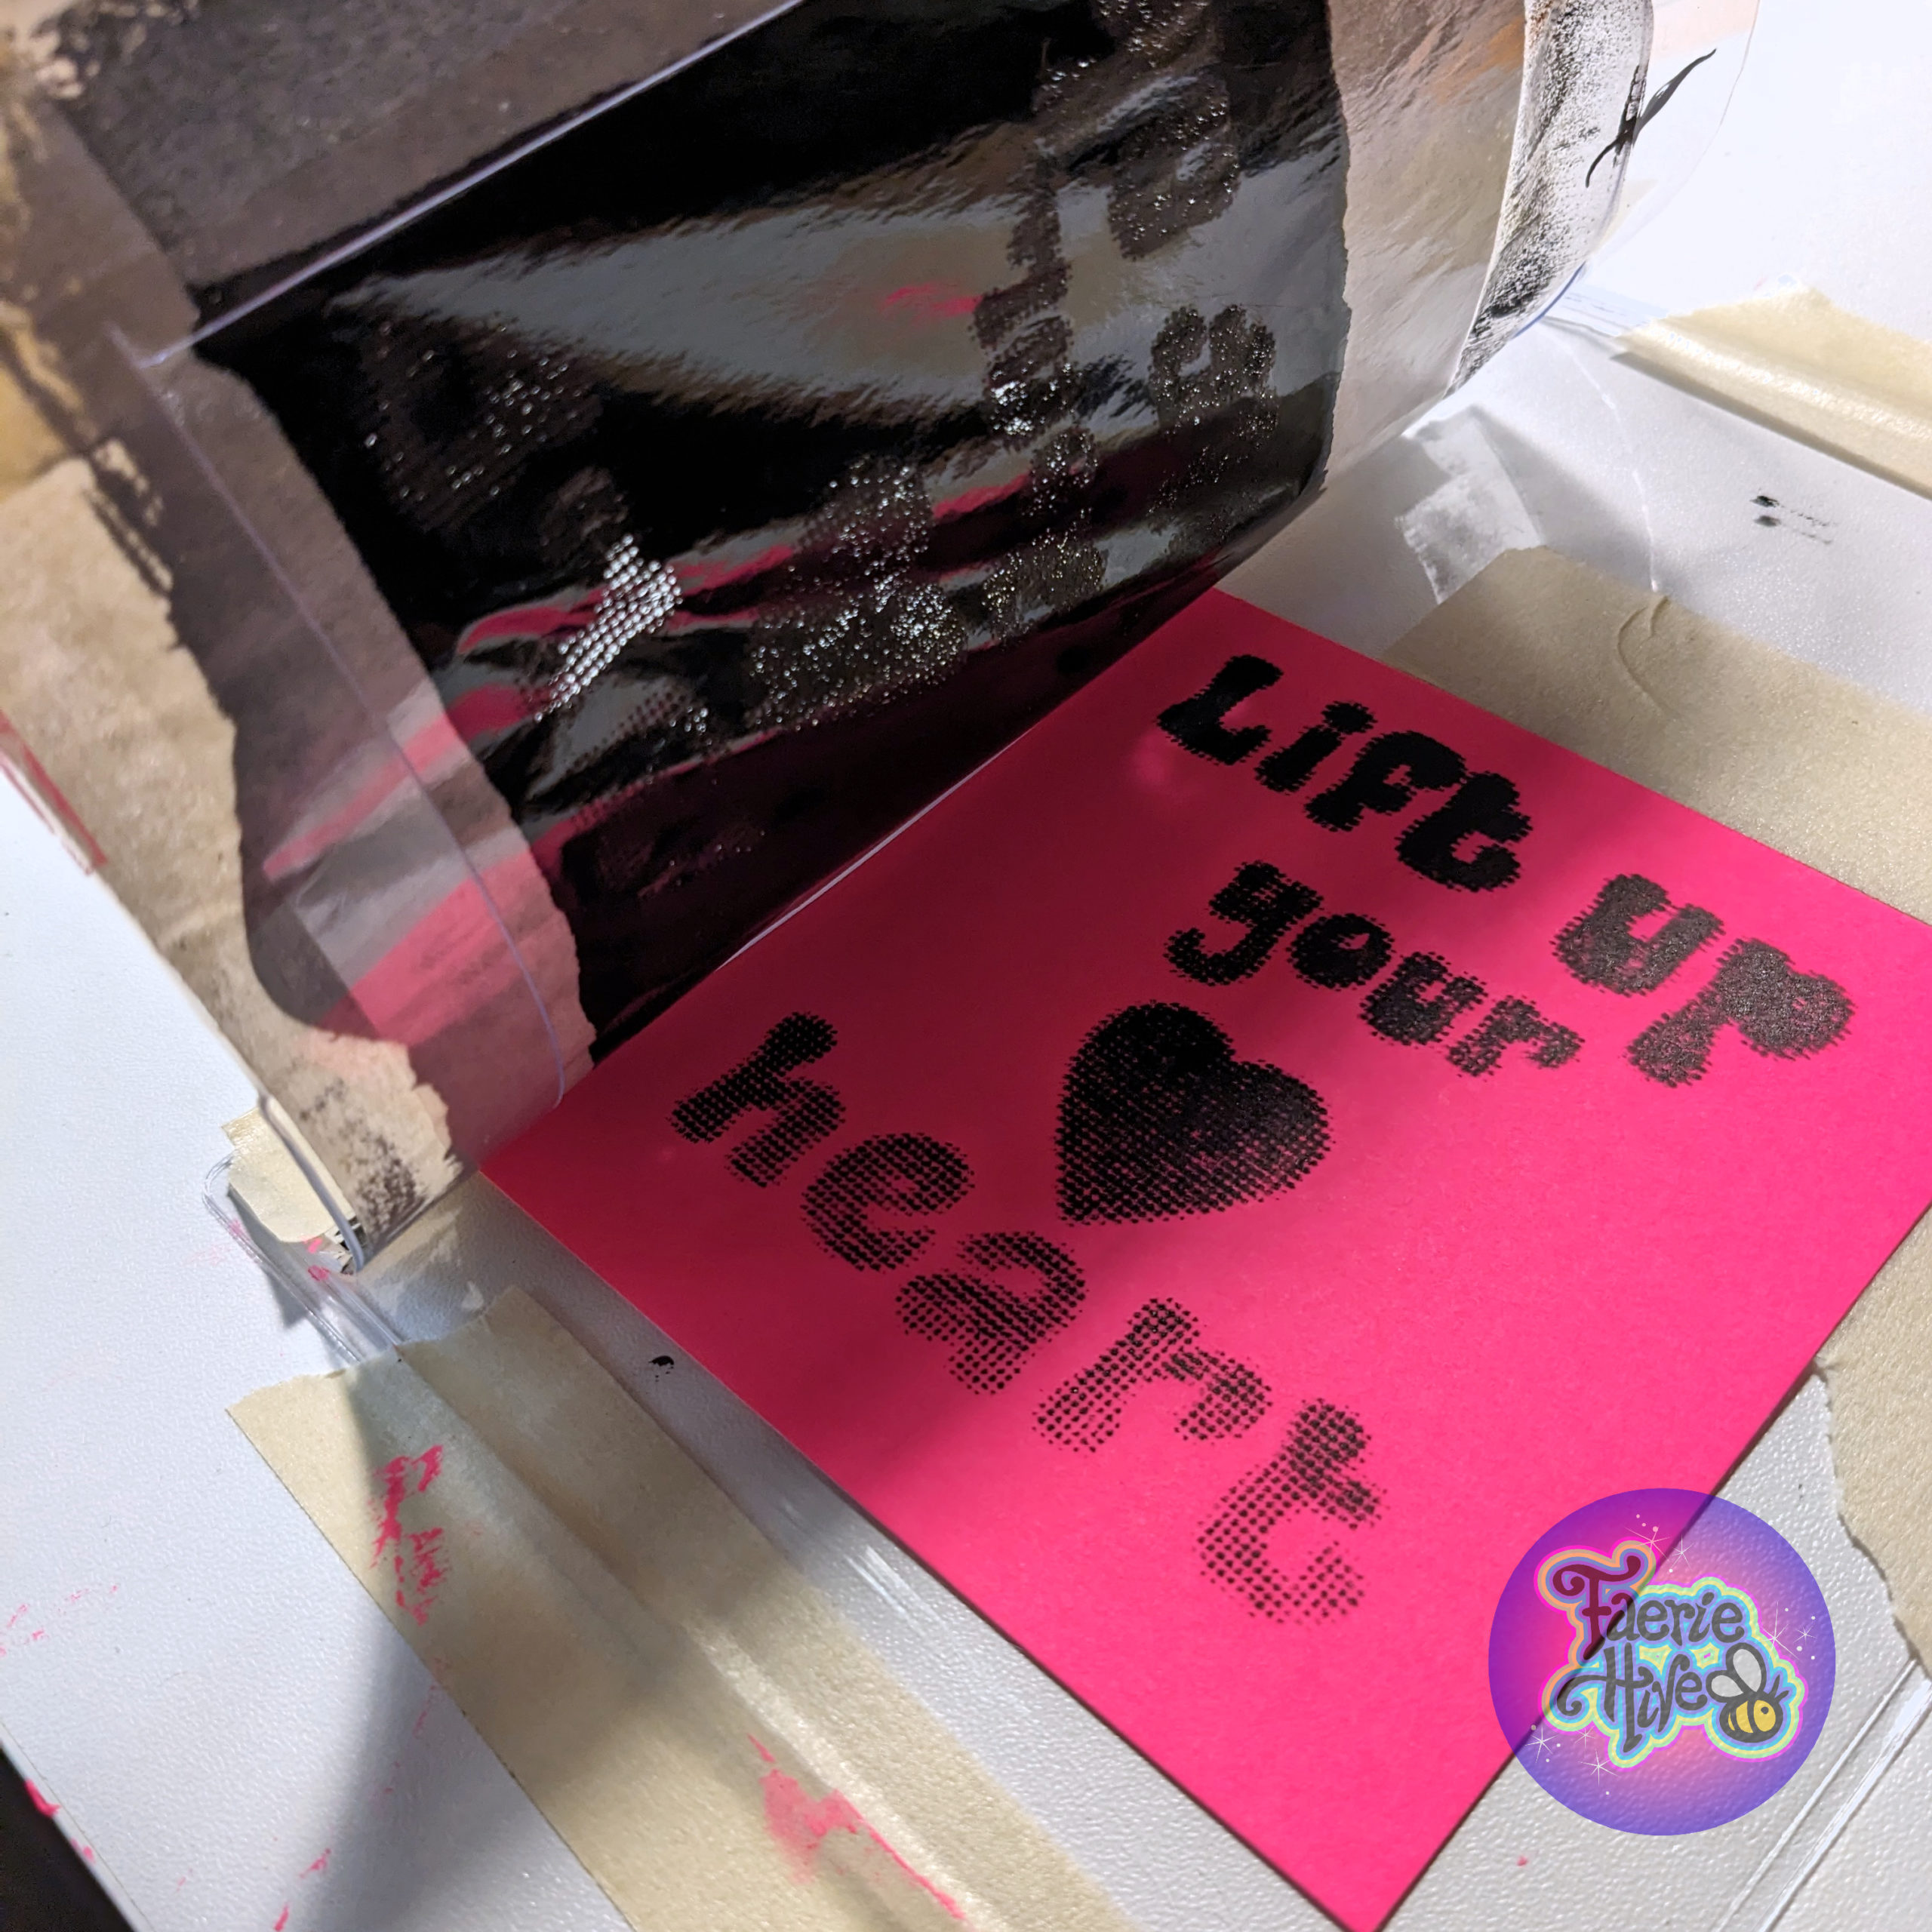
Evidence of squeegeeing/scraping the ink through the stencil. The entire setup being clear was helpful with half-assed registration.
Lots of little one-color prints! Embrace the lil’ imperfections, for they are what exposes your laziness humanity.
When you’re done with a color, so is your stencil. My aggressive squeegeeing absolutely wore it out, and removing it from the frame completely destroyed it.
After a bit more scraping, I switched to the brayer. The results were MUCH more satisfactory, not to mention less messy. The next project will be brayer-only.
Checking a proof of brayer use. MUCH easier.
Look at all those imperfections! Things definitely crisped up after the brayer. Using the squeegee, you can tell where I was afraid to scrape and ruin the stencil, resulting in less ink deposited.
Mmm…so printy. This is pre-signing and edge-rounding. After that, they will be released into the wild as free art!
Thoughts & Source List
This entire Print Mocko project satisfyingly scratched an instant gratification itch I get now and then. (Pottery is NOT a speedy process!) I can’t wait to experiment with using the Riso stencil material for ceramics, and incorporate some spot colors into my zines.
So, I picked a very heavy craft to follow. Pottery isn’t exactly light, and I tend to get extra fancy with my displays. For about 10 years I was a face painter at various conventions, birthday parties and what have you, sadly, that did a lot of damage to my back. When you’re in your early 20s, you tend to not fuss yourself with “old people” problems like taking care of your back.
Come Fall of 2022, my second-to-last show of the year, I put my back out lifting boxes of pottery and equipment into my car, and hauling it to the show site. The phrase “I’m too old for this” has never repeated itself over and over so many times in one head.
I needed a way to showcase and move pottery to shows that didn’t murder my body.
Let’s Do This.
Ever since I first saw Andrea Denniston’s Teardrop Build, I became enamored with the idea. Stash everything inside? Hell yes. Trailer becomes display? More hell yes. Similarly, I loved Diana Kersey’s “Foamie” display trailer after seeing it at Texas Clay Festival. No tables to haul, no shelves to assemble, just stow and go. It’s like an infomercial.
Planning commenced, with minimal self-imposed stipulations:
trailer must be able to fit inside buildings that have double doors or cargo entrances
trailer must be light enough for me to manipulate/move
trailer must be able to display 95% of my work
The venture into Trailer Land began with installing a tow bar onto the Subaru. The resources at E-Trailer.com are great, they have clear instructional videos that allow you to not pay $200+ at U-Haul to have them install a tow bar as was recommended by far too many people.
Wow it looks naked in retrospect.
Use that $200 towards a Harbor Freight trailer frame. I picked me up one of these bad boys for a little over $400. Buying new, it was the cheapest. Had I shopped around, I might’ve been able to pick up a good second-hand trailer for a reasonable price. My reasoning was that building it would give me a better understanding of how the thing worked. Plus building stuff is fun.
I wasn’t especially sure how well me and the trailer would get along, so it went on a “test trip” to an event in Austin with all my equipment, sans pottery, strapped to the back. The only thing I added was a 3/4″ plywood floor.
To Austin! Our nation’s state’s capitol!
Strapped on were my three display tables, tent, box with tent roof/walls, and box with display shelves. (Shelves flat pack.)
At this point, I was too nervous about the leaf spring shocks providing any protection to my pottery, so it traveled in the car.
The inaugural voyage got me used to pulling a trailer of stuff, how it moved, and the fact that I cannot for the life of me reverse the car and get the trailer to reverse.
Wood is Expensive
It WOOD (haha) have been great to be able to find lots of salvage and build with it. But I live in a post-apocalyptic suburbia where people charge a premium for garbage fence pickets on NextDoor. Fortunately, I had plenty of my own scrap, PLUS a retired bed platform I had constructed about a decade earlier. This isn’t to say I didn’t plunk down a chunk of change on new wood and needed hardware; you can only dig so much out of your personal woodpile.
Base. (Bottom was painted with glossy oil-based paint.)Frame up.Frame up.More frame, featuring braces.First wall!More walls!Walls, now with doors!Added another door, and fiddling with roof ideas.Hey, it kinda looks like a house.Started adding fancy trim.More fancy trim.Went bankrupt from all my trim spending.
No, I did not follow any specific building guidelines. I eyeball a dangerous amount of measurements, though in general rulers and cuts weren’t too wonky.
Let’s 3D Print
Terrorizing school children and evening dog walkers.
At this point, the majority of the construction was done. Originally, I had planned to put shelves on hinges that latched up, so I could pull up to an event, unlatch the shelves, and boom. Put up pottery. However, after a test run, I was concerned about the amount of rattling and jiggling outside shelves would take.
I took the base on a test run throughout the neighborhood, doing my best to emulate MarioKart. Topped it off with some donuts in a school parking lot, and I was satisfied that the house wouldn’t tip, and had no tendency to lean one way or the other.
I decided to go with French cleats for hanging my shelves. That way I could add more, put up less, and not worry about them becoming damaged while in transit.
This photo makes it look like I printed out one with no issues.Cleat V1.0PROTIP: Don’t test your cleat brackets by putting up a can of paint.Cleat V2.0
French cleats are pretty reliable as far as holding weight, but mine were kinda skinny, so I added tabs to prevent horizontal motion from happening. Unless someone trips and falls into the house, it ain’t goin’ no where. The brackets pop off for transit and ride inside the house with the shelves, all is well. Each bracket took around five hours, I printed two at a time, each side had eight brackets. My calculator tells me that’s roughly 240 hours of print time. That comes out to…TEN DAYS to print the brackets. Man. My Prusa needs a vacation.
Start Paintin’
At this point, the Texas weather was unseasonably warm for days at a time. This means it’s time to start slappin’ down paint!
First coat is always the worst.UGHPainting sucks I hate it
UGH I forget how much painting solid colors sucks. This step not only involved painting, but also patching, caulking, sanding, etc. The WOOOOOOOOORST. You only THINK you bought a decent piece of plywood until you have to paint that sucker. Then you decide your next project will be to go back in time and hit yourself with a bag of cement for picking the world’s lumpiest, bumpiest, most uneven sheet of wood known to mankind.
Painting Sucks Let’s 3D Print Again
I wanted shingles for the roof. I looked. And looked. For some crazy reason, people only want to sell you enough shingles to get started covering an entire regular-sized house. People building 4′ x 4′ homes need shingles too, people! After more dead-ends than I would’ve liked, I printed out a test leaf-shaped shingle.
It’s like a real leaf!100% realistic silky copper!
Test leaf came out perfectly. I liked the shape, I liked the look, and it had the unanticipated benefit of being able to be shaped by heating it with a heat gun. I guess we’re doing this. Rough calculations say we’ll need…SEVENTY TWO LEAVES to cover the roof. Time for a trip to Microcenter, I guess.
Oh so we’re doing dual-color.Complete with holes for attaching.Test layout: very leafy.
Each leaf took two hours to print, not counting the time spent manually changing filament colors. (I even cobbled together some gcode to make it spit the filament back out at the end of a print to save me that step.) You get out your own calculator to figure out how long the print time was for the leaves because SIX DAYS OF PRINTING GOOD GOD
I really need to do some printer maintenance.
Actual Painting
Next is fun painting. Still laborious, but fun. Barring cold days, it probably took around two weeks to get all the painting done. I opted to go with regular ol’ craft store acrylic paint as A) the trailer would not be sitting in the sun for months at a time causing fading and B) the entire trailer would be getting a clear coat of polyurethane.
I did the rainbow trim first.Wide open spaces.A giant sun facing the rear.
Because the weather was warm/cold/warm/cold, I spent some time doing a bit of 3D printing during the cold. First up, a nice plaque to go over/in the sun on the back of the house.
Have you ever struggled with cutting angles beyond 45° with wood? I have a miter saw and a desire to keep all my fingers, so I couldn’t figure out how to safely cut wood slats for the gables of my little house. 3D printing and a protractor to the rescue! I measured, printed, and got close enough to say “Eh, I’ll fill it in with caulk.” Tada, fake gable supports.
Fine craftsmanship.No one will ever notice.
Back to painting! I like my faeries to have transparent wings, so I did a little airbrushing and cut some wing stencils in order to spray on some color-shift paint for wings. Violá! In the meanwhile, I started to add some black to the roof and trim.
Faerie in red on the left.Delightful sunny day on the back.Cutting some wing stencils in clear plastic.When I look like this, my kids leave me alone with my airborne particles!
Time for…a freeway test run. I’m a member of a makerspace in Richardson, TheLab.ms. Folks on our Discord channel kept asking me how it did on the freeway. My builder sister asked me how it did on the freeway. My experienced father asked me how it did on the freeway.
Uh, I suppose I need to take it out on the freeway.
WHEW I survived.Parked at the backdoor of TheLab.ms!
Opting for a Sunday evening drive, I tooled my not-quite-finished trailer out to TheLab and lo, I arrived safely. Much trailer building discussion was had, and I made it back home in one piece. Huzzah.
Back to painting!
Adding black on the trim.Outlined faerie!Outlined faerie!
Oh. I guess that was a short rest of photos documenting painting.
Shelves! Cleats! Vinyl!
Painting, DONE. Time to add on the cleats and hang the brackets and place the shelves!
First shelf.Cleats installed.Now I just gotta cut the lumber to fit!Topped off with a cute lil’ faux grass mat.
The bottom shelves were a bit of a concern; I wanted them to cover up the wheel wells, and “frame” the house. However, they’re right at knee height, and if someone were to bump them a bit, they might tip. The brackets weren’t enough for how wide I wanted them. Simple solution? I drilled a hole and put a clevis pin through the shelf and wheel well. Shelf isn’t tipping nor is it sliding, and the pin is super fast to install.
Vinyl Letters
I was a bit concerned with visibility at night despite looking like the Studebaker from the Muppet Movie, so I managed to locate some reflective vinyl online. Five minutes on the Cricut later, I had a jumble of lettering to adhere to the house.
This is what vinyl install looks like when you’re trying to save money.Flash on my camera indicates lettering is reflective!Lettering on the side facing cars that will be behind me in traffic.
Not all the vinyl is reflective, just the giant-ass website so people know who to complain to when I cut them off.
Shingle Install
I admit I was waffling on the leaf shingles up until two days before I had to leave for a show in Austin. Would they hold up under three-ish hours of sustained 75mph winds? Did I want to test that? I had screwed three leaves for my test drive to the makerspace, but not an entire roof full.
Screw it, I’ll put ’em all on.
Leaves look good!Slowly bending them with the heat gun.But there’s a lot of potential for flapping.Heat gun and staples: fusing leaves together and adding extra attachment points.First check in Waco, I lost 5 leaves. But that was all!Dangling leaves, no damage!
Using the heat gun to bend the leaves brought an unexpected benefit; it basically fused some of them together, thus eliminating potential flapping in the wind. I lost a few leaves, but way less than expected. Fortunately, it was not noticeable at the show.
Let’s GOOOOOO
Time to play trailer Tetris! Load ’em up! Pack it up! Cram it in! Pottery this time rode in the trailer, tightly packed in with packing foam. Everything else was strapped down with either bungees or straps inside.
Empty!Full!Before leaving, we stopped for donuts.
The top of the car had to hold the tent. It’s just too long to fit into the house! Likewise, I was concerned about my larger ceramic faerie houses being banged around too much. They’re not packed especially tight, and I felt better with them in the back of the car.
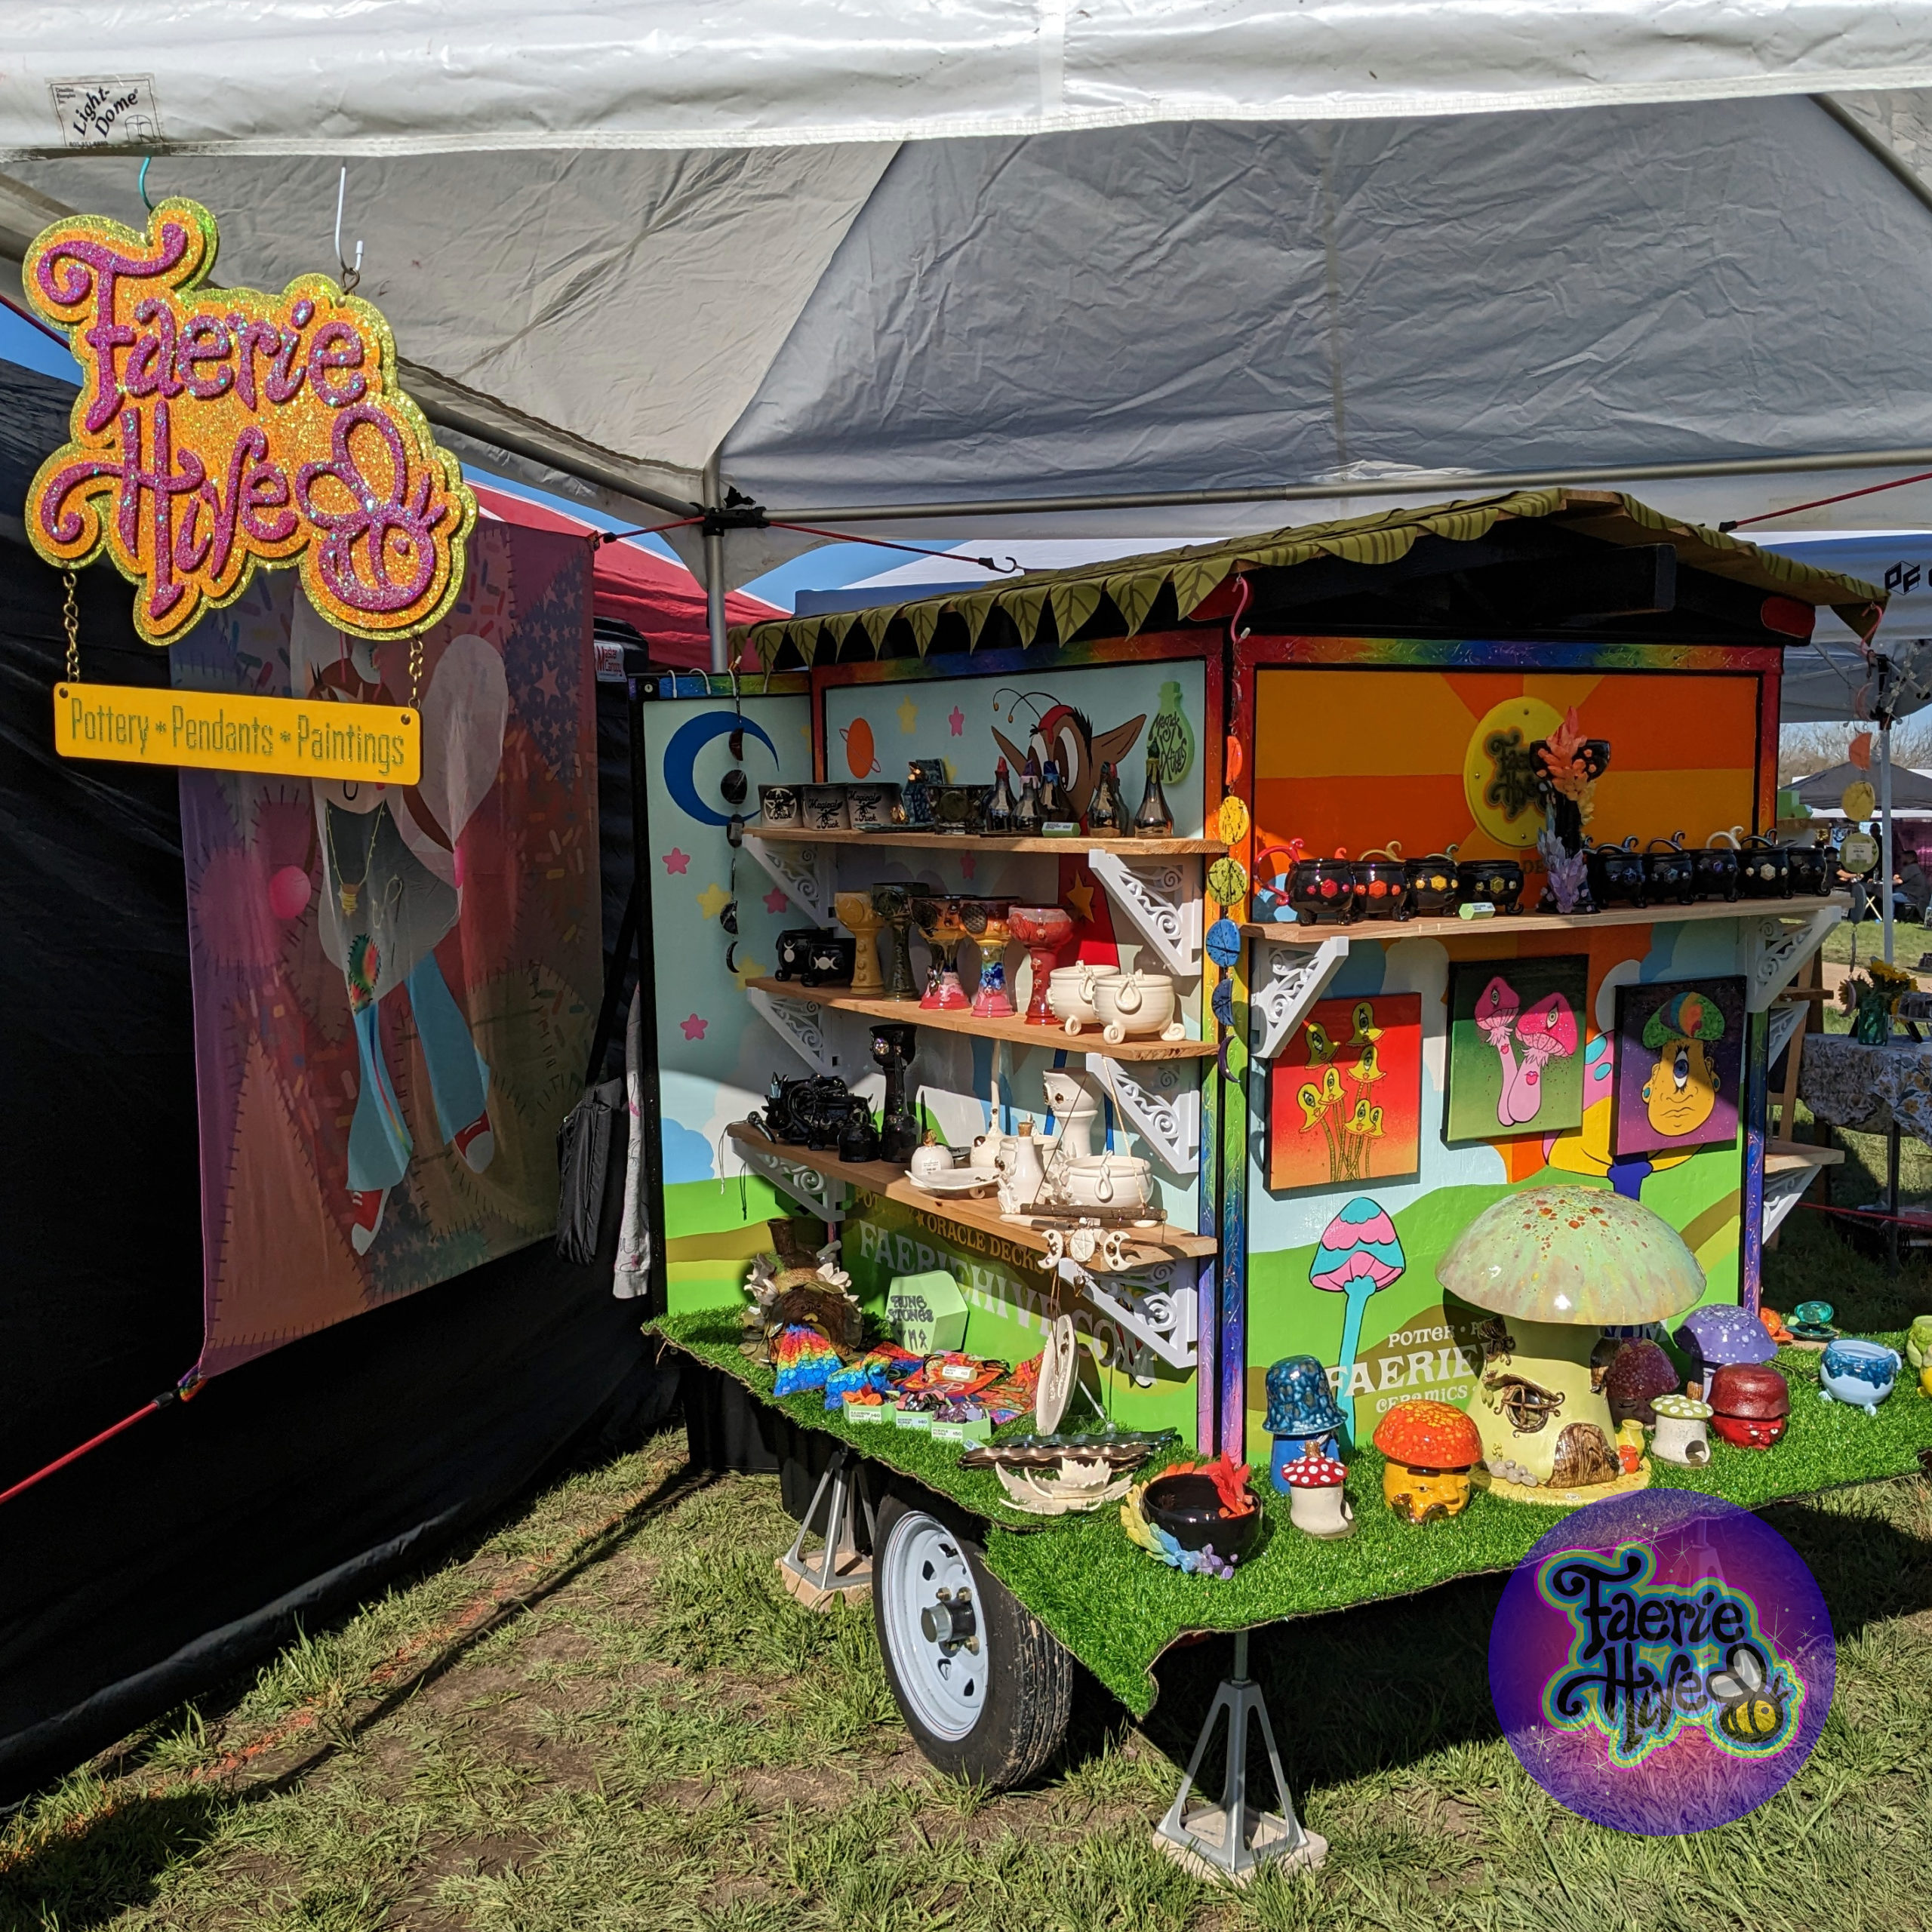
It’s Showtime!
Table where I sit with business cards, ready to take your money.PotteryPotteryMore PotteryHey I think this person sells potteryWow pottery
Overall, I’m absolutely pleased and satisfied with this build. It was challenging, used a variety of my skills, and was extremely eye-catching in its final form as a display piece.
Will there be future improvements/additions? Absolutely. But my major goal was to create a transport and display that wouldn’t kill my poor back at the end of the day. I’d say I nailed it.
Addendum: 72 leaves were not enough, nor were 90. I suspect I’ll have to update later with exactly how many leaves create a satisfactory roof.
Next Show
Austin Pagan Pride September 15, 2024 at 10:30 am – 4:30 pm
The VORTEX, 2307 Manor Rd #2135, Austin, TX 78722, USA