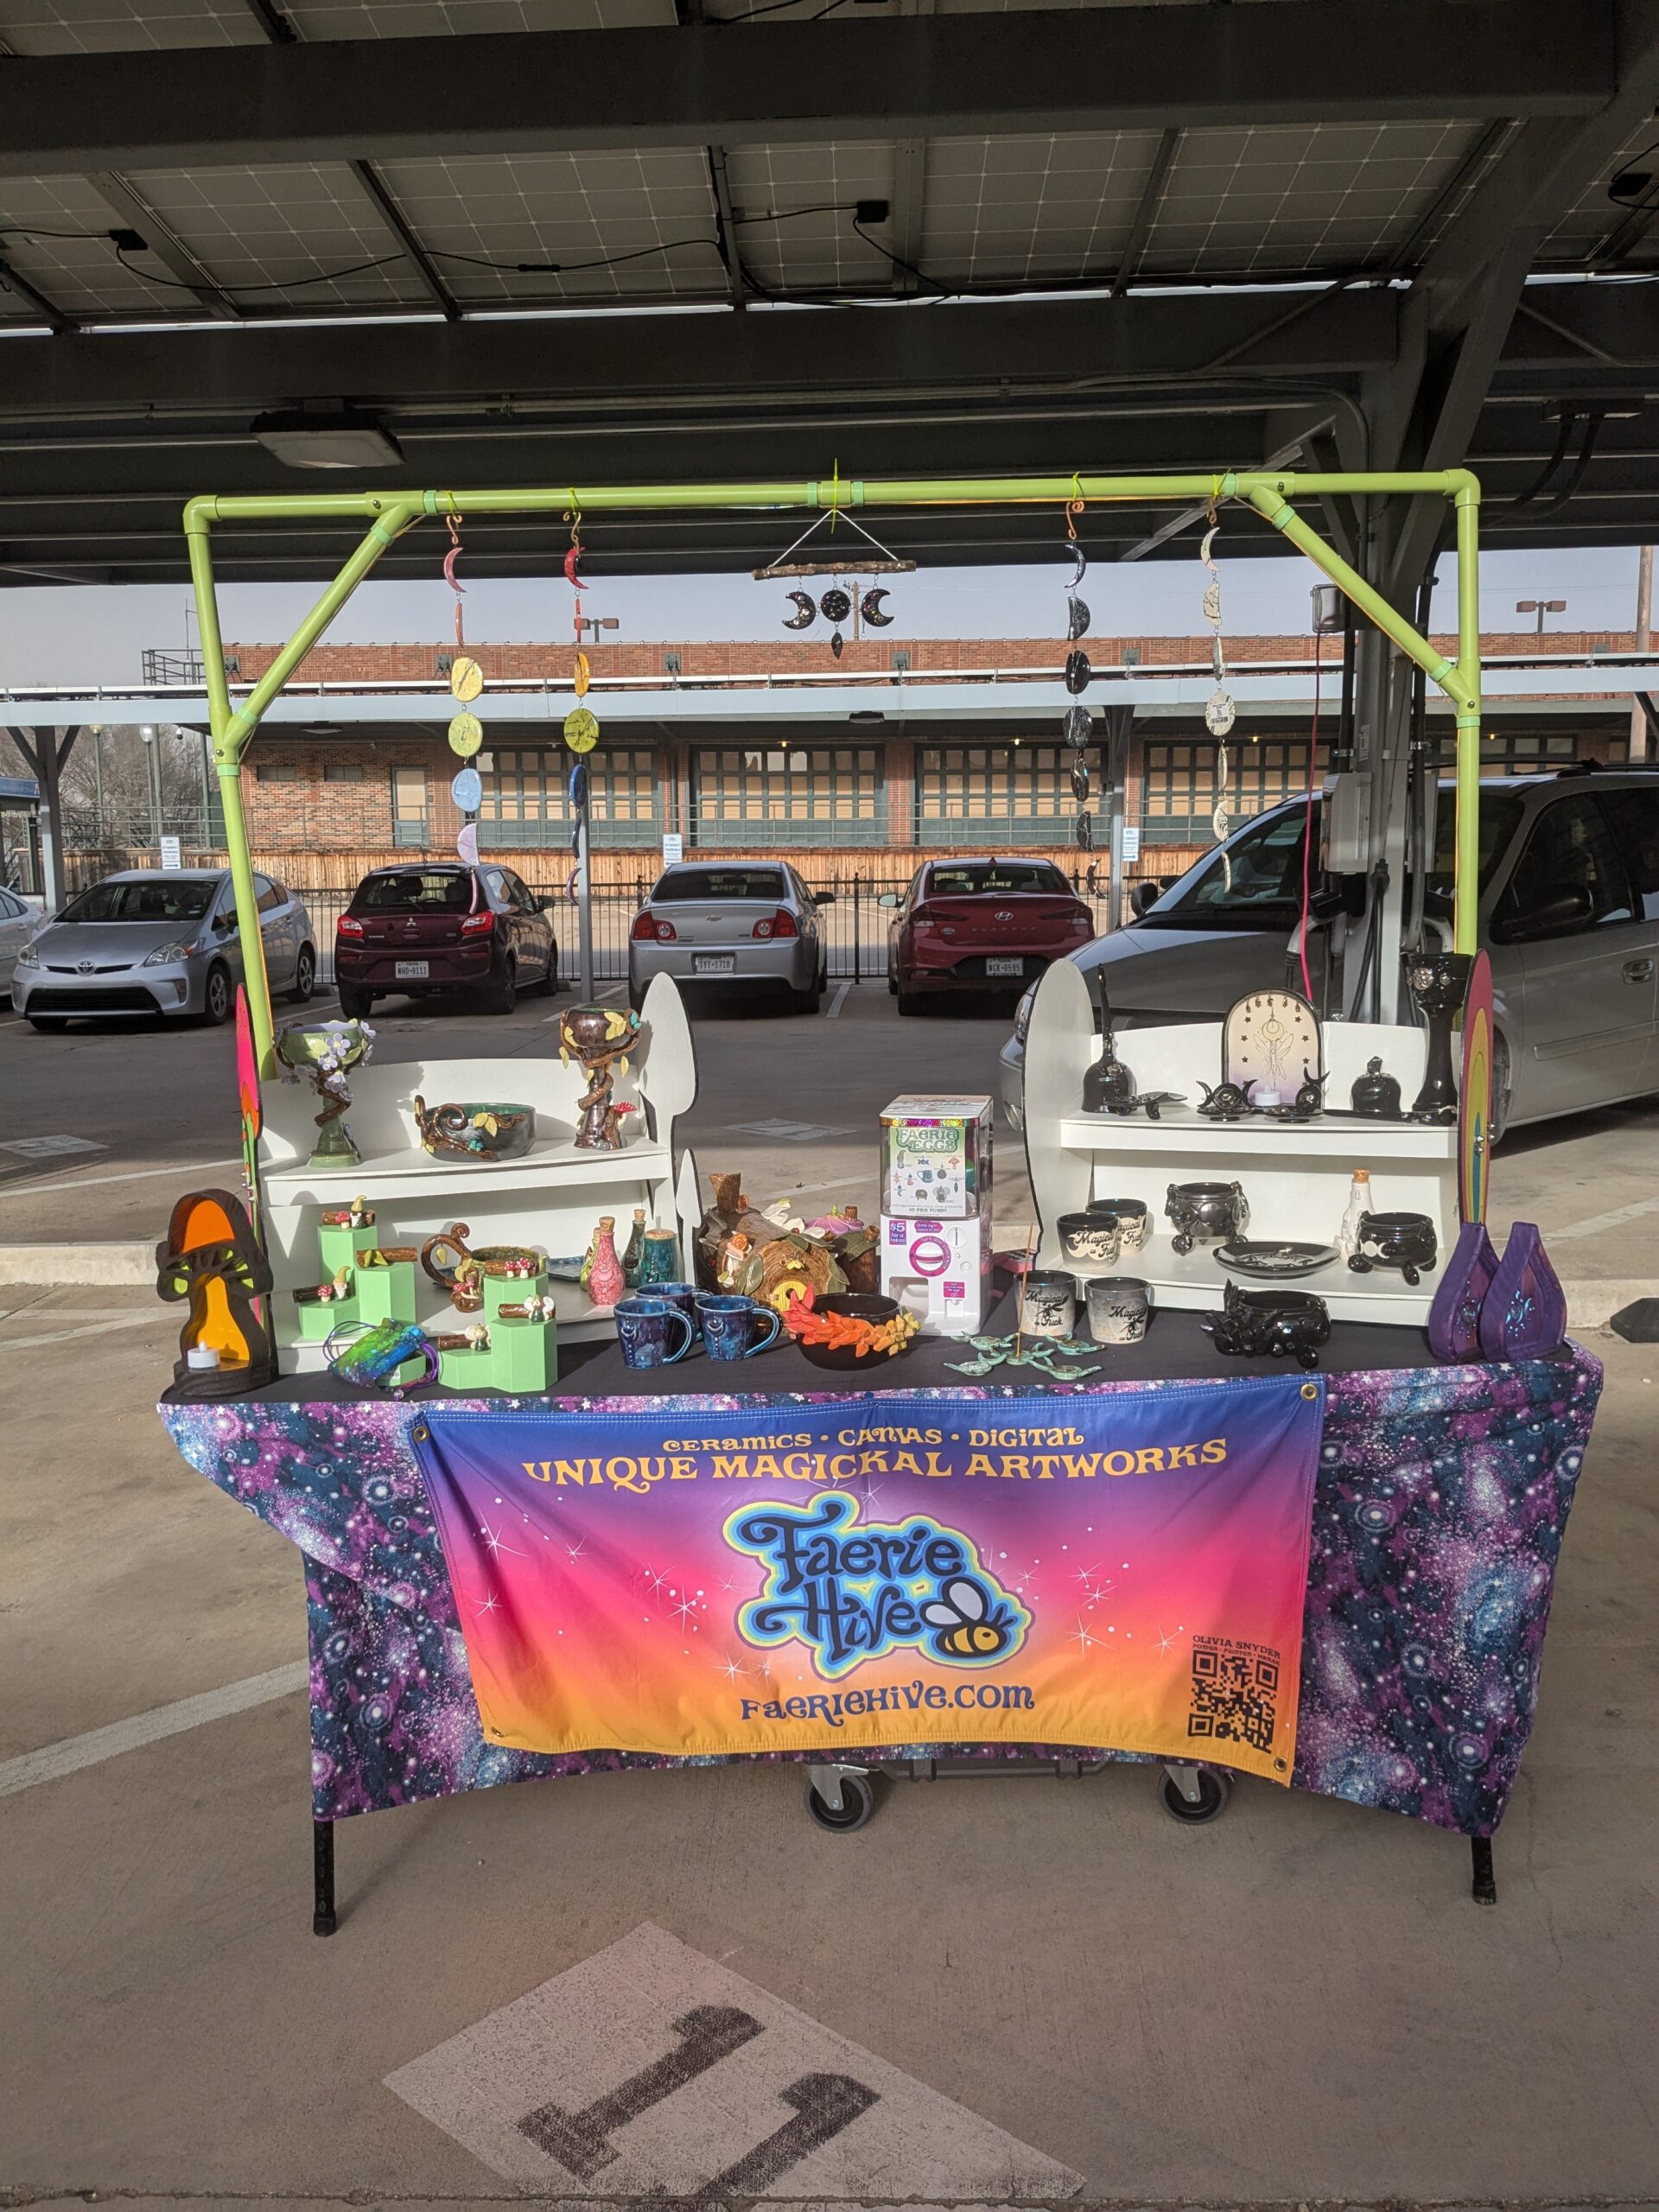
Posted on Leave a comment

Fall 2024 – Pagan Events!

I know I know, it’s 5 billion degrees out how can we POSSIBLY think of Autumn right now? Well I am! 🍂

For you witchy-types, I’ve already got some pagan events on the docket. More events are lined up, pending application acceptance! For now I hope to see you at:

🍁 Austin Pagan Pride
September 15th in Austin at The VORTEX

🍁 East Texas Samhain Meet and Metaphysics Expo
October 26th in Tyler at Bergfeld Park

🍁 DFW Pagan Unity
November 11th at Arlington Unitarian Universalist Church

Posted on Leave a comment

Faxperiments

I’ve been quiet online, mostly because I’ve been playing with the latest tool in my toolbox, a fax machine! No, I’m not passing along chain letters and bad jokes, but rather using the thermal printer component of the machine for creating stencils from Risograph masters. This year I already tried purchasing a cheap thermal printer, and subsequently discovered it is utterly inadequate for my needs; it was chucked back to the Amazon Overlords the same day. After a few months of daily checking for fax machines in my area, I managed to snag one for $10. Granted, it’s not as compact and store-able as the portable thermal printers, but thus far it has spit out a perfect stencil every time. It doesn’t rely on battery/USB-C power nor do I have to finesse inconsistent Chinese printing software to get it to do my bidding.

I’m almost finished with an upcoming video about experimenting with hectographs, of all things. Hopefully it’ll be done soon!

Posted on

Maker Badges

I’ve made lots of “Maker Merit Badges” for my local makerspace in the past. In making them, it was my intention to release them into the wild, free for anyone to use. Today they are officially available for makin’ stuff!

They’re all in .svg format, so you can vinyl cut, 3D print, laser cut, CNC, embroider, etc. your own maker badge to show off your maker creds. 😎

Visit the repository here on Github; my friend Tommy and I welcome new badge contributions. Share and share alike!

Posted on

Video: Jellygraph for Fun!

Just a short video about makin’ art without much planning or forethought using a jellygraph! (Also known as a jelly plate, hectograph, or jelly pad.) Why should you make art just for fun? Because it’s a productive use of your time! Haha!

I threw a couple of my monoprints from the jellygraph sessions into my shop if you’re interested~

Posted on

Digital Illustration Process

This is my process for how I make my digital illustrations. In a world where AI-generated images are proliferating our Internet life, it’s important to understand the amount of planning and work that goes into actual illustrations made by artists.


What’s my process? Let’s follow along an illustration I did for “The Imbolc Faerie” for a pagan holiday.

Step 1: Import the Sketch

I almost always start somewhere in my sketchbook. After I have a doodle I’m happy with, I scan it in and import it into CorelDRAW.


Step 2: Rough in the Vectors

Here, I’m using vector lines to build rough polygons of the shapes in my drawing. At this stage, there are no curvy lines; I have to visualize where lines will curve and flow.


Step 3: Create a Color Palette

Sometimes, I will find an image with colors I like and want to use. In this case, I’ve found a picture with lots of soft pinks and lavenders, so I auto-extract the colors into a new palette.

I also have a number of palettes with custom spot colors, as well as patterns I’ve created.


Step 4: Color Blocking

After I’ve a palette, I fill in all those polygons with blocks of color. The image kinda looks like paper cut-outs at this point. It is at this stage I can shuffle what order my shapes are in: some shapes should be in the front, some should be at the back. I also can determine which lines are going to be thicker, or become specialty shapes that simulate brush strokes.


Step 5: Convert to Curves

Now I tell the program that I don’t actually want all of my polygons to be straight-edged polygons: I want them to be curvy shapes.

Every dot you see on the screen is a point where I can adjust the curve of a shape, called a bezier curve. The general rule in vector drawing is less points. Mo’ points = Mo’ problems


Step 6: Adjust the Curves

This part takes the longest; time to fiddle with all the points and curves to make it look less like paper cut-outs and more like a drawing.

Sometimes I will use freehand curves rather than drawing polygon shapes if I can’t get the look I want.


Step 7: Background Colors/Designs

After most things are shaped and colored in, I’ll fiddle with the background colors. Sometimes a choice in background necessitates changing the main subject’s colors.


Step 8A: Gradients, Shadows, & Transparencies

Now I start to play with adding gradients, transparencies, and shadows to help define objects in the image.


Step 8B: Custom Fills

I have a number of custom fills I’ve made. This, for example, is a fill that simulates what I want a flame to look like.


Step 9: More Details

At this end-stage, I may add more details in that weren’t in my original sketch, or things that I feel like give the final image a little more sparkle.

In this image, I’m adding some stripes to the faerie’s legs.


Step 10: Add Text and 1,000 Tiny Adjustments

Finally, if the image calls for text, I add that in. Not pictured, the thousands of tiny adjustments, changes, and whatnot that lead to the final image.

So there you have it! How to make an image in 10 EZ steps! Seriously, though, while I follow this general procedure, the reality of drawing is that I flip flop back and forth between adjusting shapes, adding them in, changing colors, and so forth.

This is how I draw the illustrations for my oracle deck, Tarot cards, and more.

Posted on

Major Arcana: DONE

Big news today: I have finished the Major Arcana for the Tarot deck I have been working on! That’s 21 cards into my 78 card journey. I’ve been doing a lot of background work prepping for doing the pip cards: making patterns, color swatches, studying card history and meanings.

This has been an amazing project thus far: the sheer amount of art history alone crammed into these decks is incredible. Frankly, it’s been more fun for me to study the card history than to do actual practice readings! In any event, while hard to share my journey (Livestream me reading and taking notes? No thanks haha) I do broadcast live on YouTube every Tuesday while I’m drawing each card. I can’t wait to see what the next cards bring!