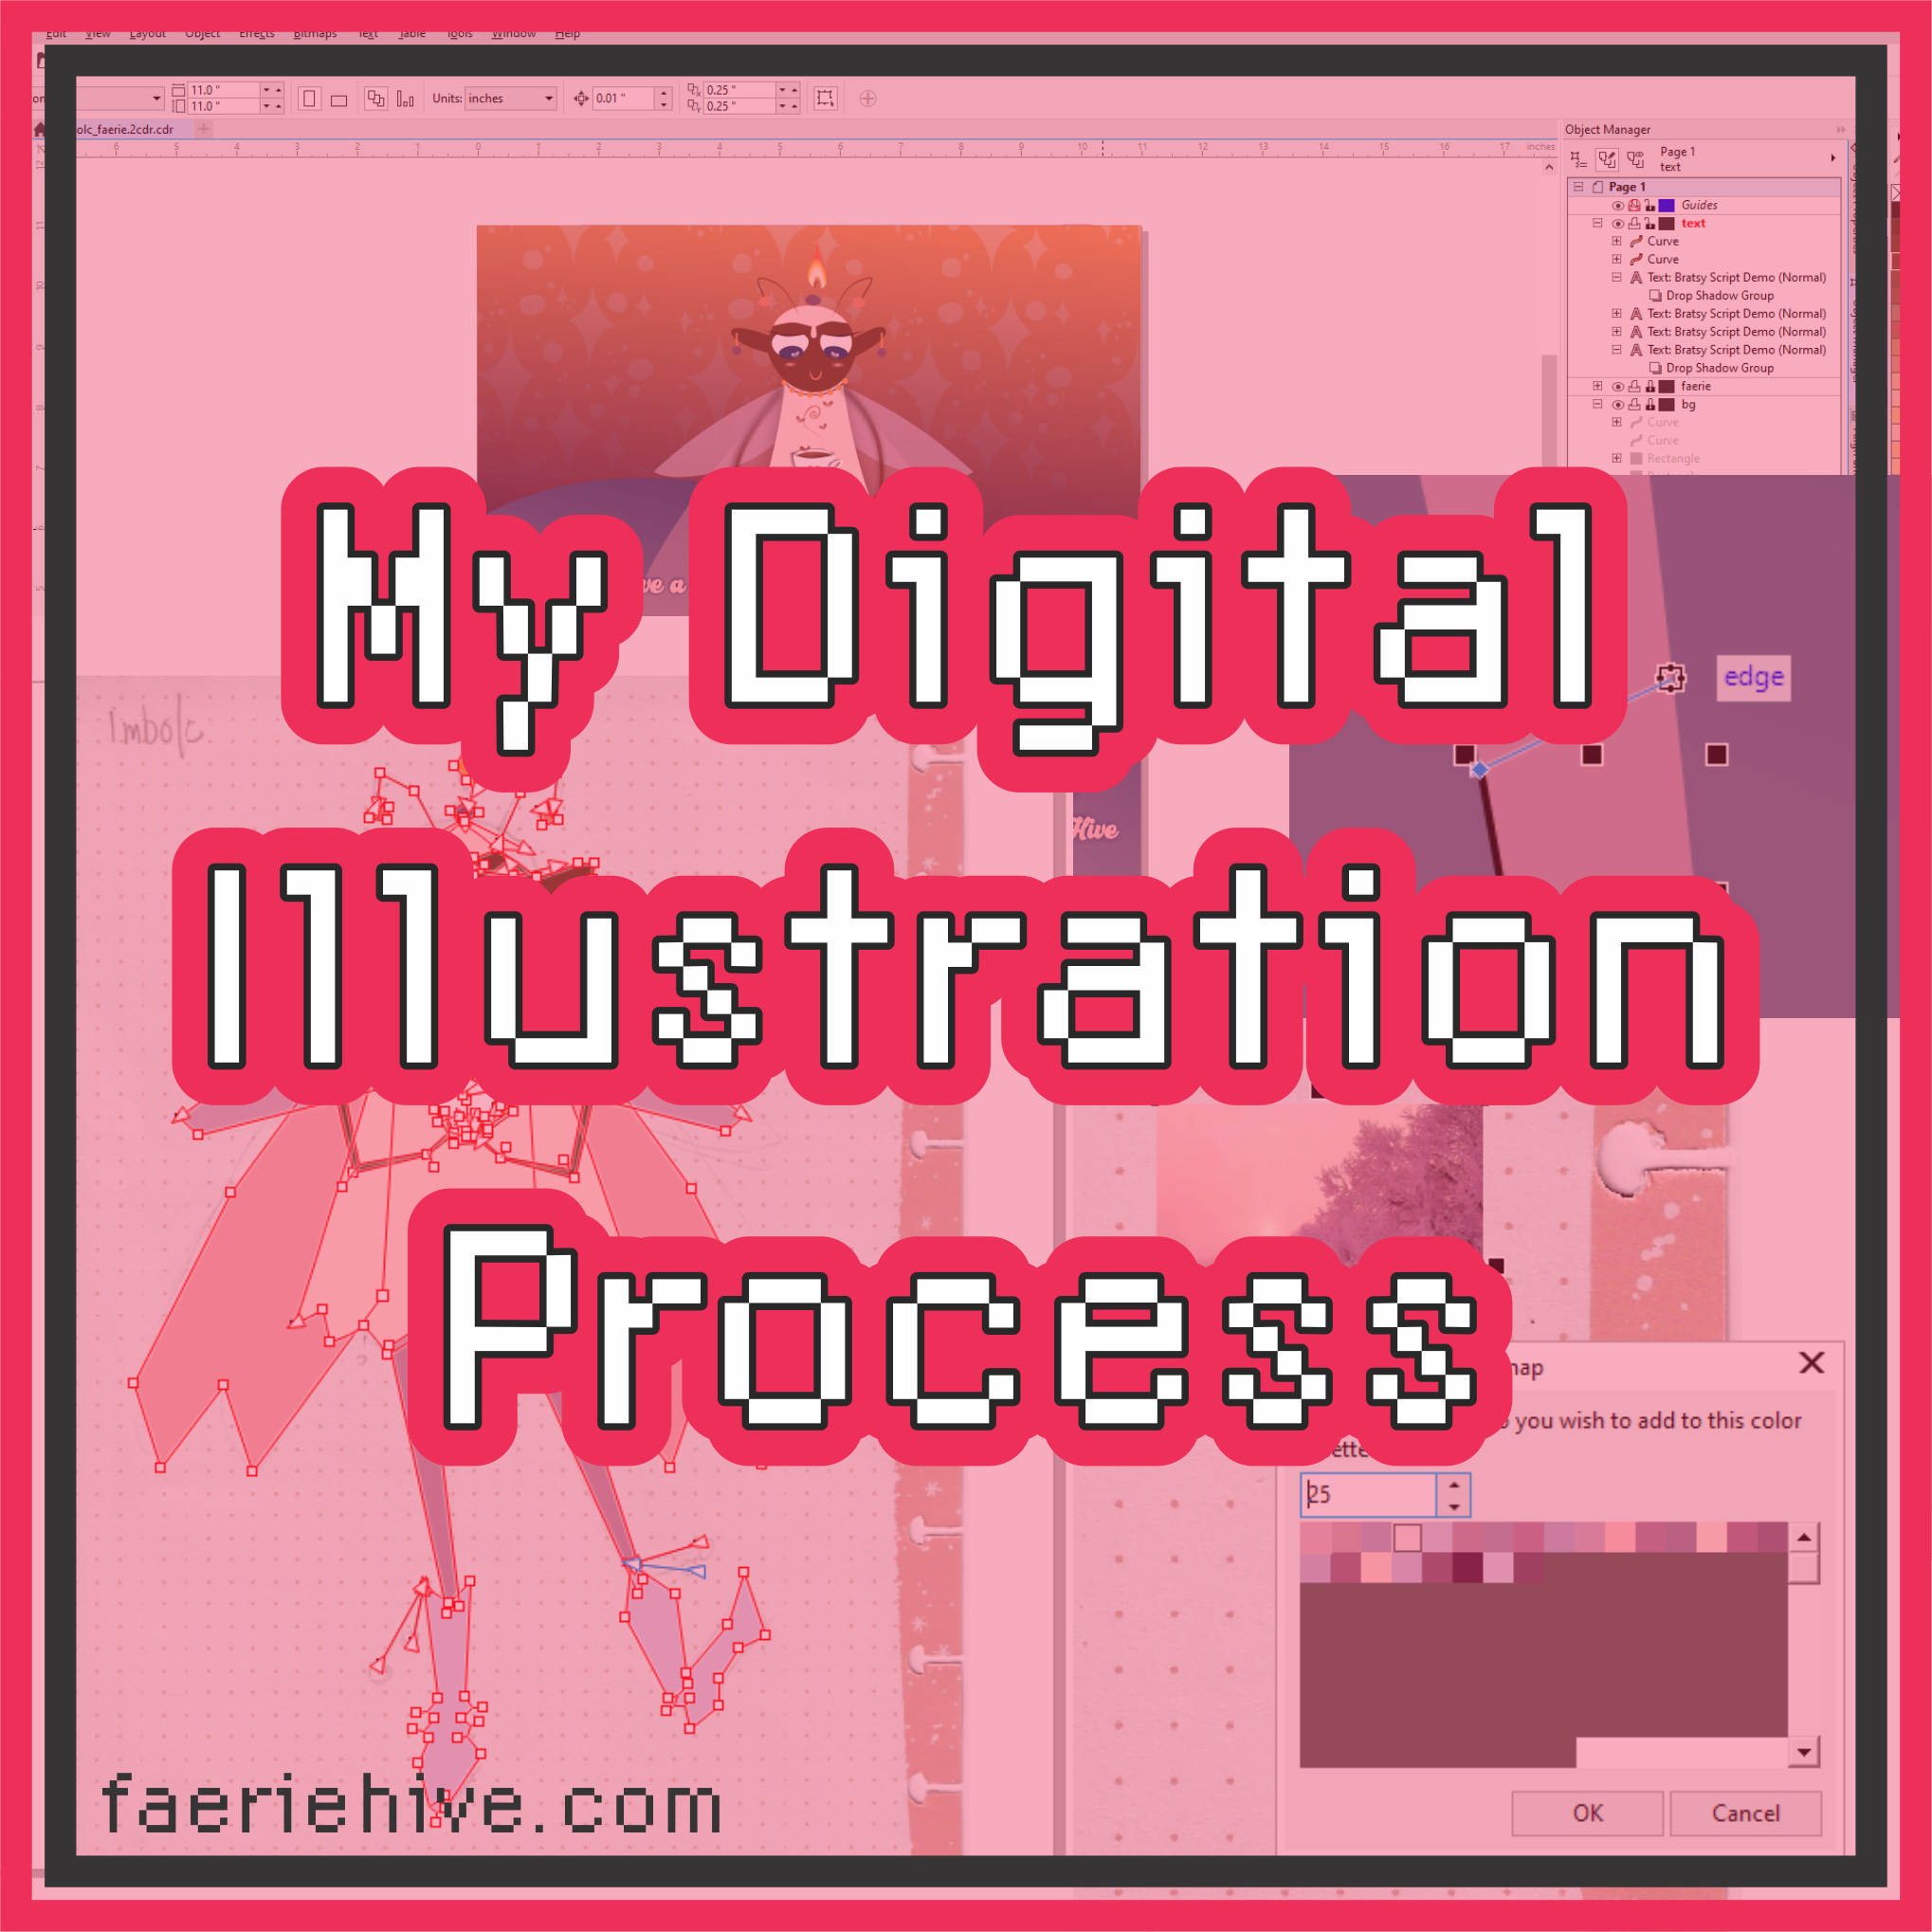
This is my process for how I make my digital illustrations. In a world where AI-generated images are proliferating our Internet life, it’s important to understand the amount of planning and work that goes into actual illustrations made by artists.
What program do you use?
I use CorelDRAW, a vector-based drawing program. For over 15 years, I used Adobe Illustrator; but when the started offering a subscription-only model, I made the switch. For what it’s worth, Inkscape is a great open-source vector-based drawing system.
What is a vector-based drawing program?
Simply put, there are two types of images: raster and vector. Raster images use pixels to create a picture, vector images use math and geometry to create an image. Wikipedia has a more in-depth article on the topic.
Why vectors? Why not just draw on your iPad?
I use CorelDRAW for illustration, but also for designing 3D prints, text, sticker cut-outs, laser cutting, and more. I like the control I have over the elements of my designs as well as the ability to size and resize everything. Also I do not have an iPad; digital painting and I have never really “clicked”.
How long does this take you?
It varies. After importing a sketch, if I can sit down uninterrupted, a drawing can take me a few hours. Sometimes, “life” happens, and it can take a few days or weeks to get something completed.
What’s my process? Let’s follow along an illustration I did for “The Imbolc Faerie” for a pagan holiday.

Step 1: Import the Sketch
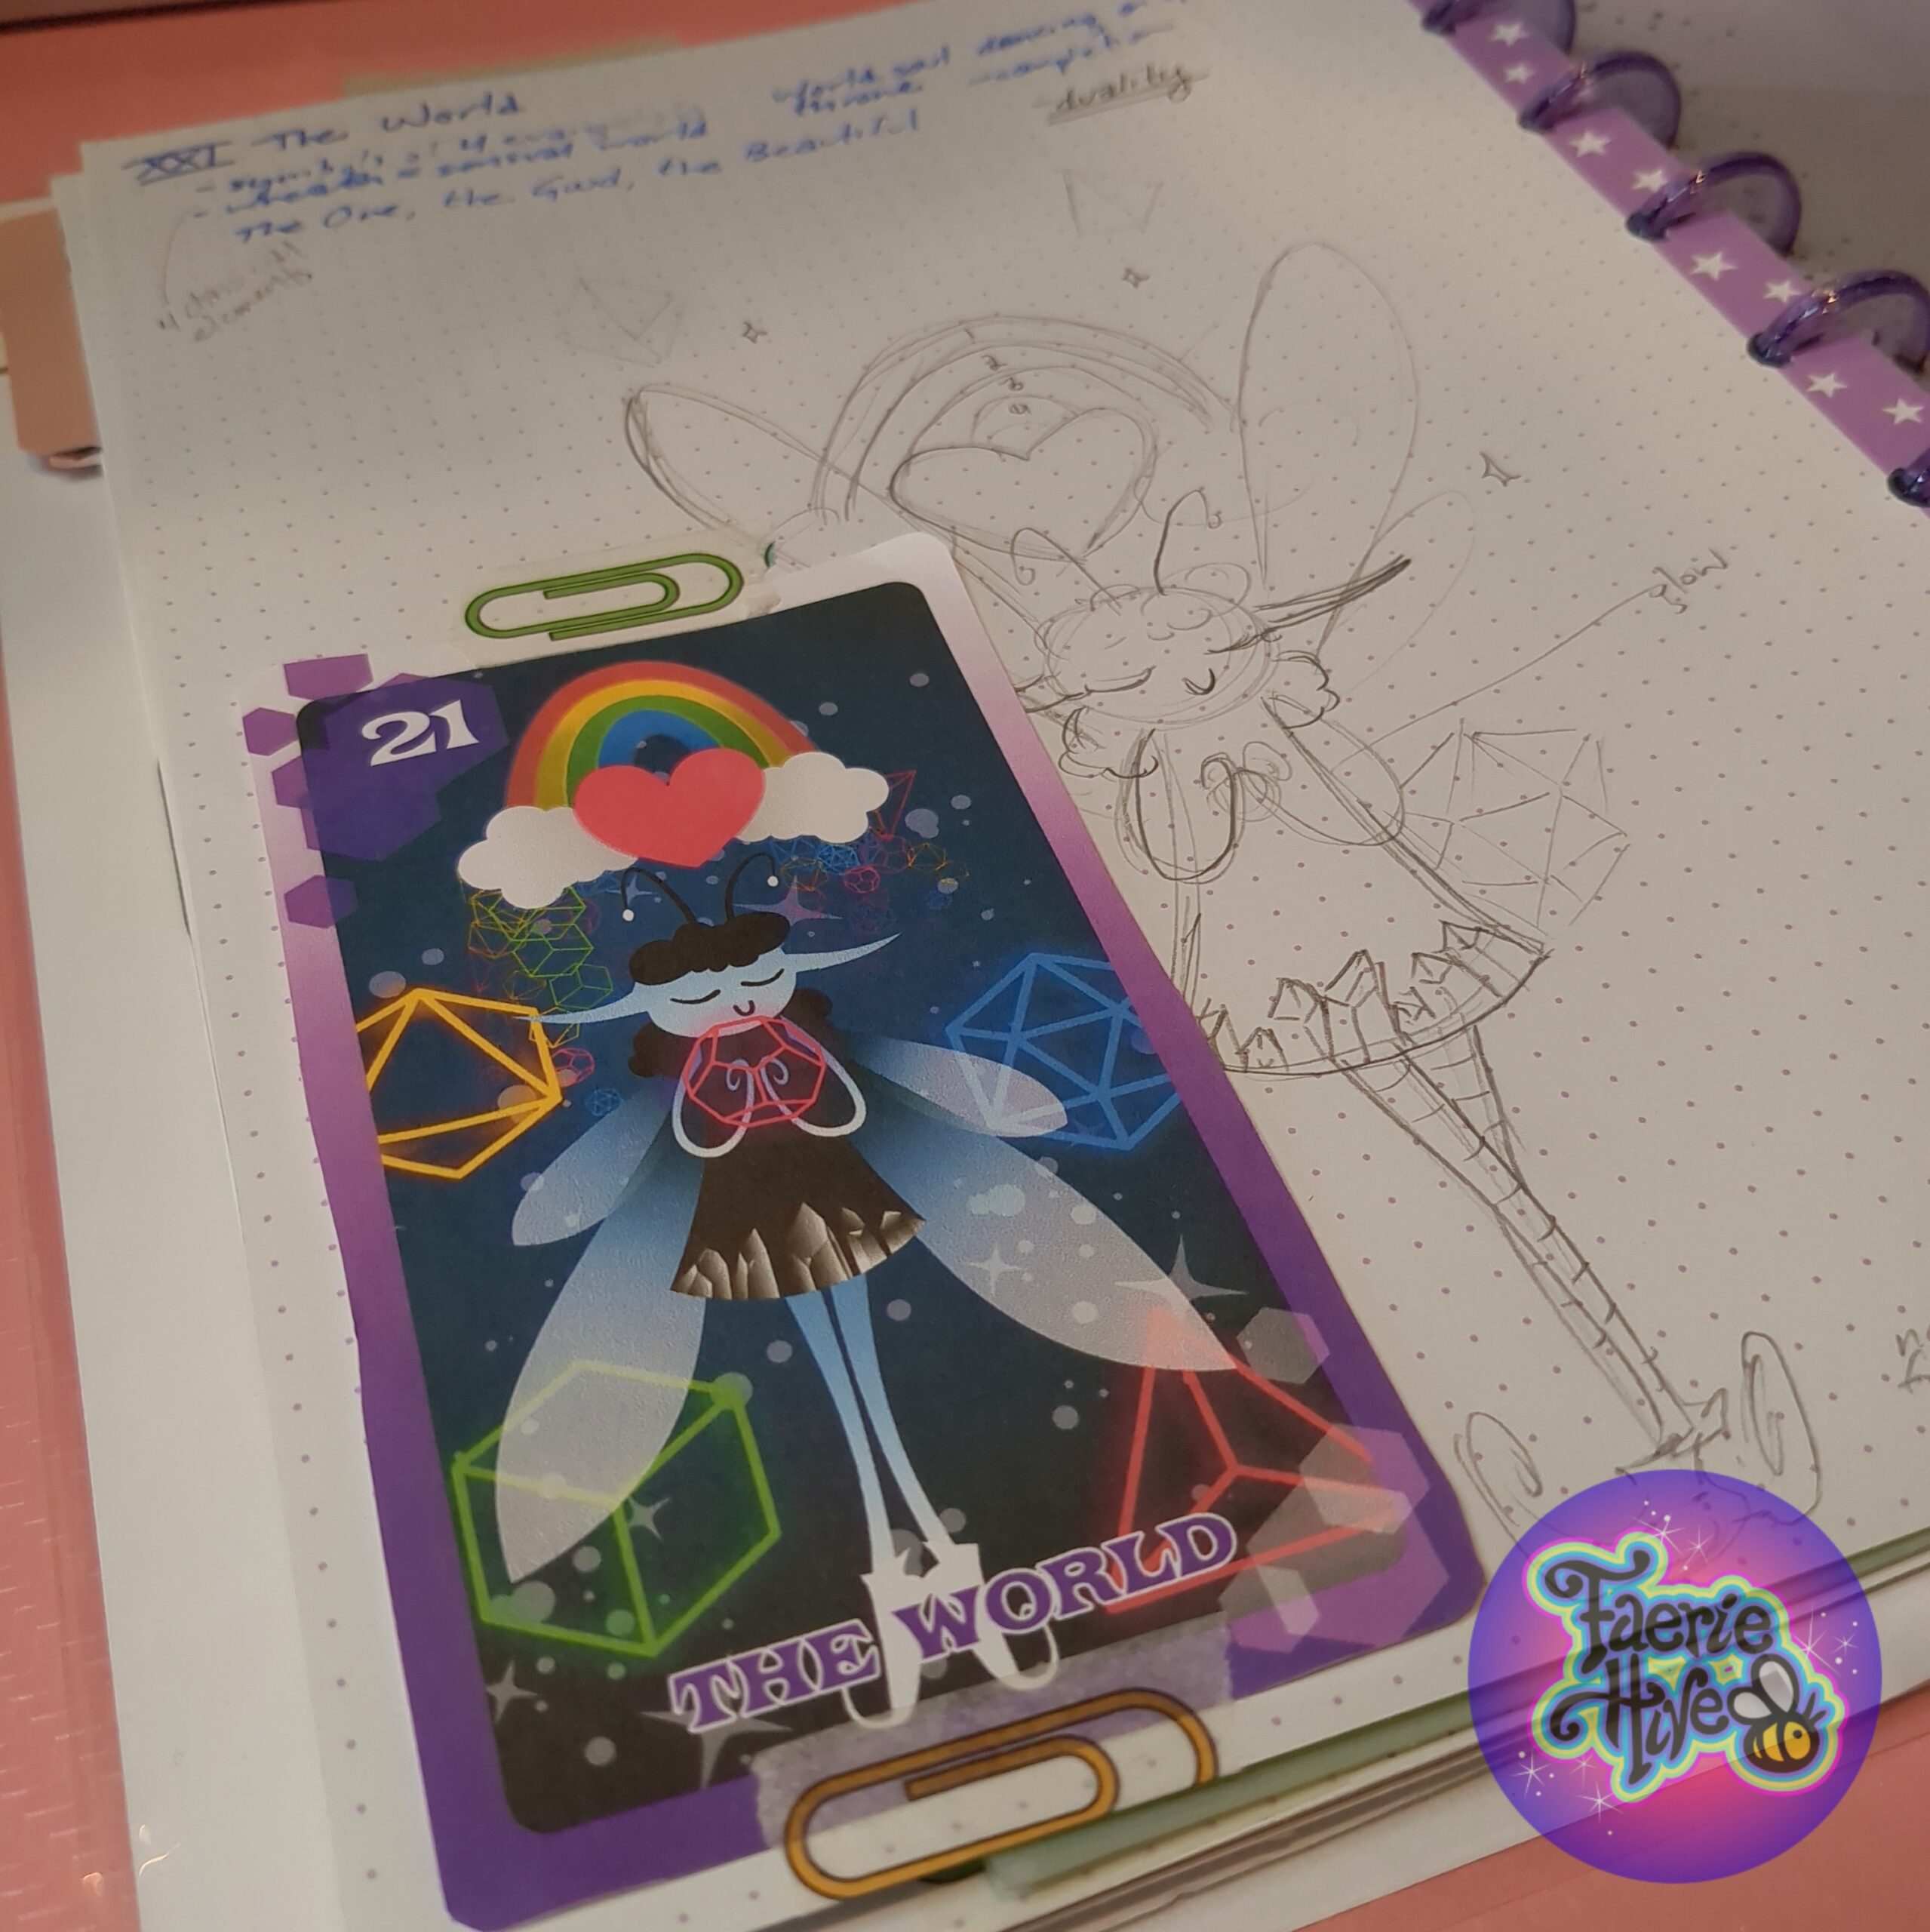
I almost always start somewhere in my sketchbook. After I have a doodle I’m happy with, I scan it in and import it into CorelDRAW.

Step 2: Rough in the Vectors
Here, I’m using vector lines to build rough polygons of the shapes in my drawing. At this stage, there are no curvy lines; I have to visualize where lines will curve and flow.

Step 3: Create a Color Palette
Sometimes, I will find an image with colors I like and want to use. In this case, I’ve found a picture with lots of soft pinks and lavenders, so I auto-extract the colors into a new palette.
I also have a number of palettes with custom spot colors, as well as patterns I’ve created.

Step 4: Color Blocking
After I’ve a palette, I fill in all those polygons with blocks of color. The image kinda looks like paper cut-outs at this point. It is at this stage I can shuffle what order my shapes are in: some shapes should be in the front, some should be at the back. I also can determine which lines are going to be thicker, or become specialty shapes that simulate brush strokes.

Step 5: Convert to Curves
Now I tell the program that I don’t actually want all of my polygons to be straight-edged polygons: I want them to be curvy shapes.
Every dot you see on the screen is a point where I can adjust the curve of a shape, called a bezier curve. The general rule in vector drawing is less points. Mo’ points = Mo’ problems

Step 6: Adjust the Curves
This part takes the longest; time to fiddle with all the points and curves to make it look less like paper cut-outs and more like a drawing.
Sometimes I will use freehand curves rather than drawing polygon shapes if I can’t get the look I want.

Step 7: Background Colors/Designs
After most things are shaped and colored in, I’ll fiddle with the background colors. Sometimes a choice in background necessitates changing the main subject’s colors.

Step 8A: Gradients, Shadows, & Transparencies
Now I start to play with adding gradients, transparencies, and shadows to help define objects in the image.

Step 8B: Custom Fills
I have a number of custom fills I’ve made. This, for example, is a fill that simulates what I want a flame to look like.

Step 9: More Details
At this end-stage, I may add more details in that weren’t in my original sketch, or things that I feel like give the final image a little more sparkle.
In this image, I’m adding some stripes to the faerie’s legs.

Step 10: Add Text and 1,000 Tiny Adjustments
Finally, if the image calls for text, I add that in. Not pictured, the thousands of tiny adjustments, changes, and whatnot that lead to the final image.
So there you have it! How to make an image in 10 EZ steps! Seriously, though, while I follow this general procedure, the reality of drawing is that I flip flop back and forth between adjusting shapes, adding them in, changing colors, and so forth.
This is how I draw the illustrations for my oracle deck, Tarot cards, and more.


