I’ve been quiet online, mostly because I’ve been playing with the latest tool in my toolbox, a fax machine! No, I’m not passing along chain letters and bad jokes, but rather using the thermal printer component of the machine for creating stencils from Risograph masters. This year I already tried purchasing a cheap thermal printer, and subsequently discovered it is utterly inadequate for my needs; it was chucked back to the Amazon Overlords the same day. After a few months of daily checking for fax machines in my area, I managed to snag one for $10. Granted, it’s not as compact and store-able as the portable thermal printers, but thus far it has spit out a perfect stencil every time. It doesn’t rely on battery/USB-C power nor do I have to finesse inconsistent Chinese printing software to get it to do my bidding.
I’m almost finished with an upcoming video about experimenting with hectographs, of all things. Hopefully it’ll be done soon!
What’s a risograph? How do I use it? Don’t worry, this video doesn’t get technical at ALL, but we get to enjoy a nice visit to Soft Spots Risograph Press in Dallas. Check it out!
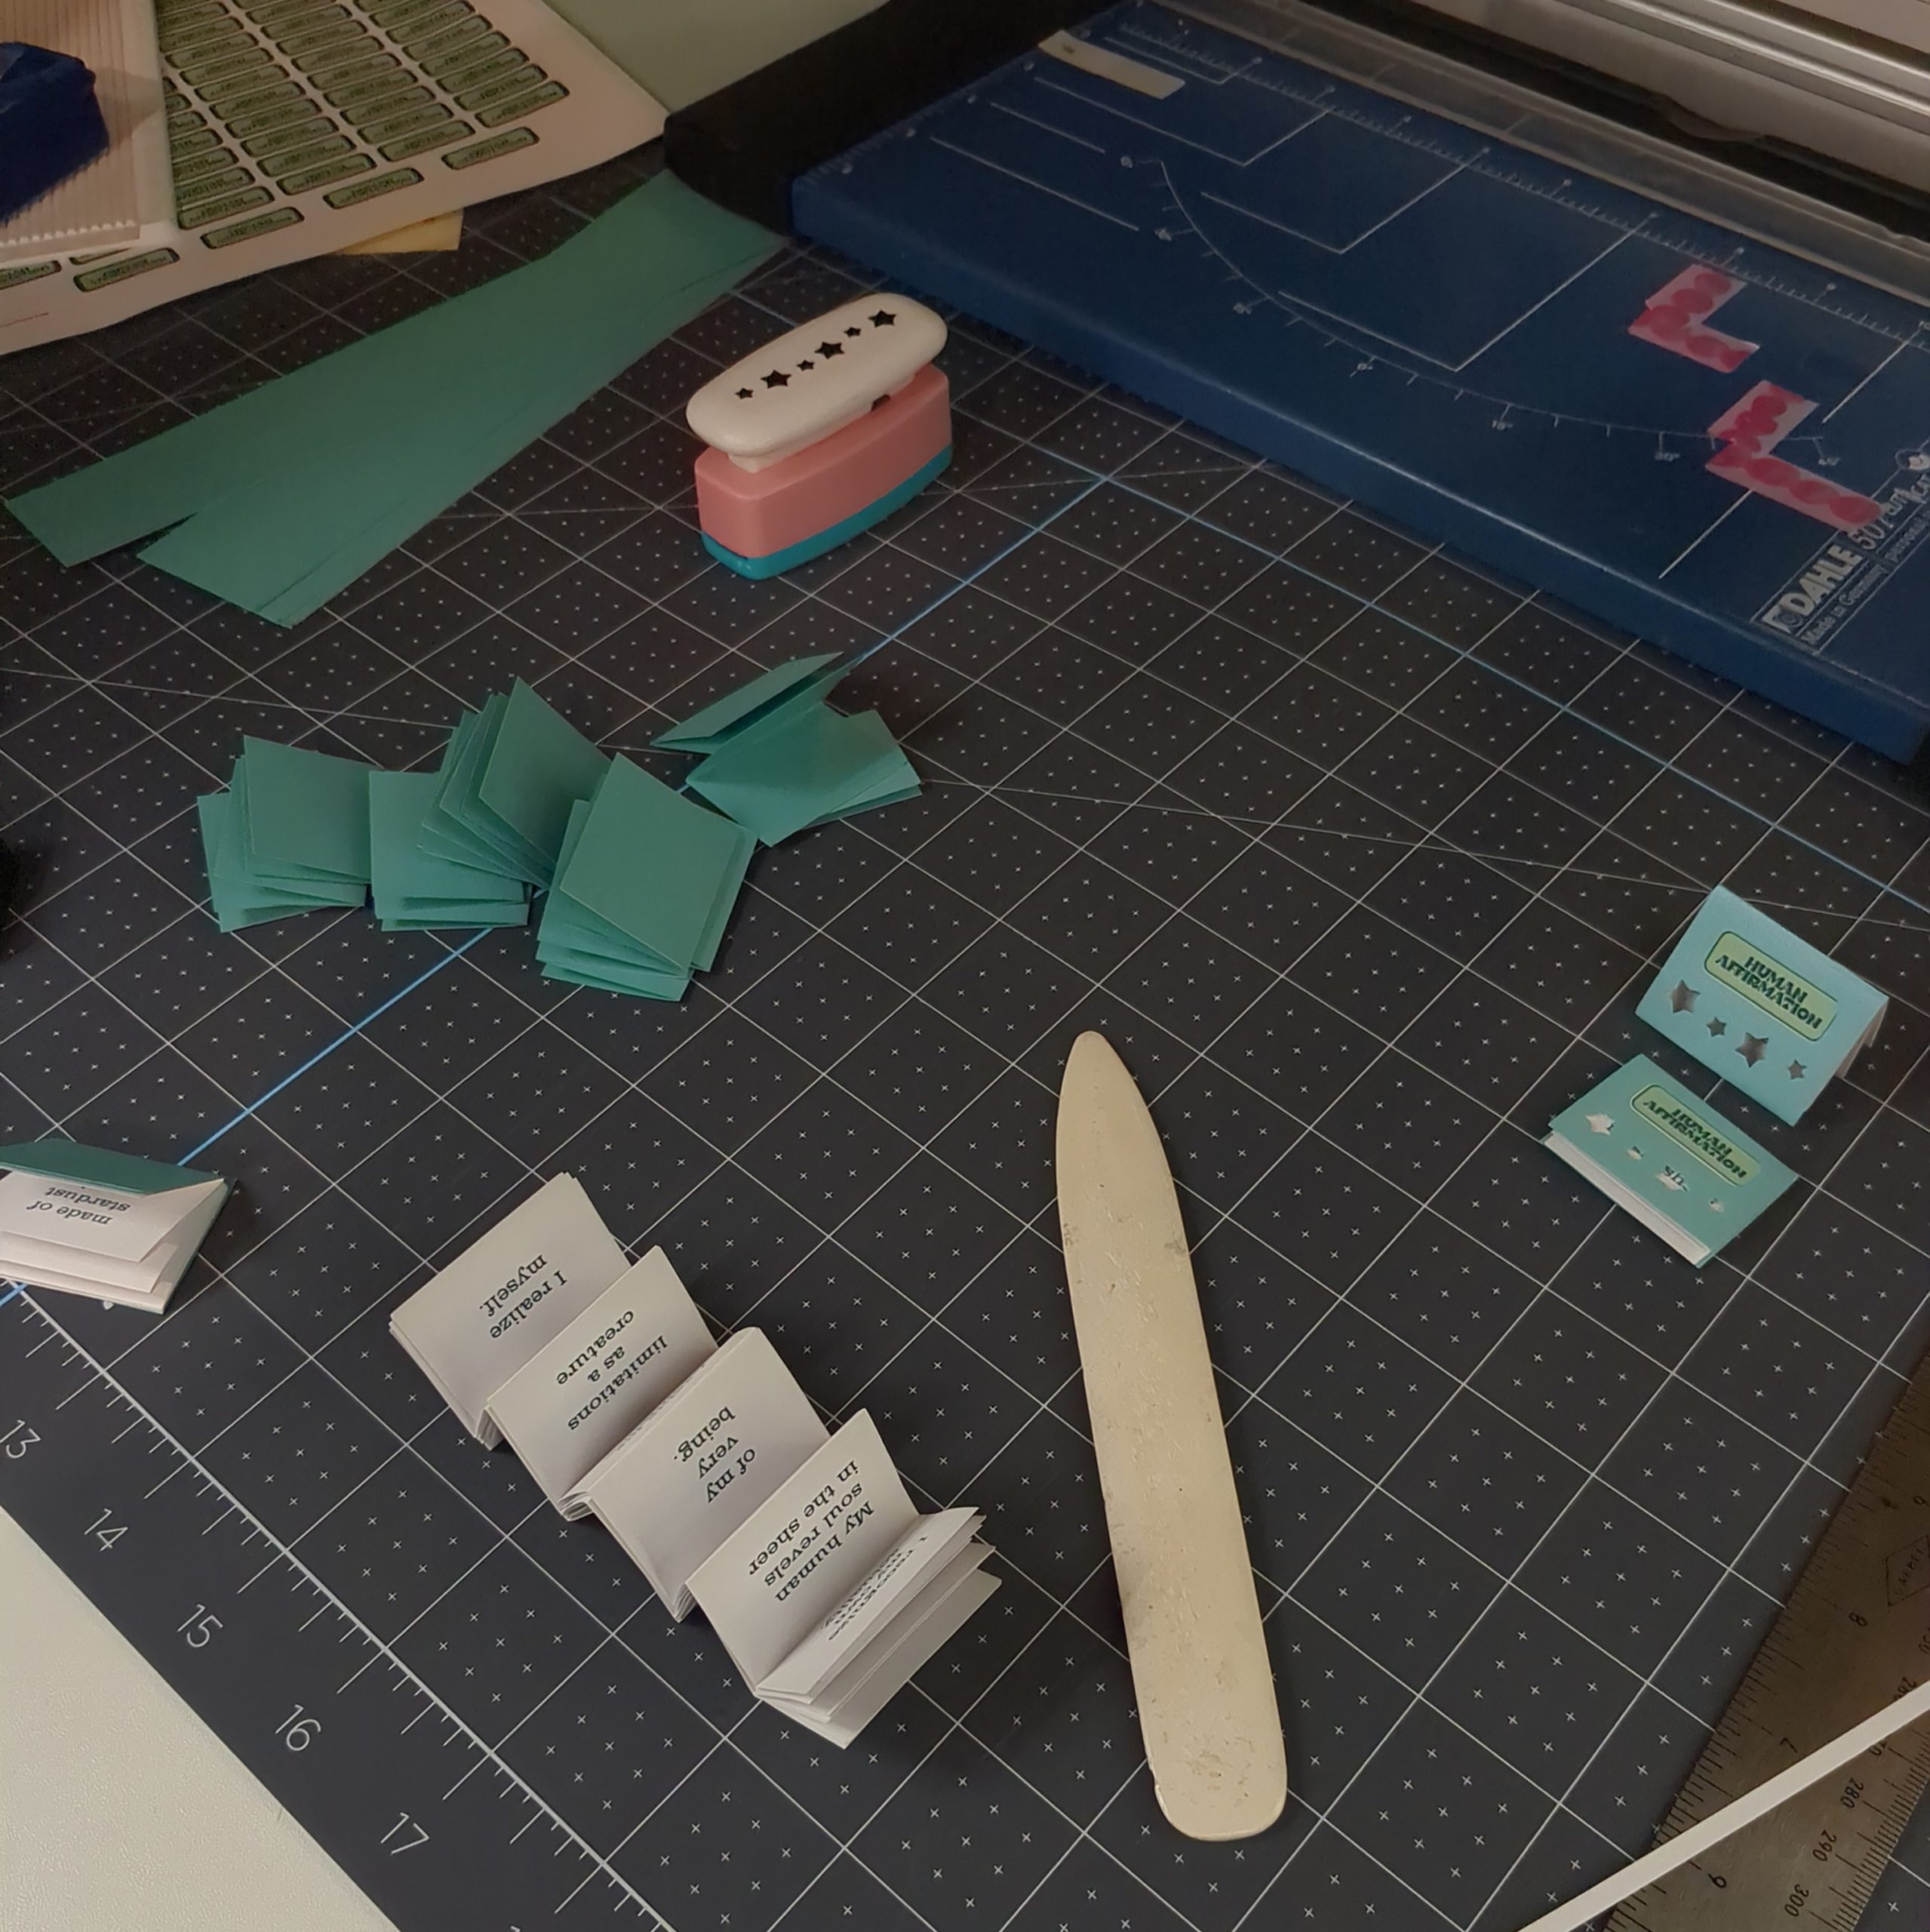
The end is coming! Of the year that is har har har. I’m restocking some of my tiny zines for Saturday the 16th, the Misfits Market in Arlington. It honestly blows me away how people have responded to my tiny zine spells and poetry this year! It’s humbling and delightful at the same time, that coming back to paper arts after so long has been positive.
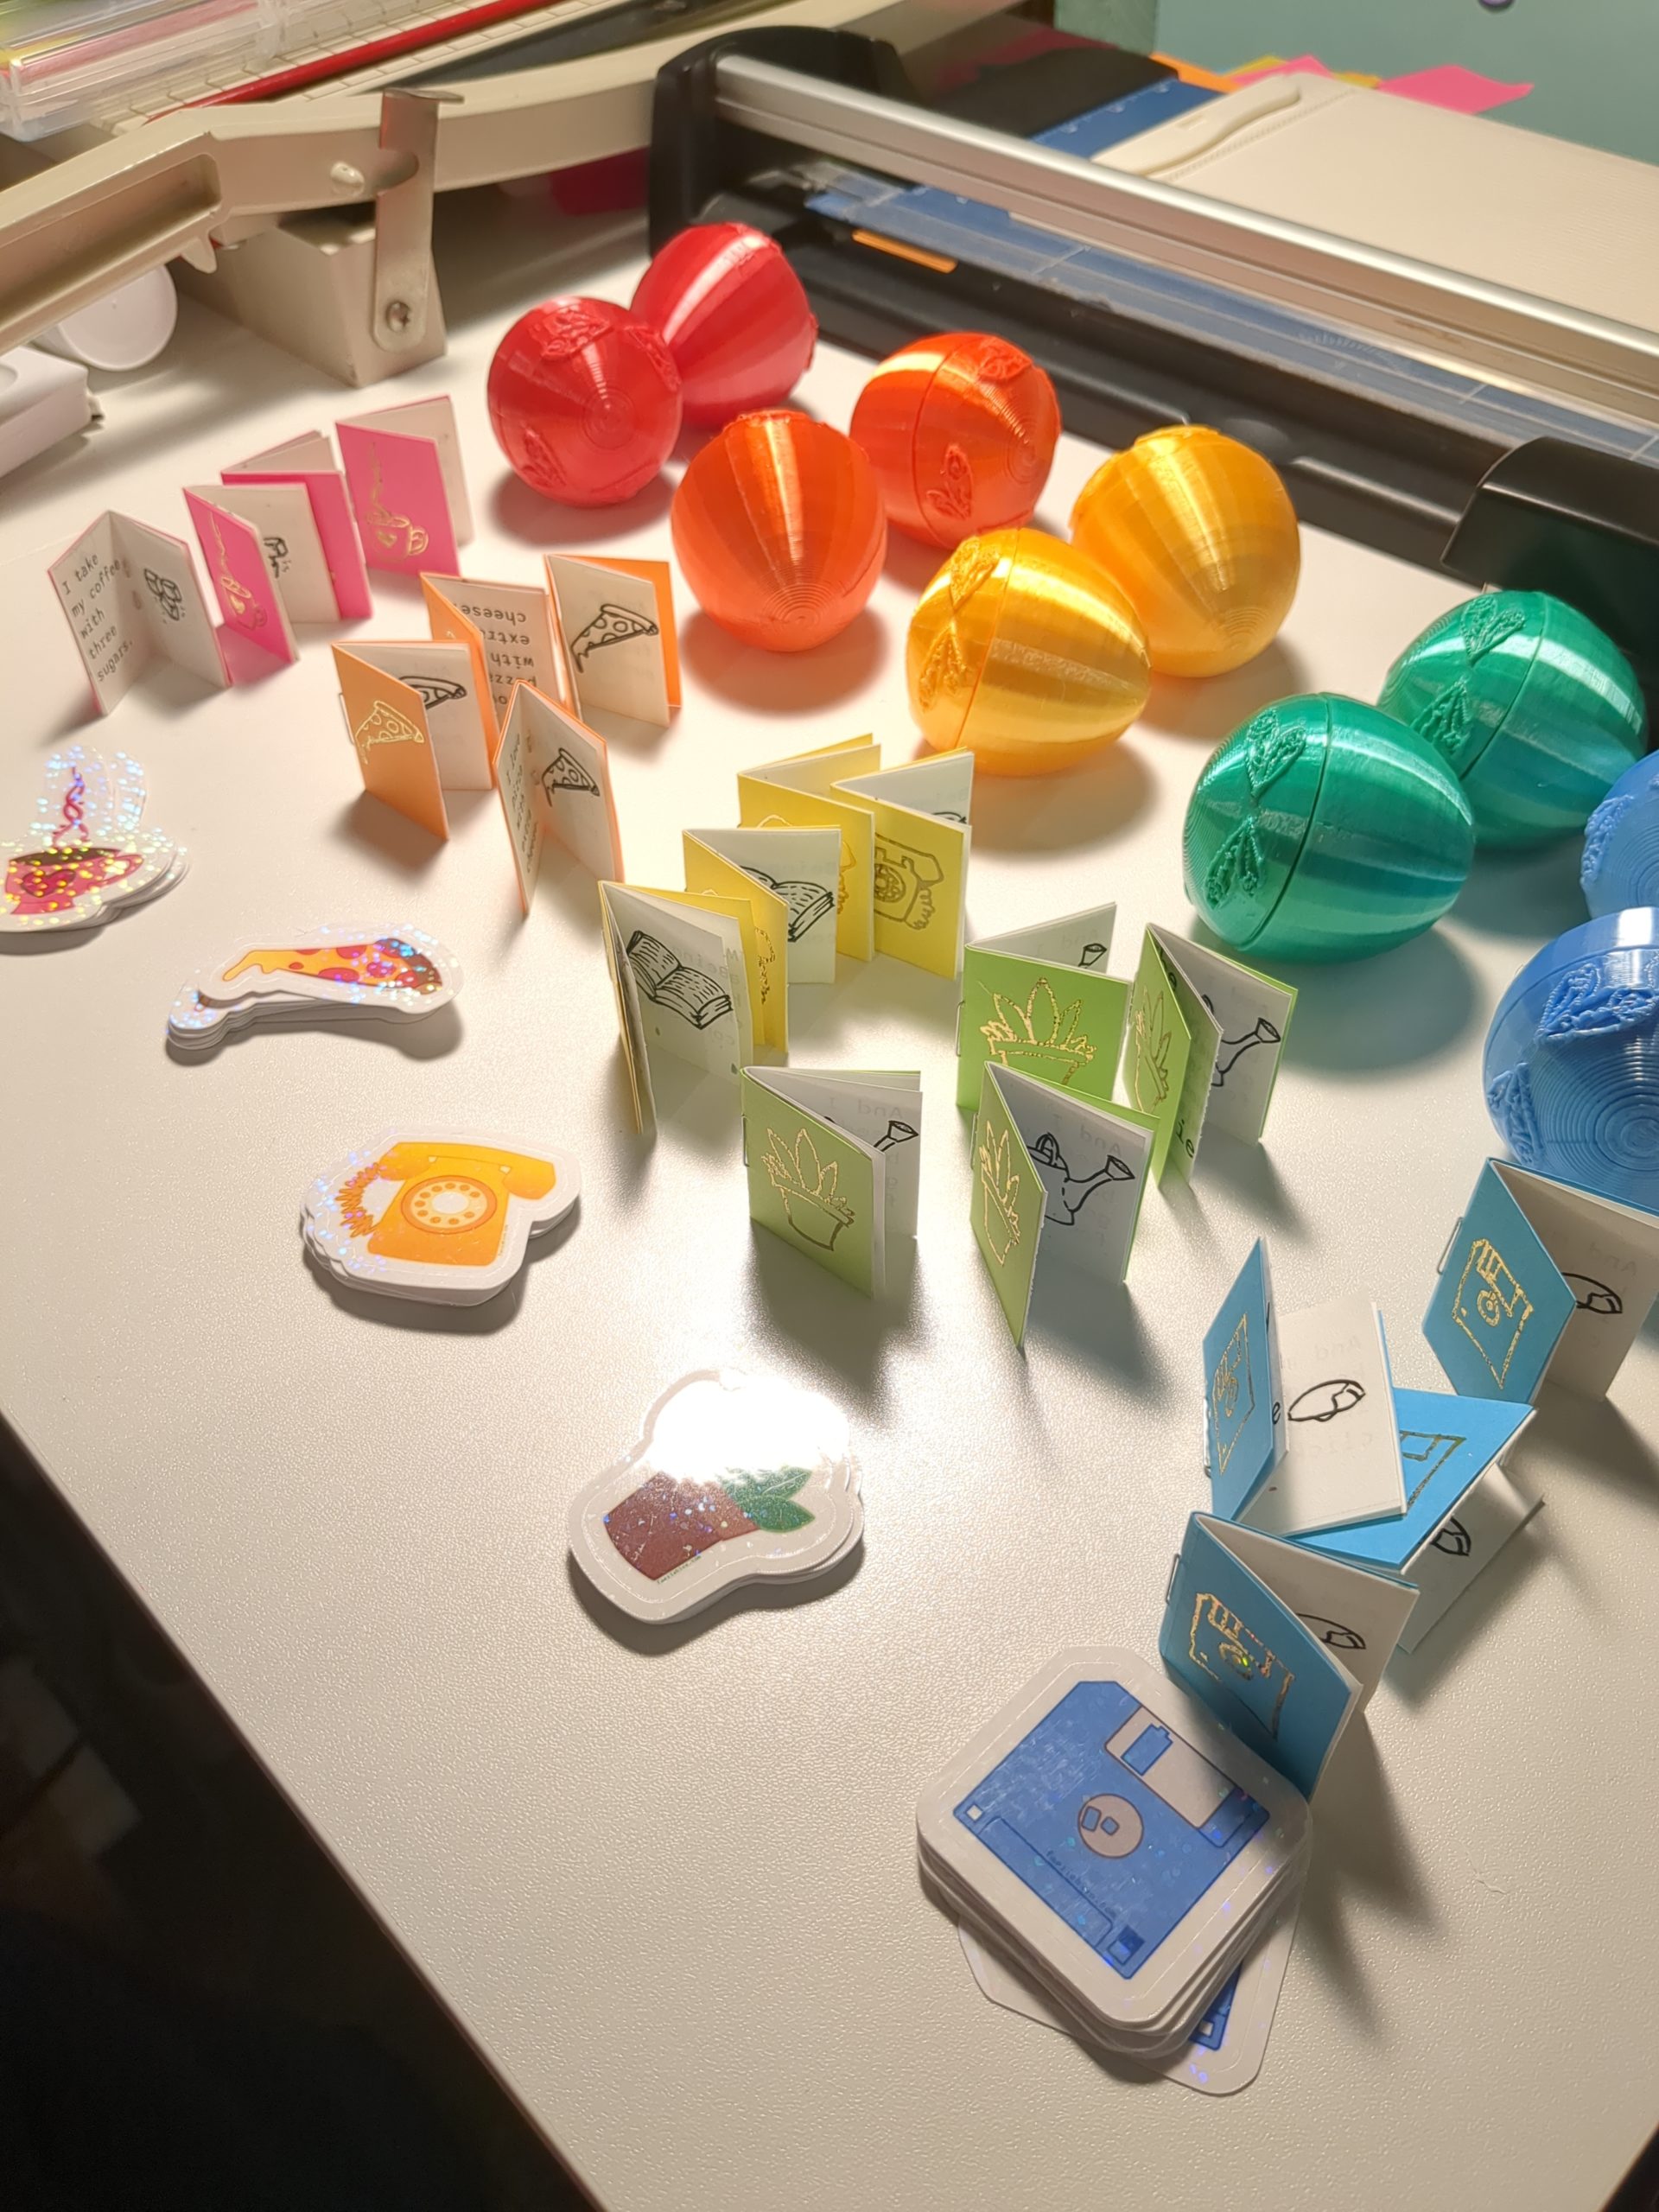
Did I mention? I’ll be tabling at Paper Dragon in Austin on November 18th! It was a tiny joy every time someone bought a faerie egg with a tiny faerie zine inside, so of COURSE I’m stocking my egg machine up with them. 🙂 A new FAERIE COMIC will also be available for the first time in a while. Eeeek! I’m so excited! I hope to see you there~
So, one of the reasons I call myself a “maker” is because I truly derive joy from the creation and process of bringing new art into the world. I’ve always had a soft spot for printmaking because of the involvement of process.
A Brief History
One of the “cute” methods of printmaking I’ve always had my eyeball on is that of Print Gocco, a now-defunct process for making handmade greeting cards. It was largely for the Japanese card-giving market, and ultimately was killed off by the rise and affordability of desktop publishing. The parent company, Riso, eventually ceased production of not only the device, but the consumables required to actually produce cards/prints. My misfortune was to discover the existence of Print Gocco a mere year after the system’s demise. I never actually acquired a Gocco system because, why? It might be a nifty novelty, but then becomes a dust-collection trinket in my studio after all consumables are gone.
Fast forward to 2017, when I discovered an insanely valuable tool for my maker’s toolbox, 3D printing. I still had the idea of Print Gocco: a cute, tiny print-production studio. I drew up designs to create one using LED lights and small photo emulsion screens to make little screenprinted cards. It kinda fell by the wayside, never to come to fruition, mostly because of how irritating getting materials for the “occasional” screenprint became. I’d have to buy enough emulsion to coat something like 20 giant screens, but it seemed such an absolute waste when I ended up making two tiny screens for cards or ceramics. Emulsion doesn’t last forever.
Last week, I randomly decided to poke into the world of Print Gocco again. I wondered if the system was easier to get? Maybe someone was making bootleg supplies? What’s up? I stumbled on a great blog post on No Bad Memories discussing a deep dive on the Gocco process. Long story short, the dots were connected for me that Print Gocco was made by the same company that owns the Risograph, the Riso Kagaku Corporation.
In hindsight, I’m not sure how I didn’t immediately connect Print Gocco with Risographs.
I love making zines, and haven’t been able to find a place in DFW that offers Risographs to the general public. Oh, I’m sure there’s a place out there, but I haven’t found it yet. In the meantime! Thanks to No Bad Memories‘ additional blog post, I’ve put my mail label printer to work and have made my first two-color print using a method related to Print Gocco.
Unlike screenprinting, Print Gocco uses heat to essentially burn away a thin plastic film from a super-thin fiber substrate. No Bad Memories uses a label printer to accomplish this, another source, Stampalofi, uses a repurposed thermal fax machine to do so.
It took me a bit of experimenting to find settings that worked for me, but here’s a little rundown of my process, may it help other people also interested in hand-making little mimeographs. I highly recommend reading both of the blogs on No Bad Memories, in addition to watching Stampalofi’s videos if you’re unfamiliar with the process.
Materials & Settings
The name of the magical material to make stencils is typically referred to as “Risograph master”. You can find rolls of this on eBay for at various price points: I got lucky and snagged a roll for $13 including shipping. (Generally they seem to go for around $50 for 2+ rolls. Shop around.) This gives me enough material to make literally hundreds of cards. It is essentially a roll of super-thin tissue with a super-duper-thin layer of plastic. You will want very sharp scissors/blades/papercutter to cut this stuff.
Me, I have a Munbyn label printer. They’re not too expensive, and super handy when you have to make thermal stickers like mailing labels and bag labels for your small business. The label printer prints via heat, not ink. Thus, it is perfect for this project.
I’ve screenshotted the settings I have found to work: yours may be different! But in my testing I’ve found that you want the label to go slow enough to allow for the plastic to burn away, and a power level in that Goldilocks area of not too hot and not too cold. Too hot will melt too much plastic and you’ll be scraping melted plastic off the heat element of your printer.
Color! This biggest issue with screenprinting is you don’t want your inks to dry on you. In big boi screenprinting at the factory, a lot of inks need to be heat-dried, so they don’t dry superfast. Fancy pants artists often use oil-based inks to print. I phased out all oil-based materials in whatever I’m doing because it smells terrible, gives me a headache, and is a PITA to clean. For our little Print Mocko, we want something that gives us working time and won’t dry faster than we can print. Stampalofi has a great video on making nori paste to extend the working time of acrylic paints. However, if you have them available to you, Speedball’s Block Printing Inks have a moderate working time and are water clean-up. They worked perfectly for this.
A block print roller or brayer. Screenprinting uses a squeegee. I started out using a squeegee for this, but it was MUCH too aggressive for the delicate fiber stencil. I noticed it breaking down after a short while. Finding inspiration from devices like the Edison Mimeograph, I found that using a roller was much better suited to the process. Again, Stampalofi has a great video on using a Lion Menucator, which illustrates the hand-rolled Mimeograph. (If you’re a huge dork like me, check out this filmstrip on “Mimeographing Techniques“. Yessir, us old folks remember getting purple copies in school for our worksheets.) In short, a hard rubber brayer worked great.
A frame of some sort. In my pictures, I used one of these I obtained at Daiso for cheap and cut it up. (Believe me, I’m mulling on how to best over-engineer a reusable 3D printed solution.) For an even cheaper solution cut up an old cereal box and tape your stencil to it.
Paper. You can’t used a toothy/textured paper for this. You’re not gonna get a clear impression. Use something smooth. For this project, I used some generic cardstock I got at HEB. My proofs were done on index cards. Entire project was great for the wallet-area.
General Process
This isn’t an especially detailed tutorial, rather an overview of my process after I manufactured a stencil. I will reiterate that 1) I’m assuming someone endeavoring to make lil’ mimeograph prints is familiar with the general idea behind risographs/mimeographs and B) has checked out linked blogs.
Checking fits with my Daiso frame I made. The plastic is soft enough to bend a bit, but stiff enough to provide a nice frame for the stencil to fit into.
In this shot you can barely see where the plastic material has been burned away. Crucially, you will need to do two things when running the stencil material through your printer:
Lay it shiny-side UP
Print the MIRROR IMAGE of whatever it is your are printing.
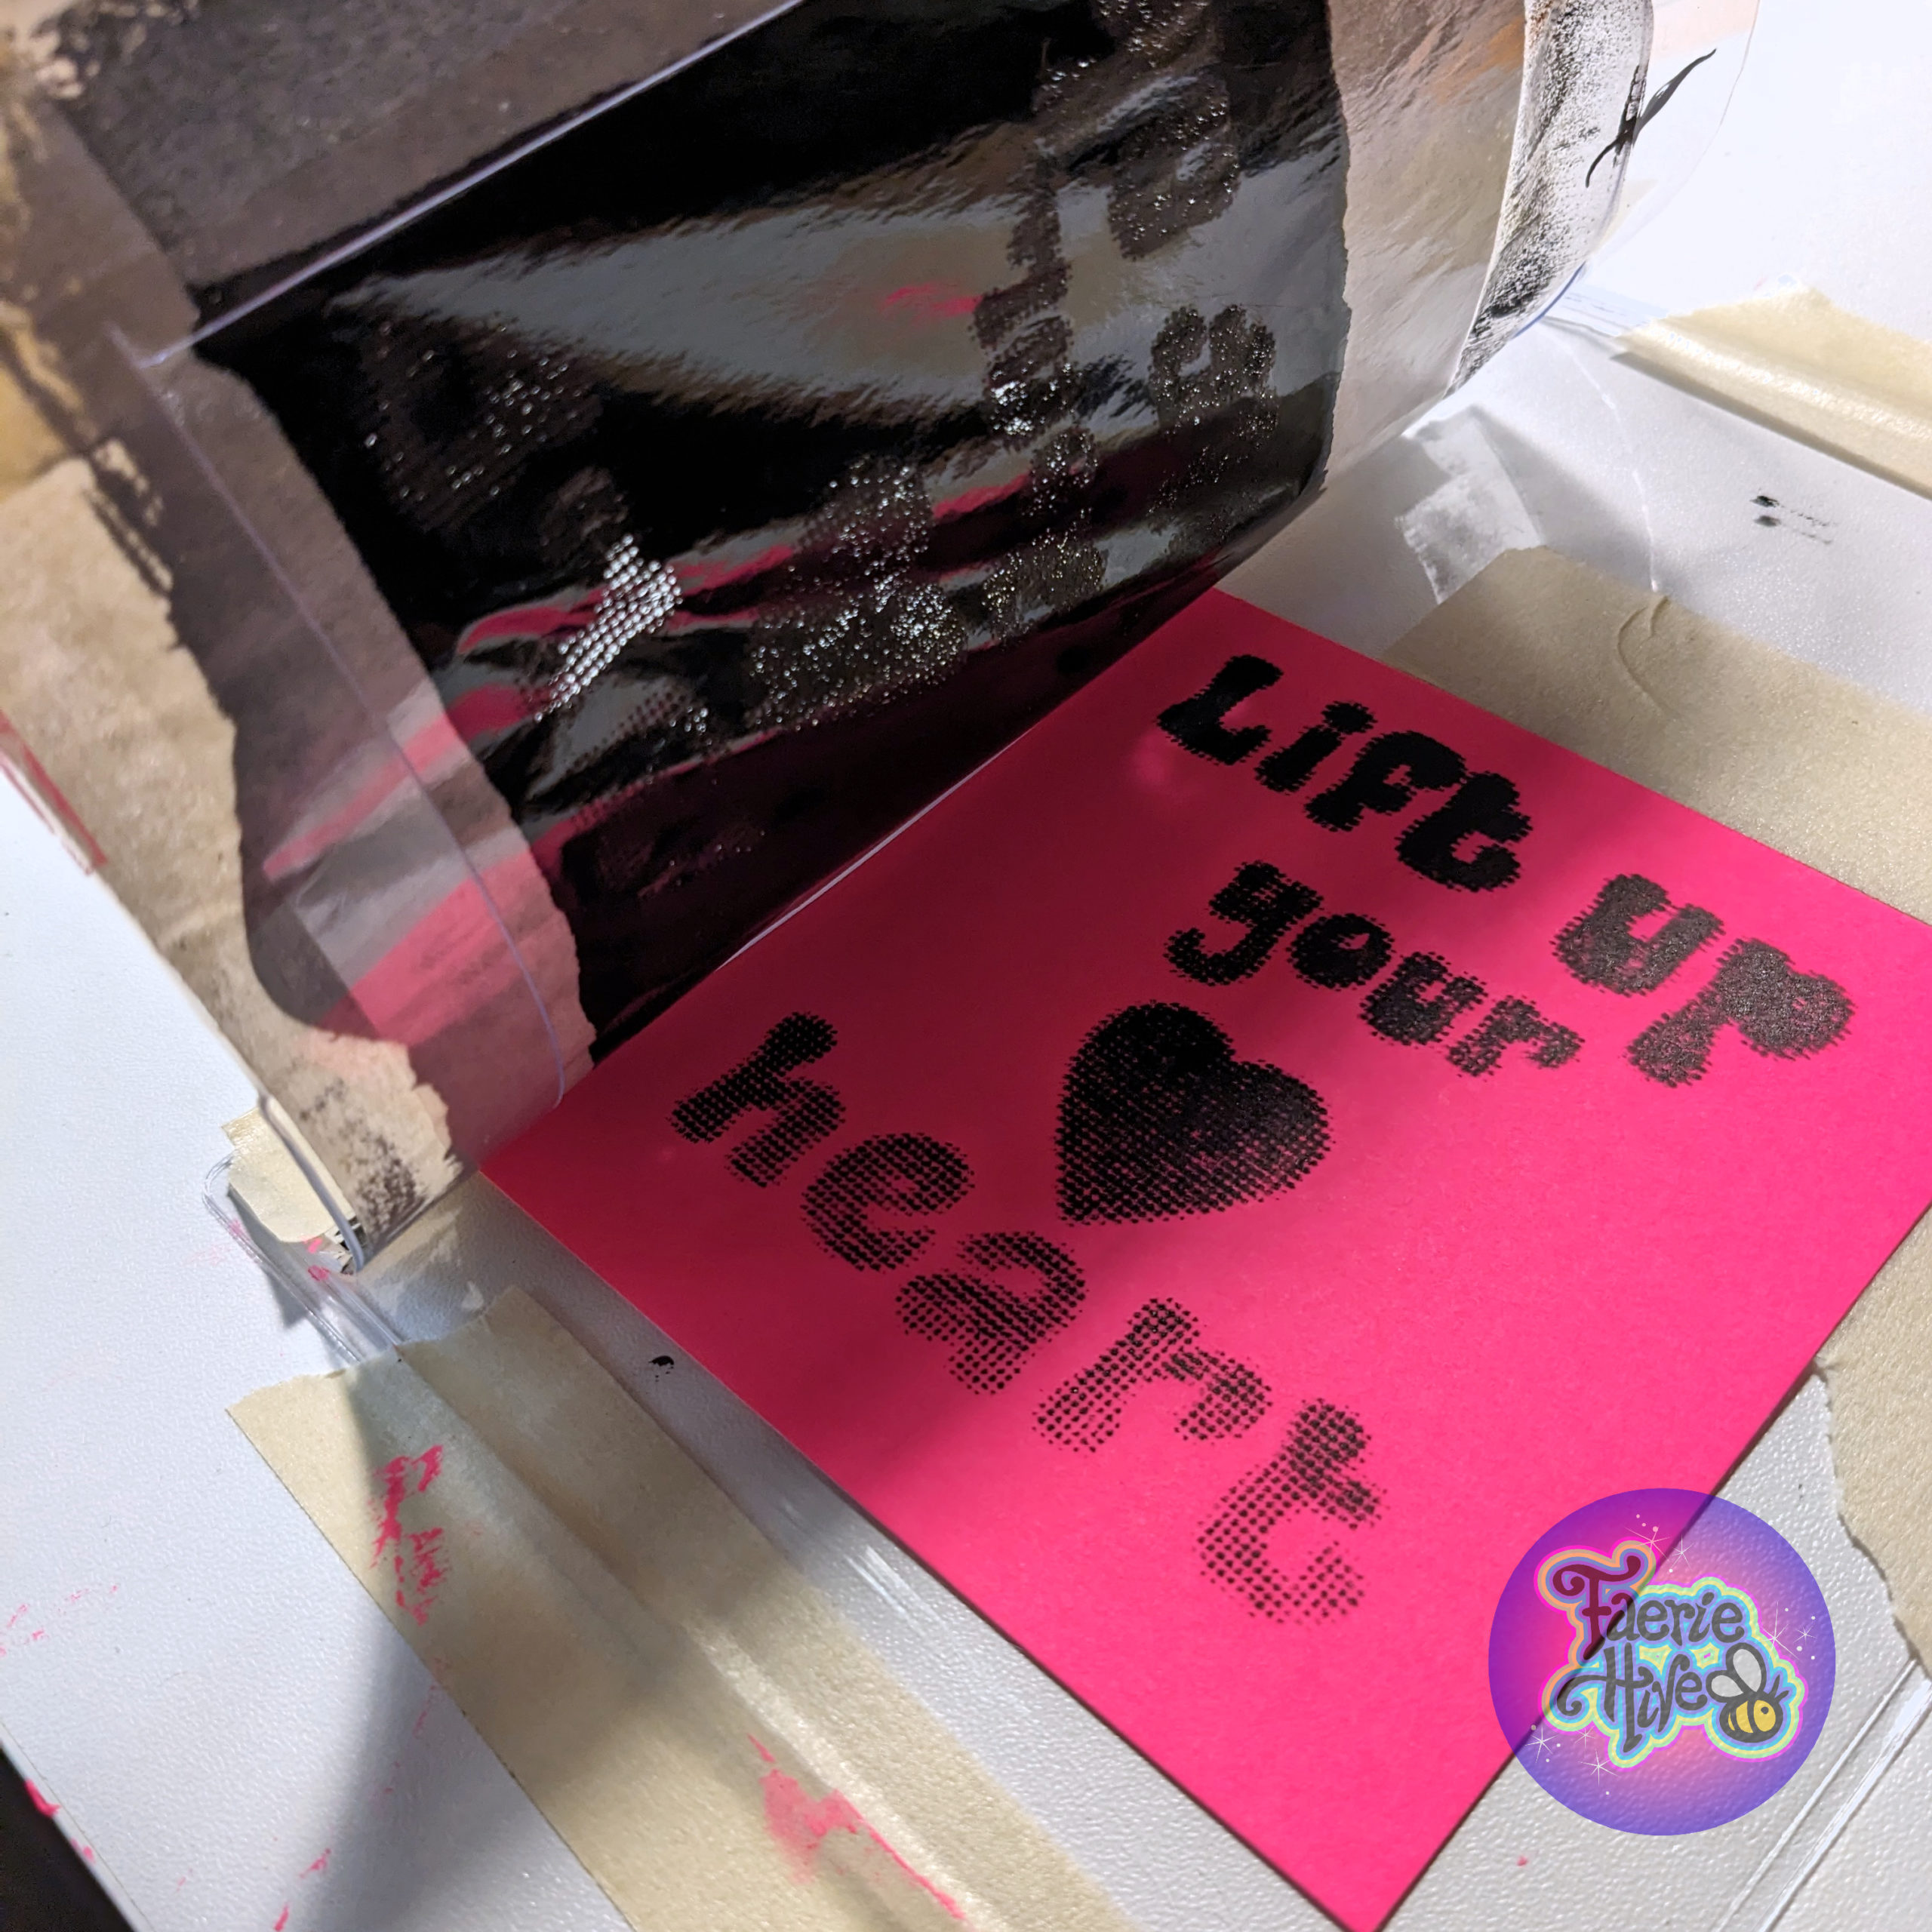
Evidence of squeegeeing/scraping the ink through the stencil. The entire setup being clear was helpful with half-assed registration.
Lots of little one-color prints! Embrace the lil’ imperfections, for they are what exposes your laziness humanity.
When you’re done with a color, so is your stencil. My aggressive squeegeeing absolutely wore it out, and removing it from the frame completely destroyed it.
After a bit more scraping, I switched to the brayer. The results were MUCH more satisfactory, not to mention less messy. The next project will be brayer-only.
Checking a proof of brayer use. MUCH easier.
Look at all those imperfections! Things definitely crisped up after the brayer. Using the squeegee, you can tell where I was afraid to scrape and ruin the stencil, resulting in less ink deposited.
Mmm…so printy. This is pre-signing and edge-rounding. After that, they will be released into the wild as free art!
Thoughts & Source List
This entire Print Mocko project satisfyingly scratched an instant gratification itch I get now and then. (Pottery is NOT a speedy process!) I can’t wait to experiment with using the Riso stencil material for ceramics, and incorporate some spot colors into my zines.