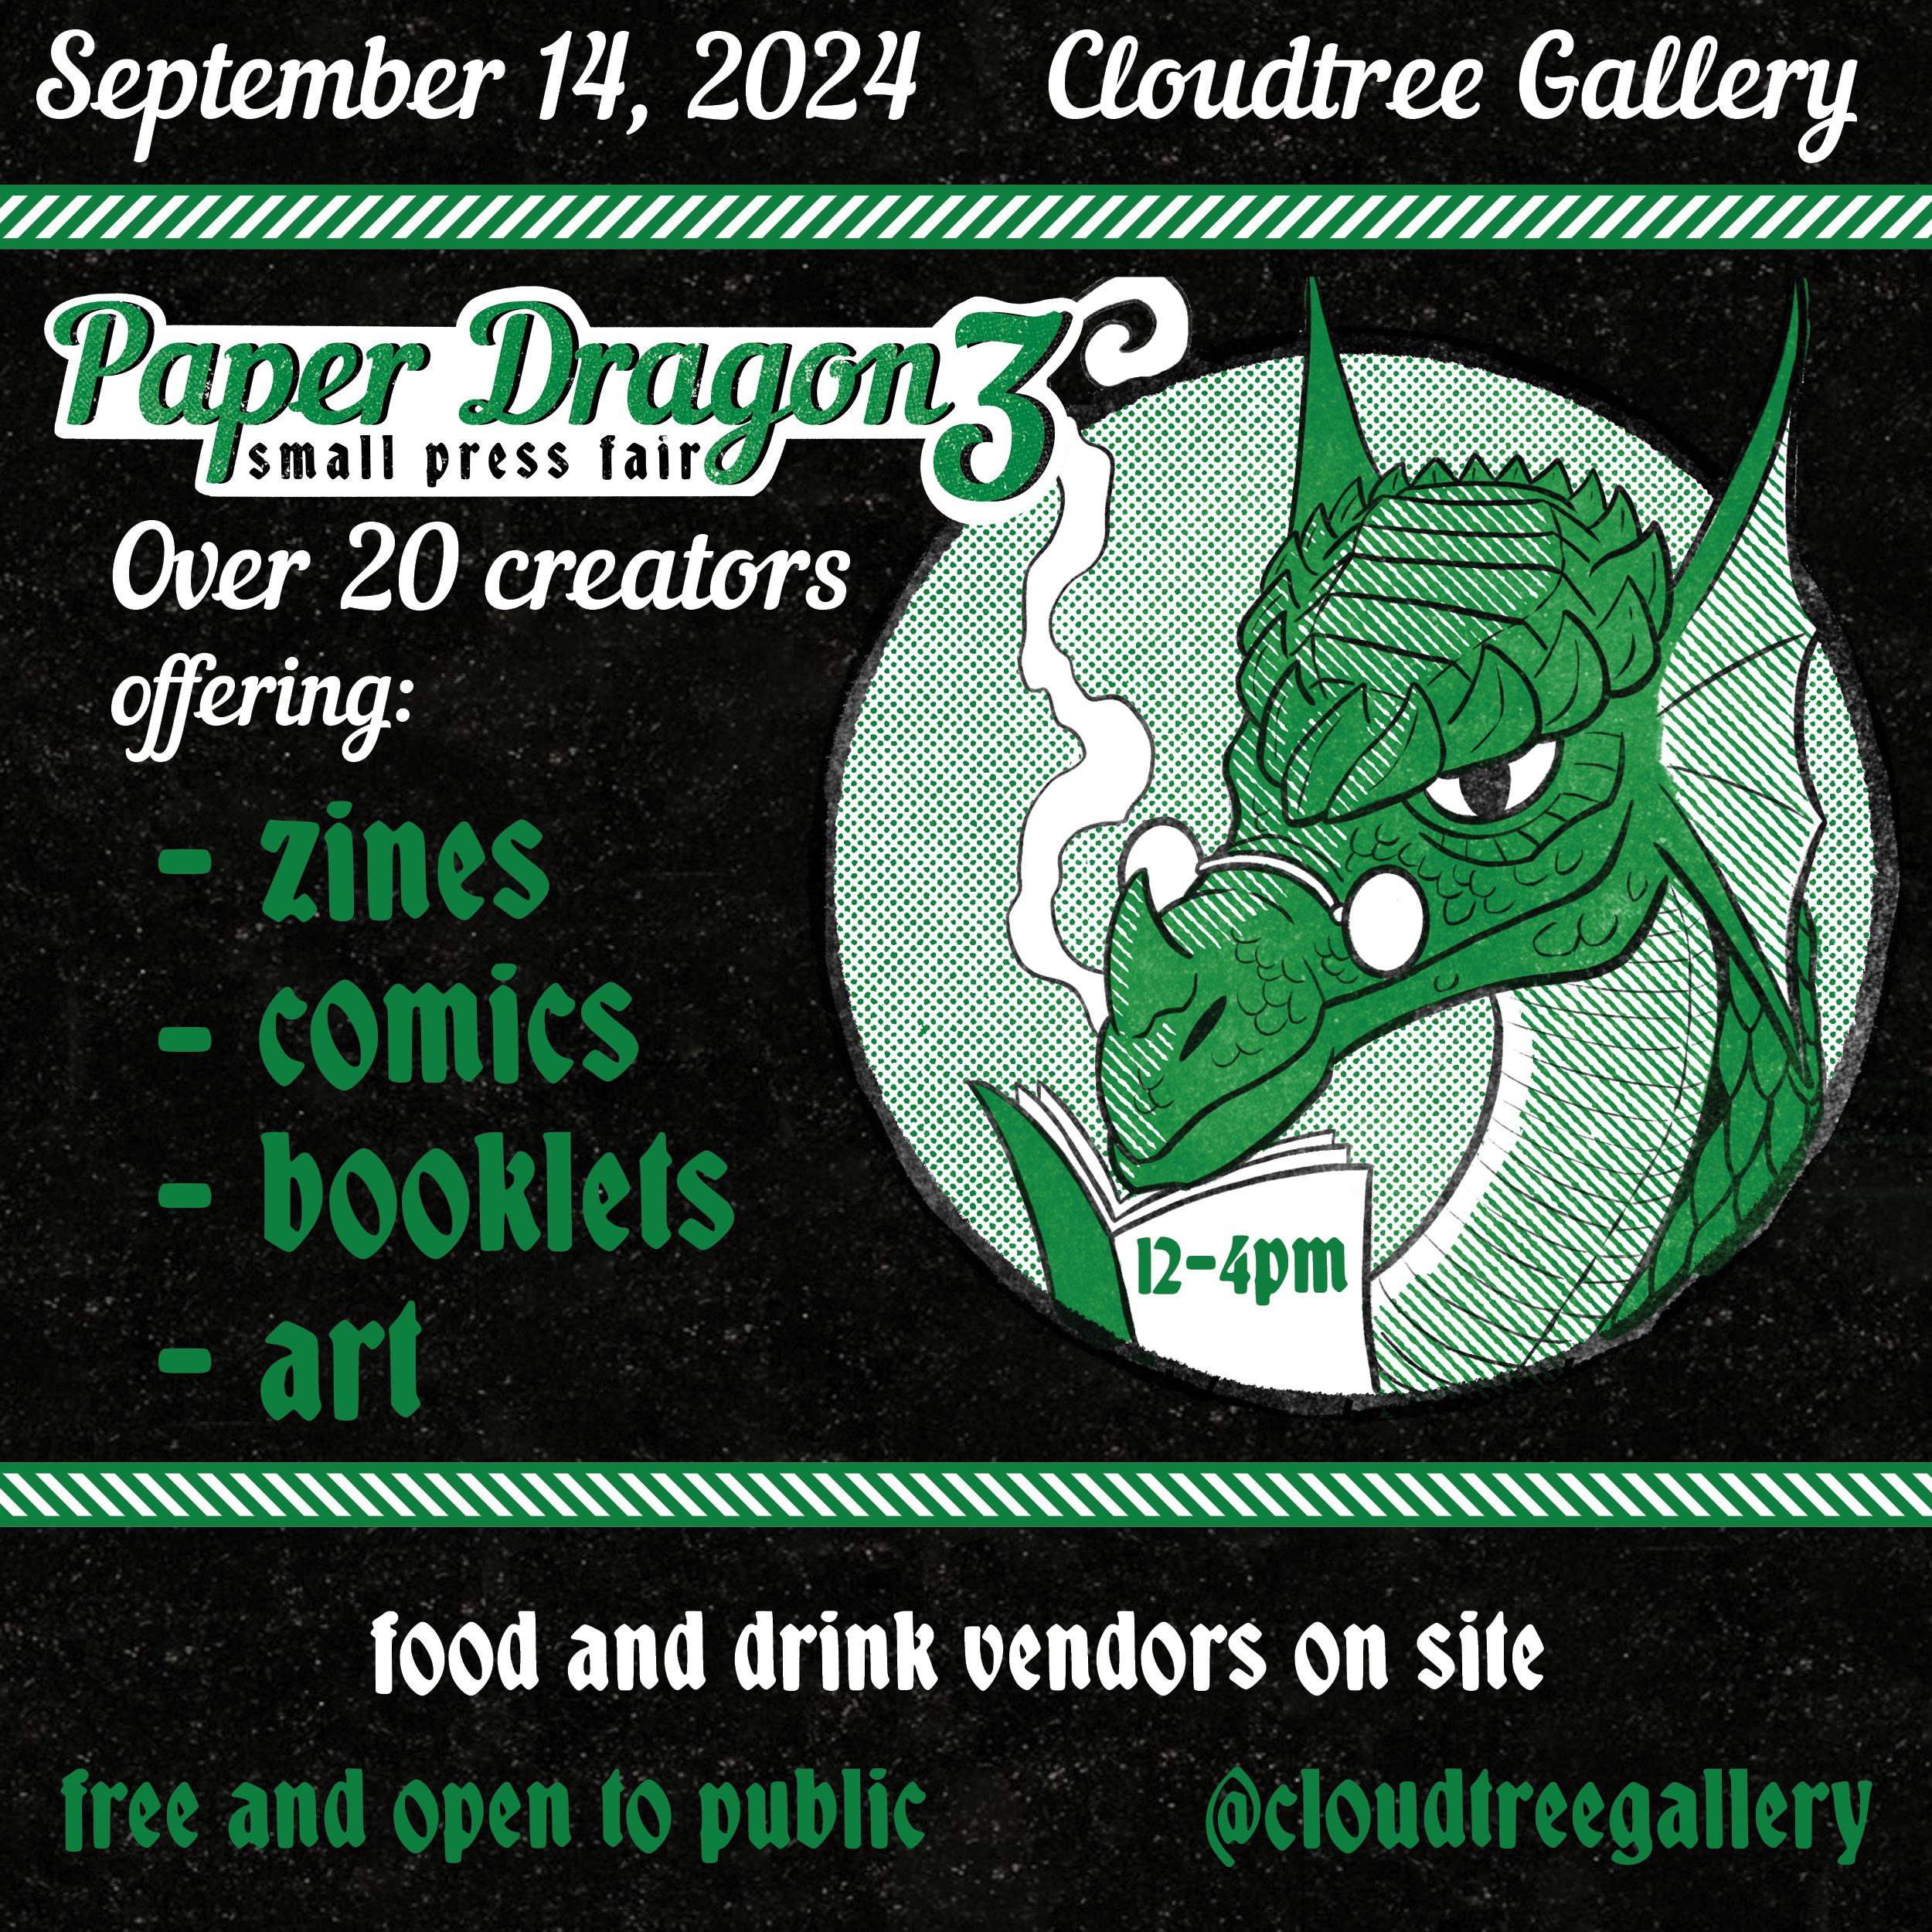
Yeek! We’ve got a busy weekend in Austin! On Saturday, September 14th I will be at Paper Dragon 3: Small Press Fair! I’m stocked up on tons of zines and faerie eggs full of tiny zines. 12-4 at the Cloudtree Gallery on 3411 EAST 5th Street in Austin.
If you join me on Sunday, September 15th, I will be at Austin Pagan Pride Day! Always one of my favorite events, delight in the festivities and come stock up on tiny faerie houses, altarware, and my self-published oracle deck. 10am-4pm at the VORTEX on 2307 Manor Road in Austin.
The Newsletter for September is out! (I know, I’m extremely inconsistent in my newslettering, I’m endeavoring to improve!) Are you not subscribed? Don’t worry, I absolutely won’t spam your inbox, and I do my best to respect people’s email preferences. Check out this month’s newsletter here, and click the subscribe button if you’d like more!
Processing…
Success! You're on the list.
Whoops! There was an error and we couldn't process your subscription. Please reload the page and try again.
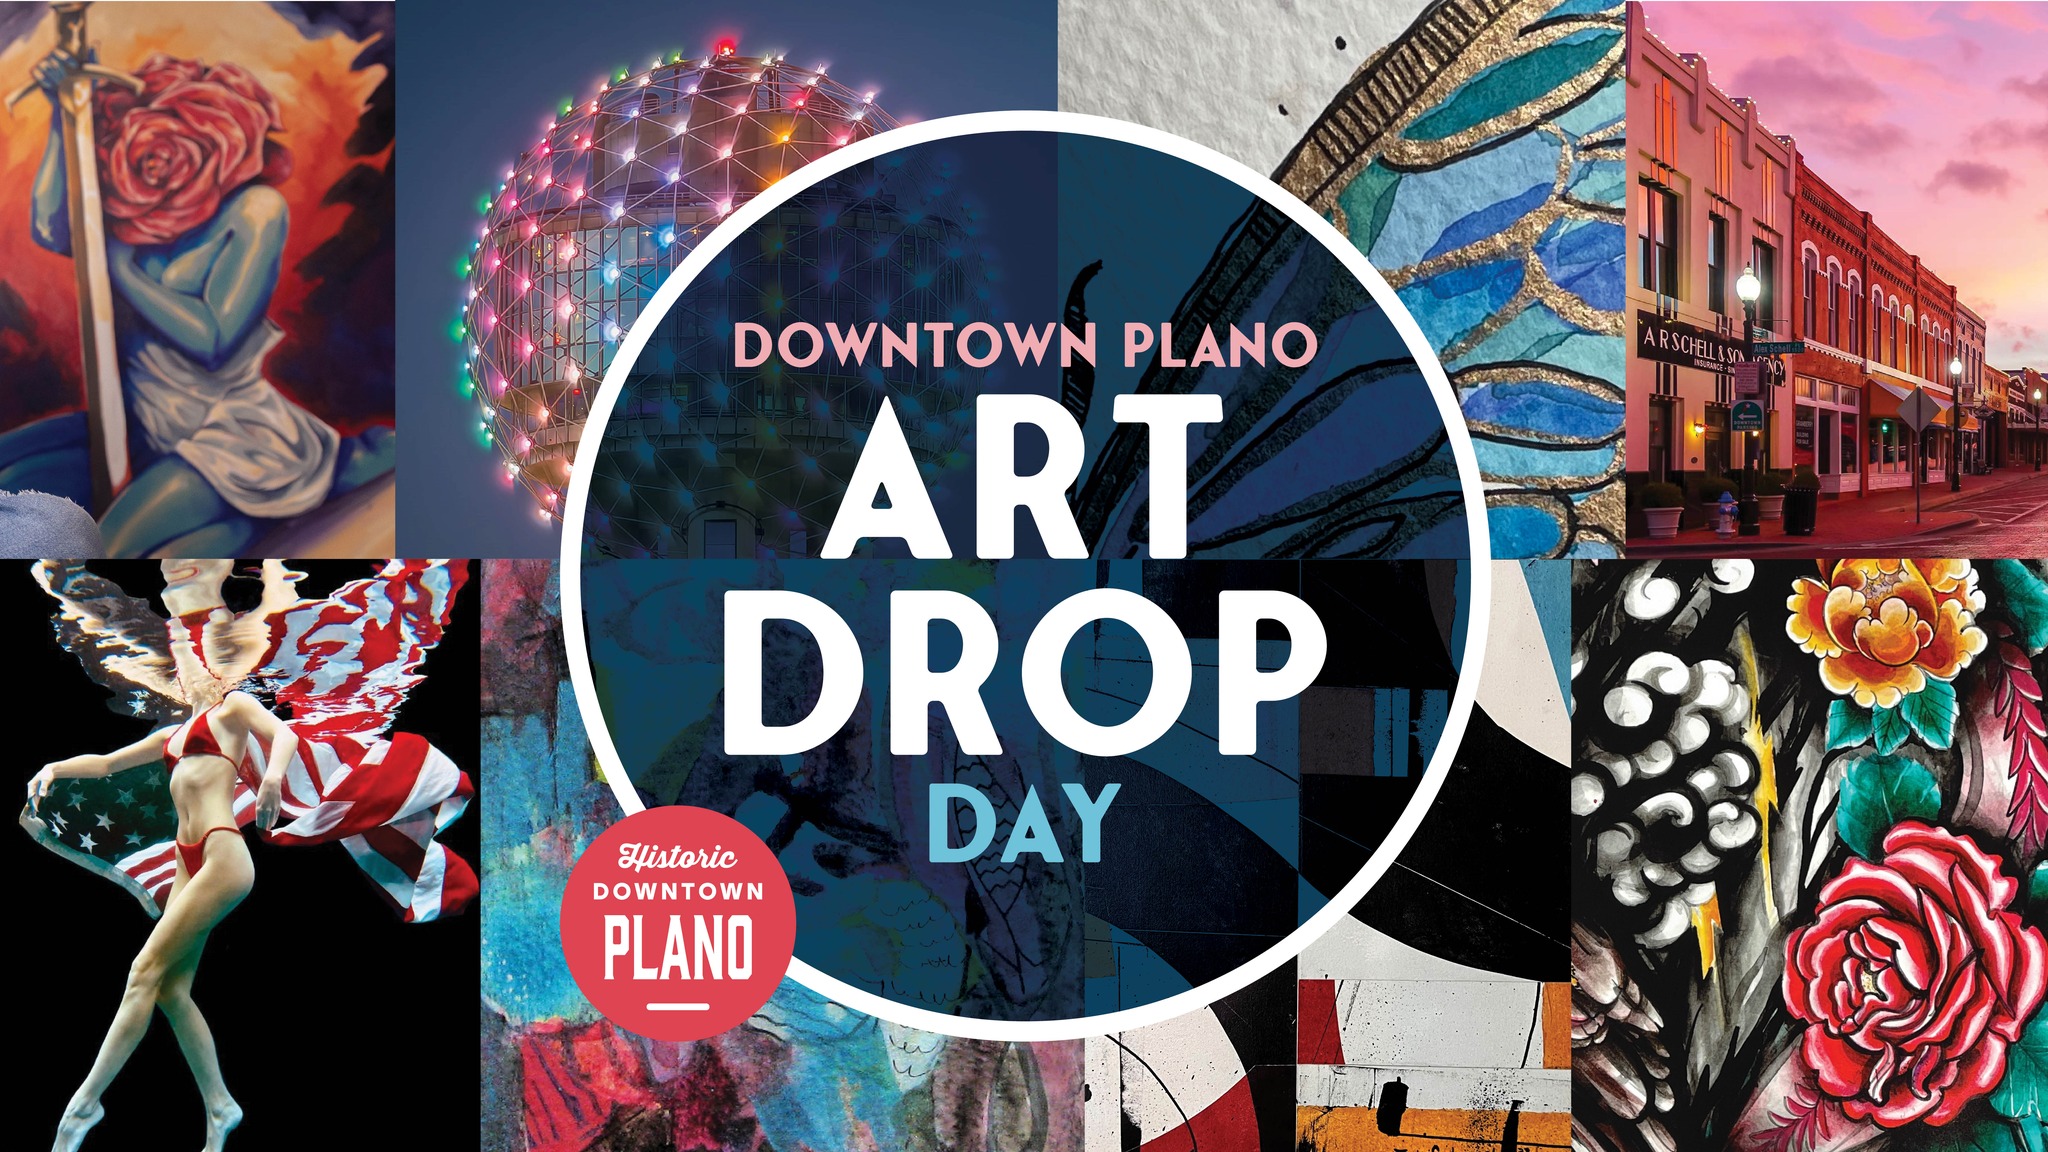
Thursday, September 5th is Plano Art Drop Day! I’m participating this year, hooray! I happened to have TWO of my discontinued jeweled cauldron mugs squirreled away; now they’re off to be discovered by someone in Plano. Eeek! How exciting!
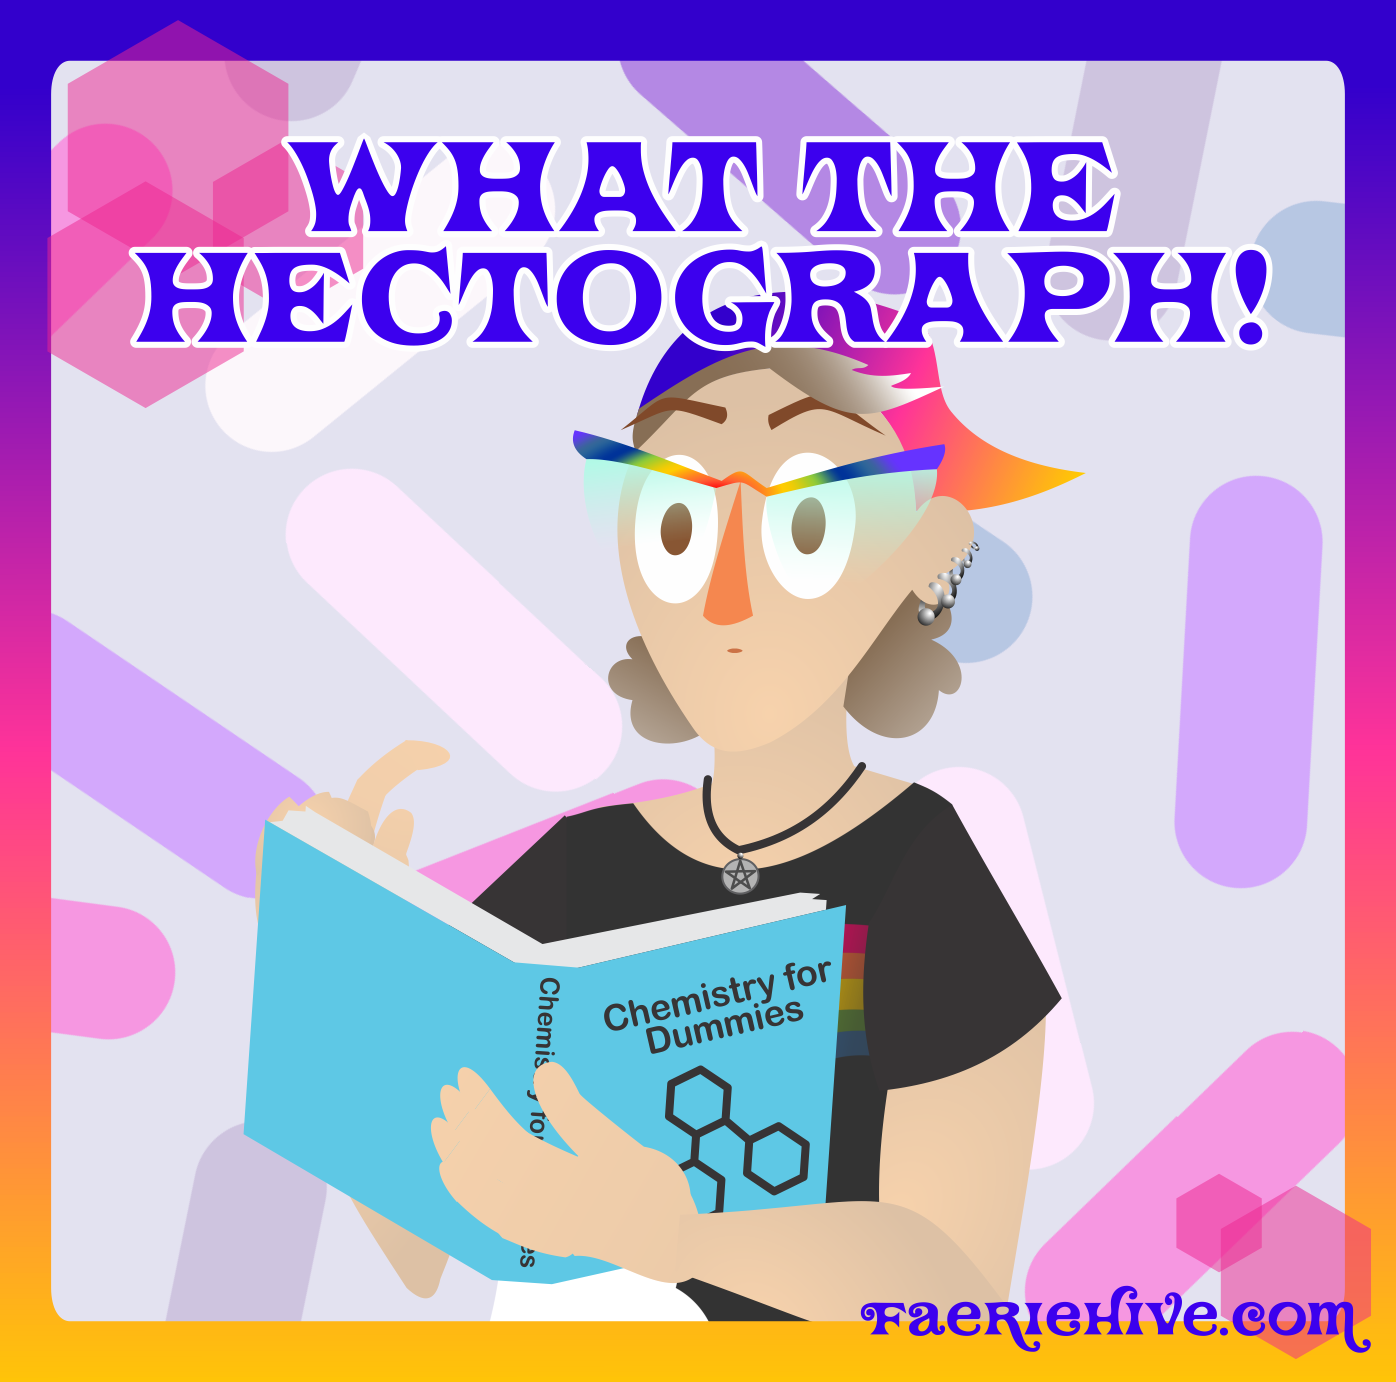
I spent a few weeks working with a gelatin-based printing platen! Join me as I explore using this device steeped in zine history, ramble about defunct technologies, and in general have…fun!
Jellyzine talks about how to make your own homemade version of a jellygraph/hectograph/gelatin press. It’s part of zine history! This version is an imperfect reproduction done on a jellygraph. Darkness of the ink will vary!
Jellyzine talks about how to make your own homemade version of a jellygraph/hectograph/gelatin press. It’s part of zine history! This version is an inkjet printout.
Jellyzine talks about how to make your own homemade version of a jellygraph/hectograph/gelatin press. It’s part of zine history! You’re welcome to print out and distribute this zine without modification.
While these are obviously maker projects anybody can do, this book is filled with projects from the benign hectograph recipe I feature, to dangerous wiring projects guaranteed to burn grandma’s house down. Use common sense and remember some of the chemicals featured are dangerous.
Not in the recipe I put in my zine, tho. They’re all pretty inert; you’re more likely to make a sticky mess or stain things. Note that on page 240, there is a clay-based hectograph, which I have not tried.
Wikipedia Article on Hectographs – Wikipedia is typically a great springboard to start off into a topic. The citations have a link to a Scientific American Cyclopedia with several hectograph recipes. (Hint, it’s on page 262, since the text is not searchable at the time of writing.)
Iowa University’s Library – A very nice blog post on making and using a hectograph. Chock full of photos and explanations of the demo.
Cheap Copies! – A MOST EXCELLENT book by Rich Dana on the hectographs, mimeographs, and spirit duplicators. Absolutely embodies the spirit of being a maker and zinester. Chock full of sources.
Copying Pencils – Related and of-interest. Pencils made largely with methyl violet for duplicating and non-erasure of documents (pre-ballpoint pen!). I would love to experiment with these, but they appear to be expensive and hard to find.
Supply Resources
I won’t provide direct links to products here, but rather specific names and types. Some things you will have to hunt for the best source for you in your area.
Gelatin – You want powdered gelatin, it’s typically found in the grocery store near the Jell-O, boxed pudding, and baking supplies. Store brand gelatin is just fine, no need for fancy Knox brand.
Glycerin – This is a liquid. You can also usually find it in the grocery store, near skin care products. Pharmacists will know where it is if you can’t find it. Fun facts, glycerin can also be used as a sweetener and helps skin to retain moisture when applied topically. Note! You can make a jellygraph without glycerin. However, it may be wetter and have a poorer constitution with pure gelatin. Experiment.
Transfer sheets – The most popular brand are known as “Spirit Transfer Sheets” as they also are used by tattoo artists for transferring art to skin in order to tattoo. There are many no-name brands of transfer sheets with people stating varying degrees of success and experience with their quality. These are essentially sheets with a very thin layer of methyl violet-based dye on them, and work like carbon transfer sheets. They work with both hand-drawn pressure, and with thermal printers.
Inks – For folks who don’t want to use transfer sheets. You can get powdered methyl violet in small quantities from science companies who provide for schools and home enthusiasts. In the Popular Mechanics article listed above, there’s a recipe that calls for using methyl violet. I have experimented with gentian violet, obtained from my local pharmacy. It has much of the staining quality, but isn’t especially dark as compared to the transfer sheets. In my exploring, I found that some tattoo supply companies carry “hektograph ink” which, supposedly is the same formulation as was used in days of yore. I have not purchased any at the time of this writing, so cannot comment as to its efficacy.
Thermal Printer – Honestly, while I’ve not had any issues with my postage-label-sized thermal printer, or other receipt-sized printers I own, letter-sized thermal printers seem to be rife with mixed reviews and issues. My advice? Hunt down a thermal fax machine. It takes time, but you can rescue one from the landfill AND get a thermal bed that works great for various maker projects. It took a while, but I tracked down a Brother Intellifax 775 for $10, and only had to drive 10 minutes from my house. They’re out there, be patient.
I know I know, it’s 5 billion degrees out how can we POSSIBLY think of Autumn right now? Well I am! 🍂
For you witchy-types, I’ve already got some pagan events on the docket. More events are lined up, pending application acceptance! For now I hope to see you at:
I’ve been quiet online, mostly because I’ve been playing with the latest tool in my toolbox, a fax machine! No, I’m not passing along chain letters and bad jokes, but rather using the thermal printer component of the machine for creating stencils from Risograph masters. This year I already tried purchasing a cheap thermal printer, and subsequently discovered it is utterly inadequate for my needs; it was chucked back to the Amazon Overlords the same day. After a few months of daily checking for fax machines in my area, I managed to snag one for $10. Granted, it’s not as compact and store-able as the portable thermal printers, but thus far it has spit out a perfect stencil every time. It doesn’t rely on battery/USB-C power nor do I have to finesse inconsistent Chinese printing software to get it to do my bidding.
I’m almost finished with an upcoming video about experimenting with hectographs, of all things. Hopefully it’ll be done soon!
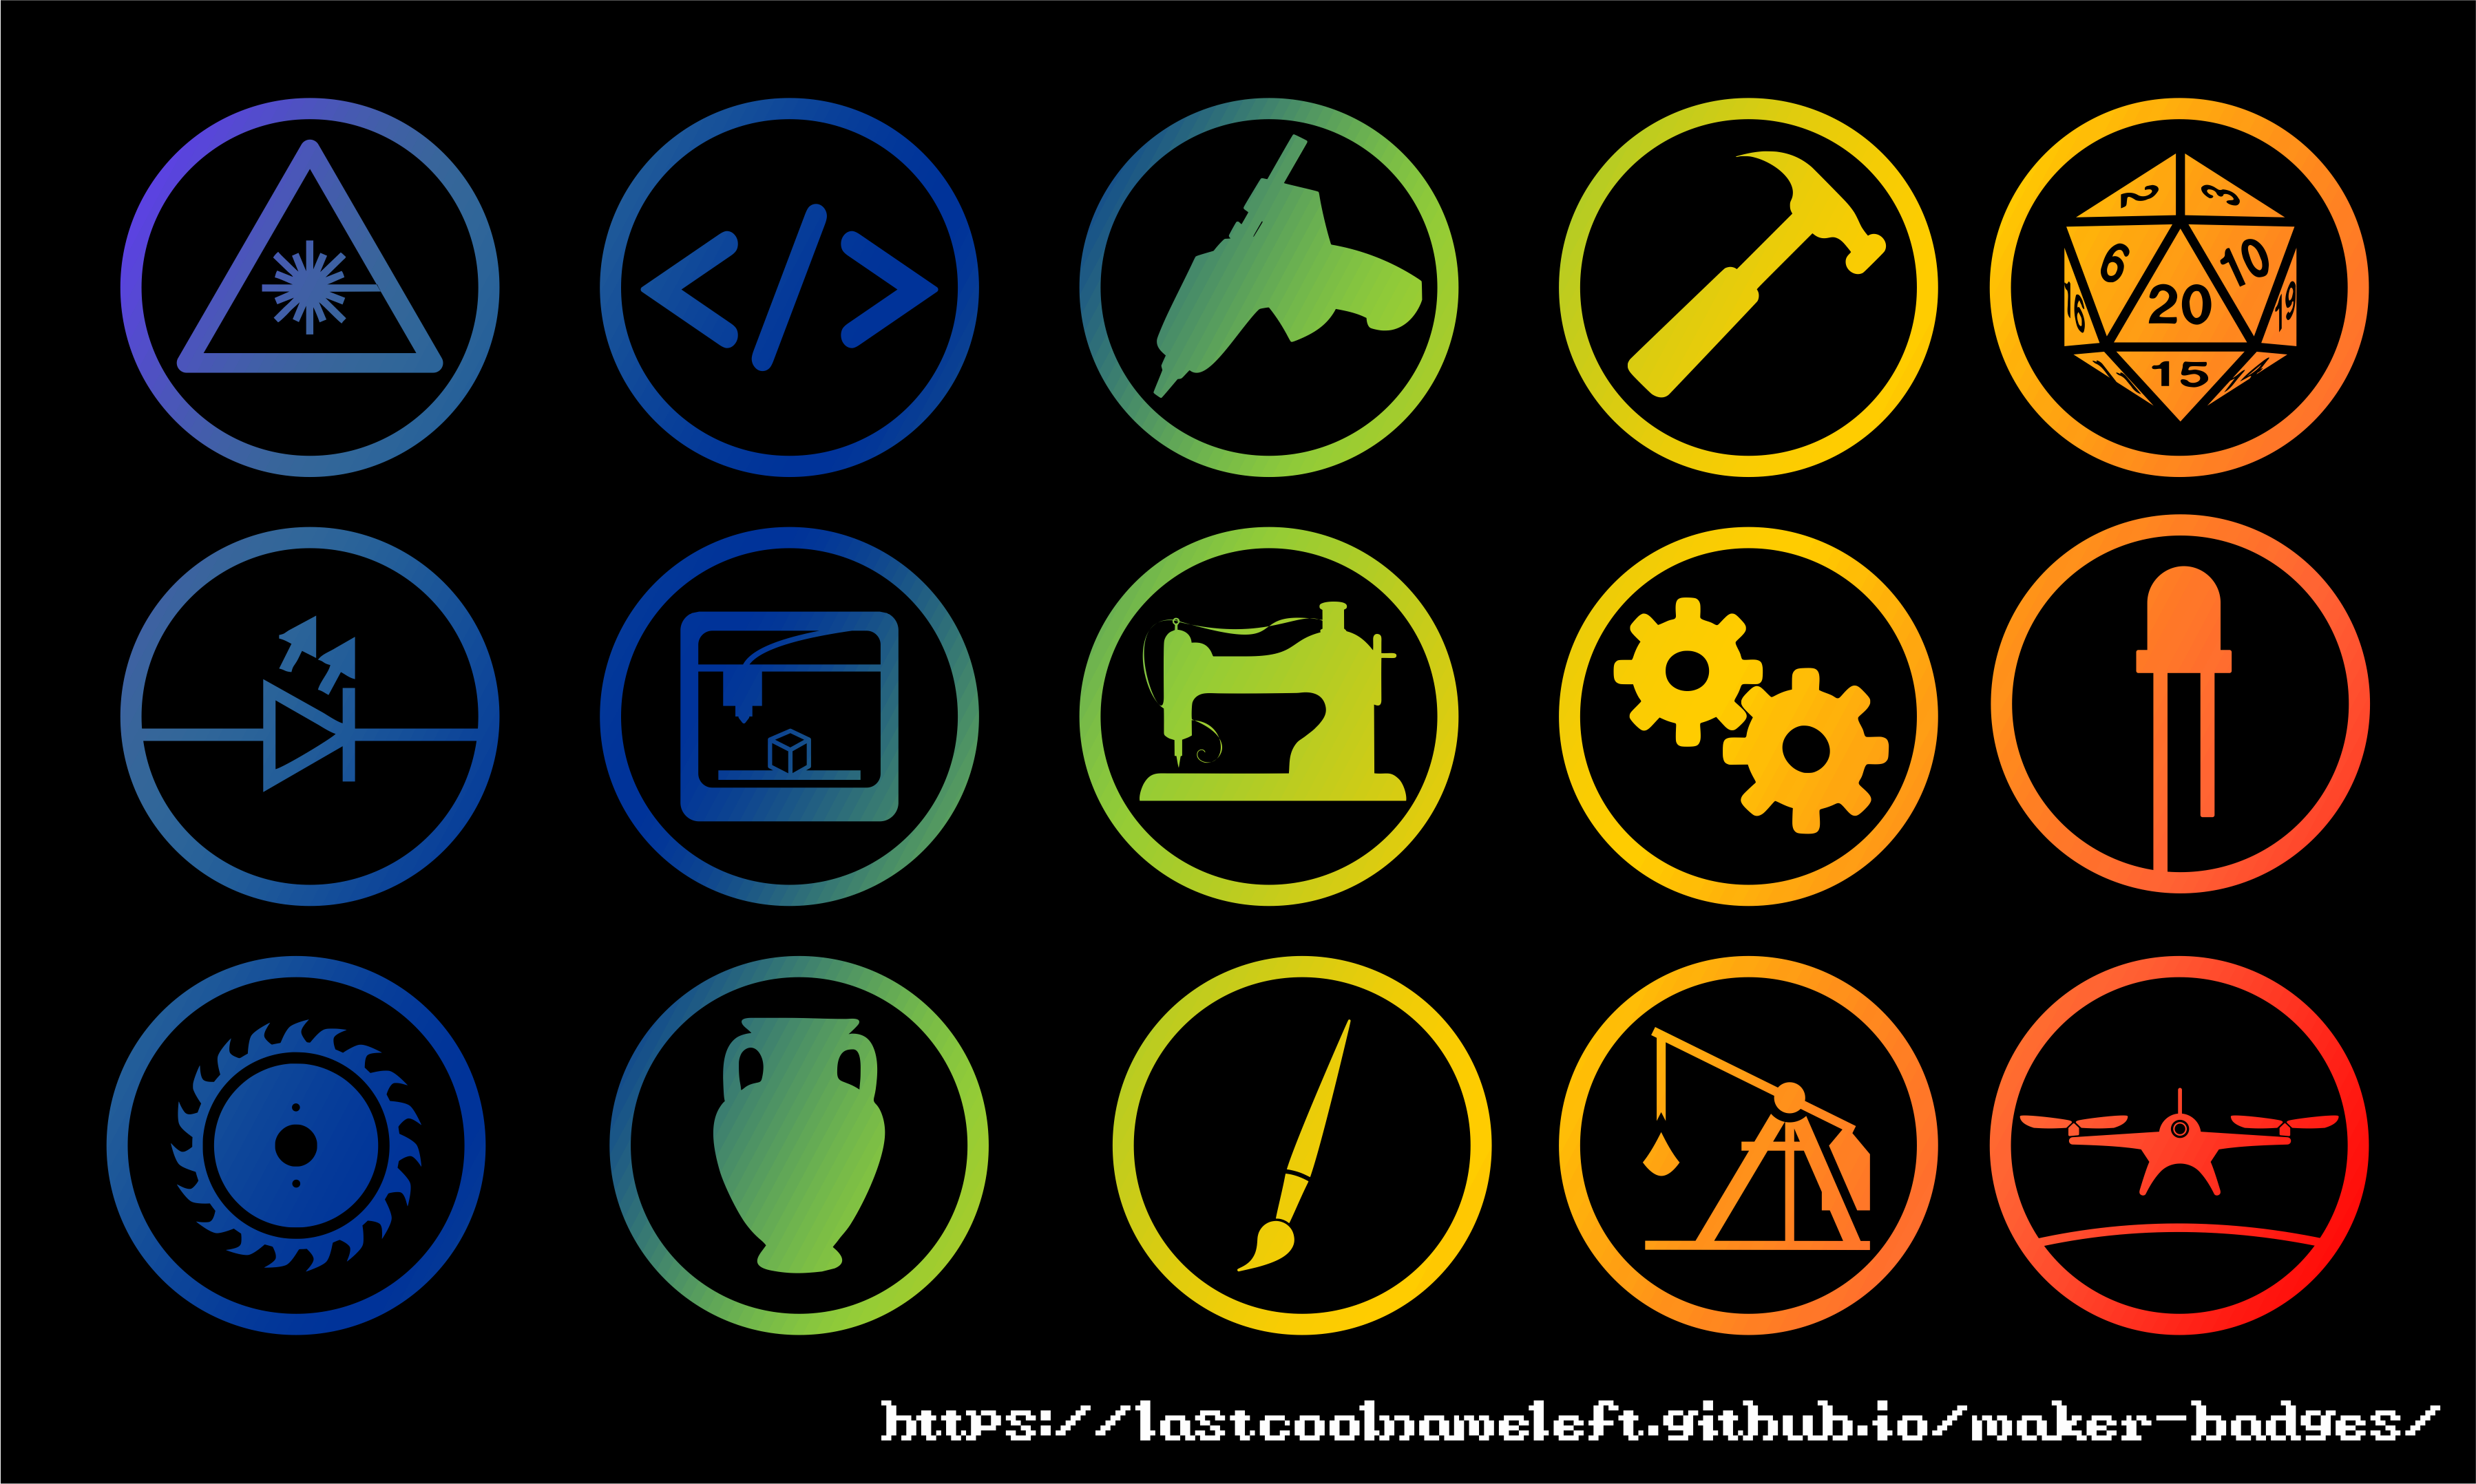
I’ve made lots of “Maker Merit Badges” for my local makerspace in the past. In making them, it was my intention to release them into the wild, free for anyone to use. Today they are officially available for makin’ stuff!
They’re all in .svg format, so you can vinyl cut, 3D print, laser cut, CNC, embroider, etc. your own maker badge to show off your maker creds. 😎
Visit the repository here on Github; my friend Tommy and I welcome new badge contributions. Share and share alike!
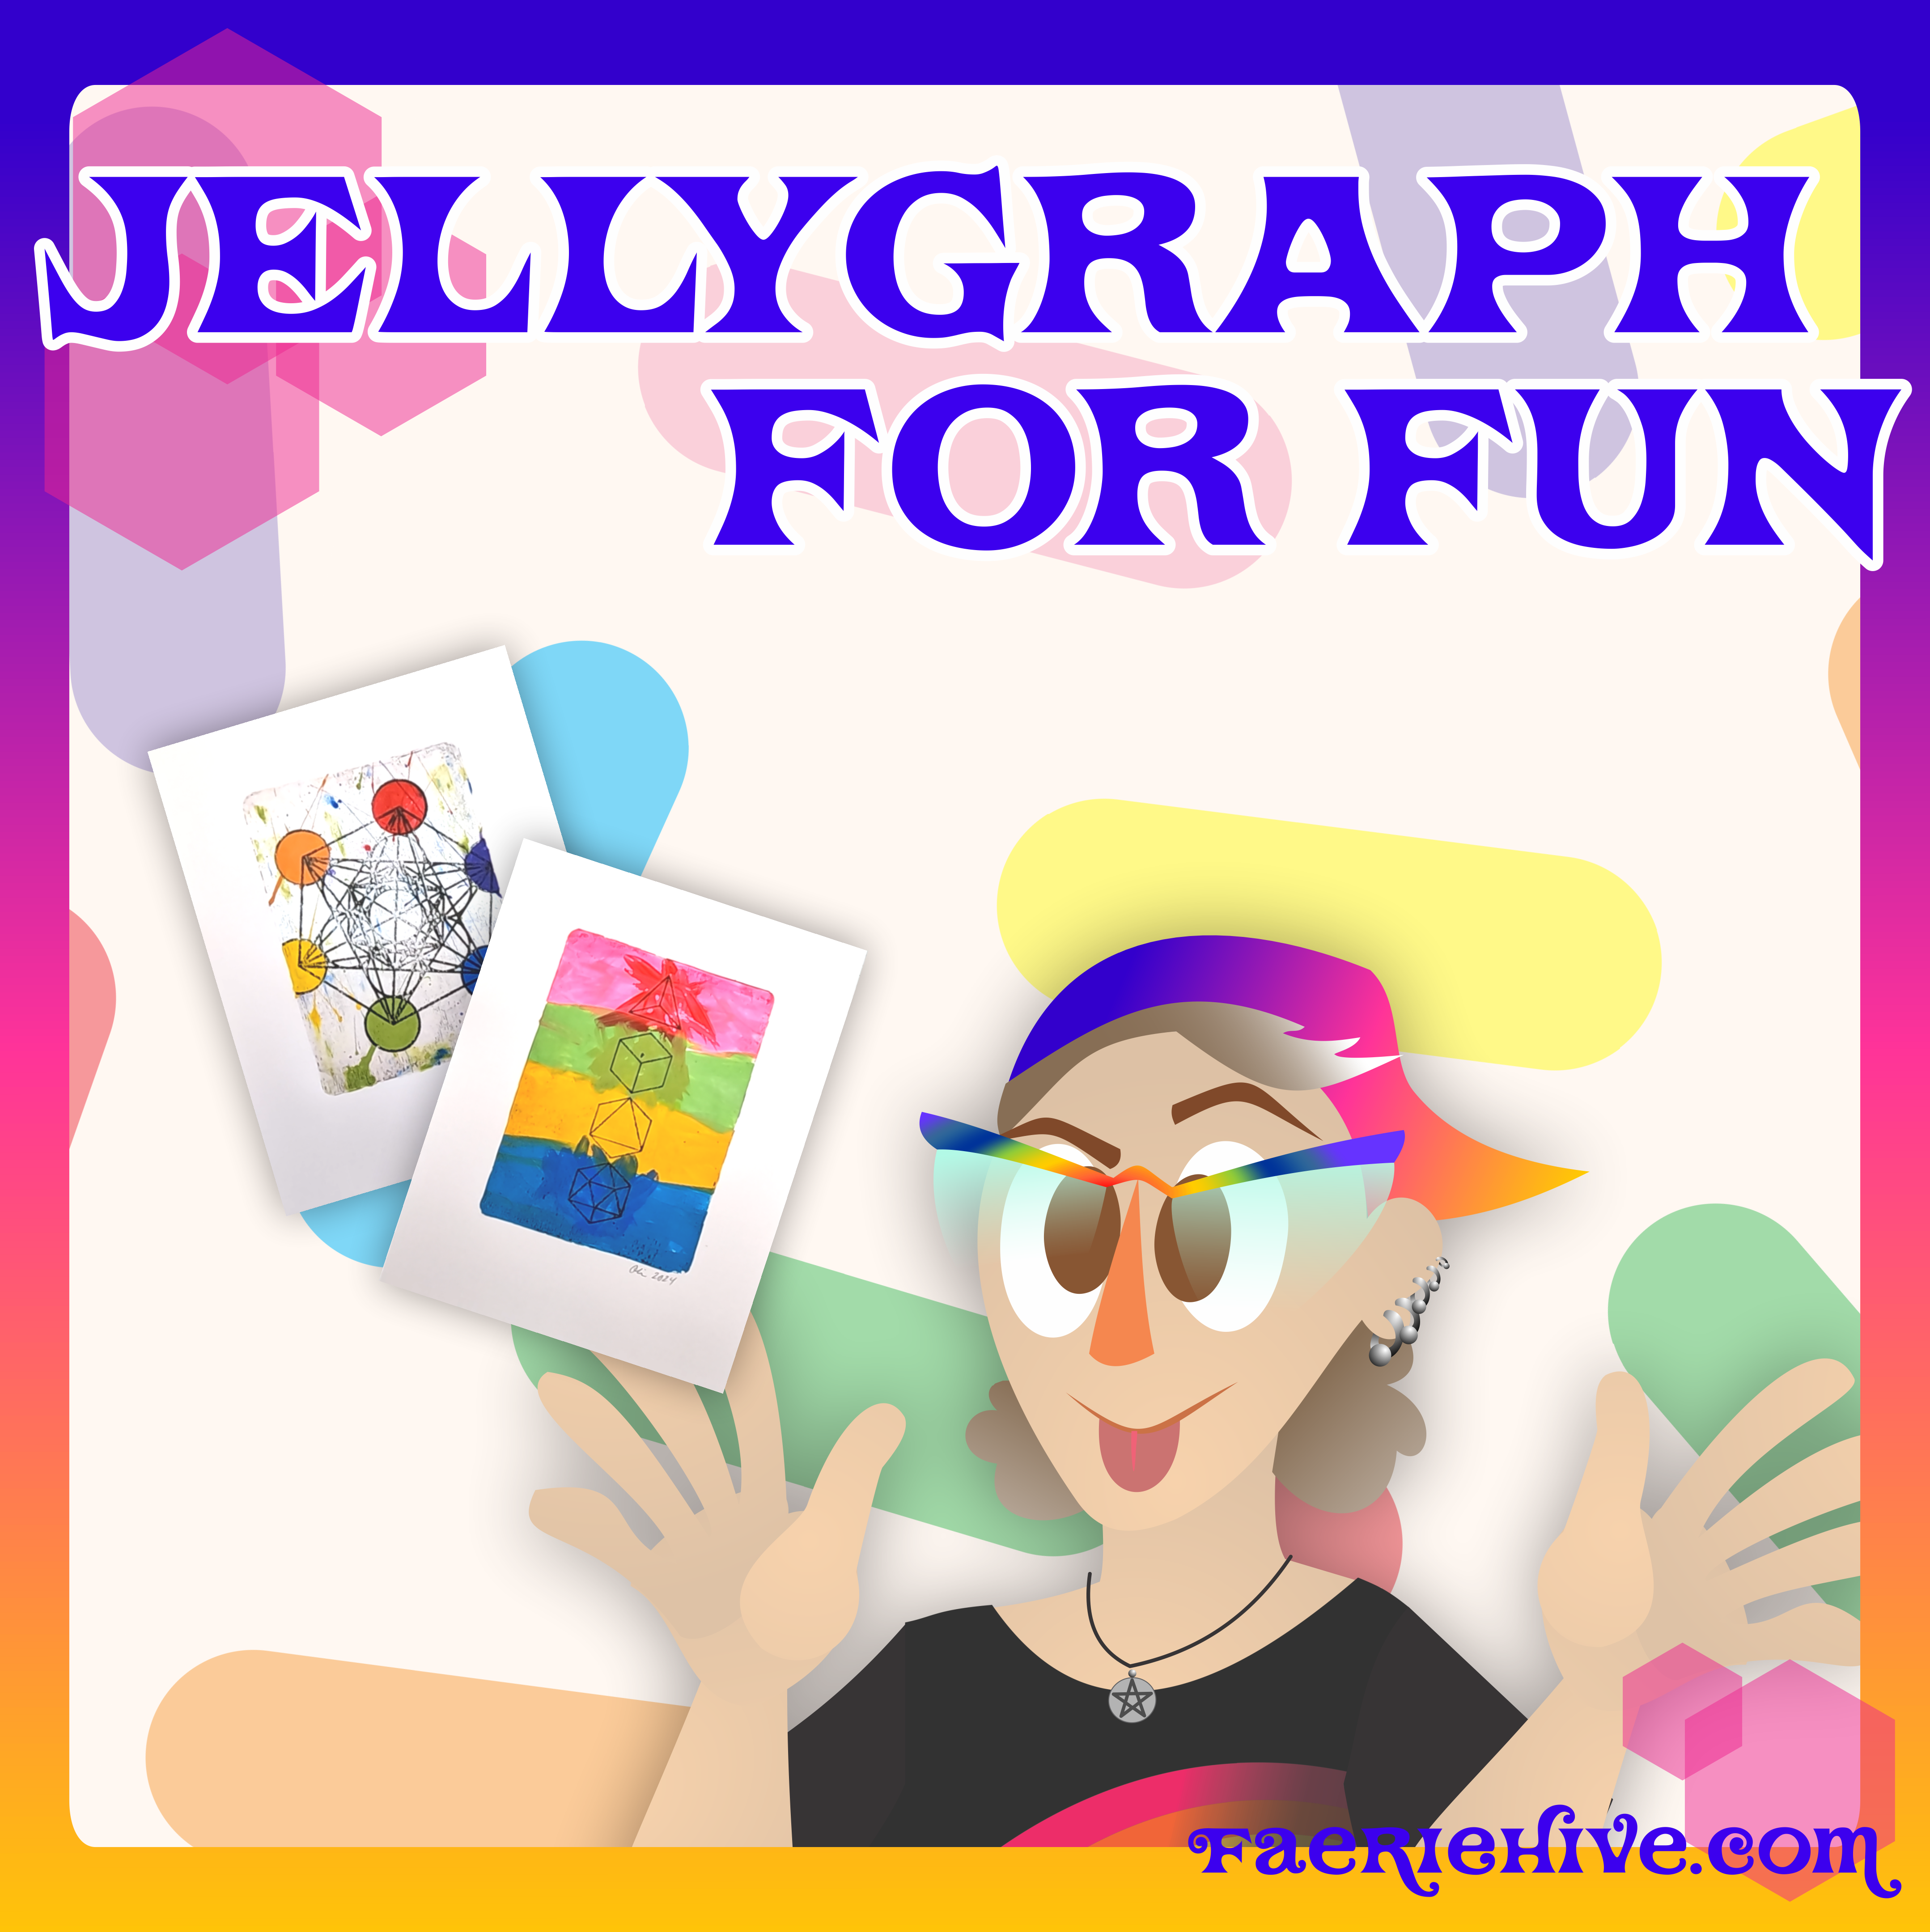
Just a short video about makin’ art without much planning or forethought using a jellygraph! (Also known as a jelly plate, hectograph, or jelly pad.) Why should you make art just for fun? Because it’s a productive use of your time! Haha!
I threw a couple of my monoprints from the jellygraph sessions into my shop if you’re interested~
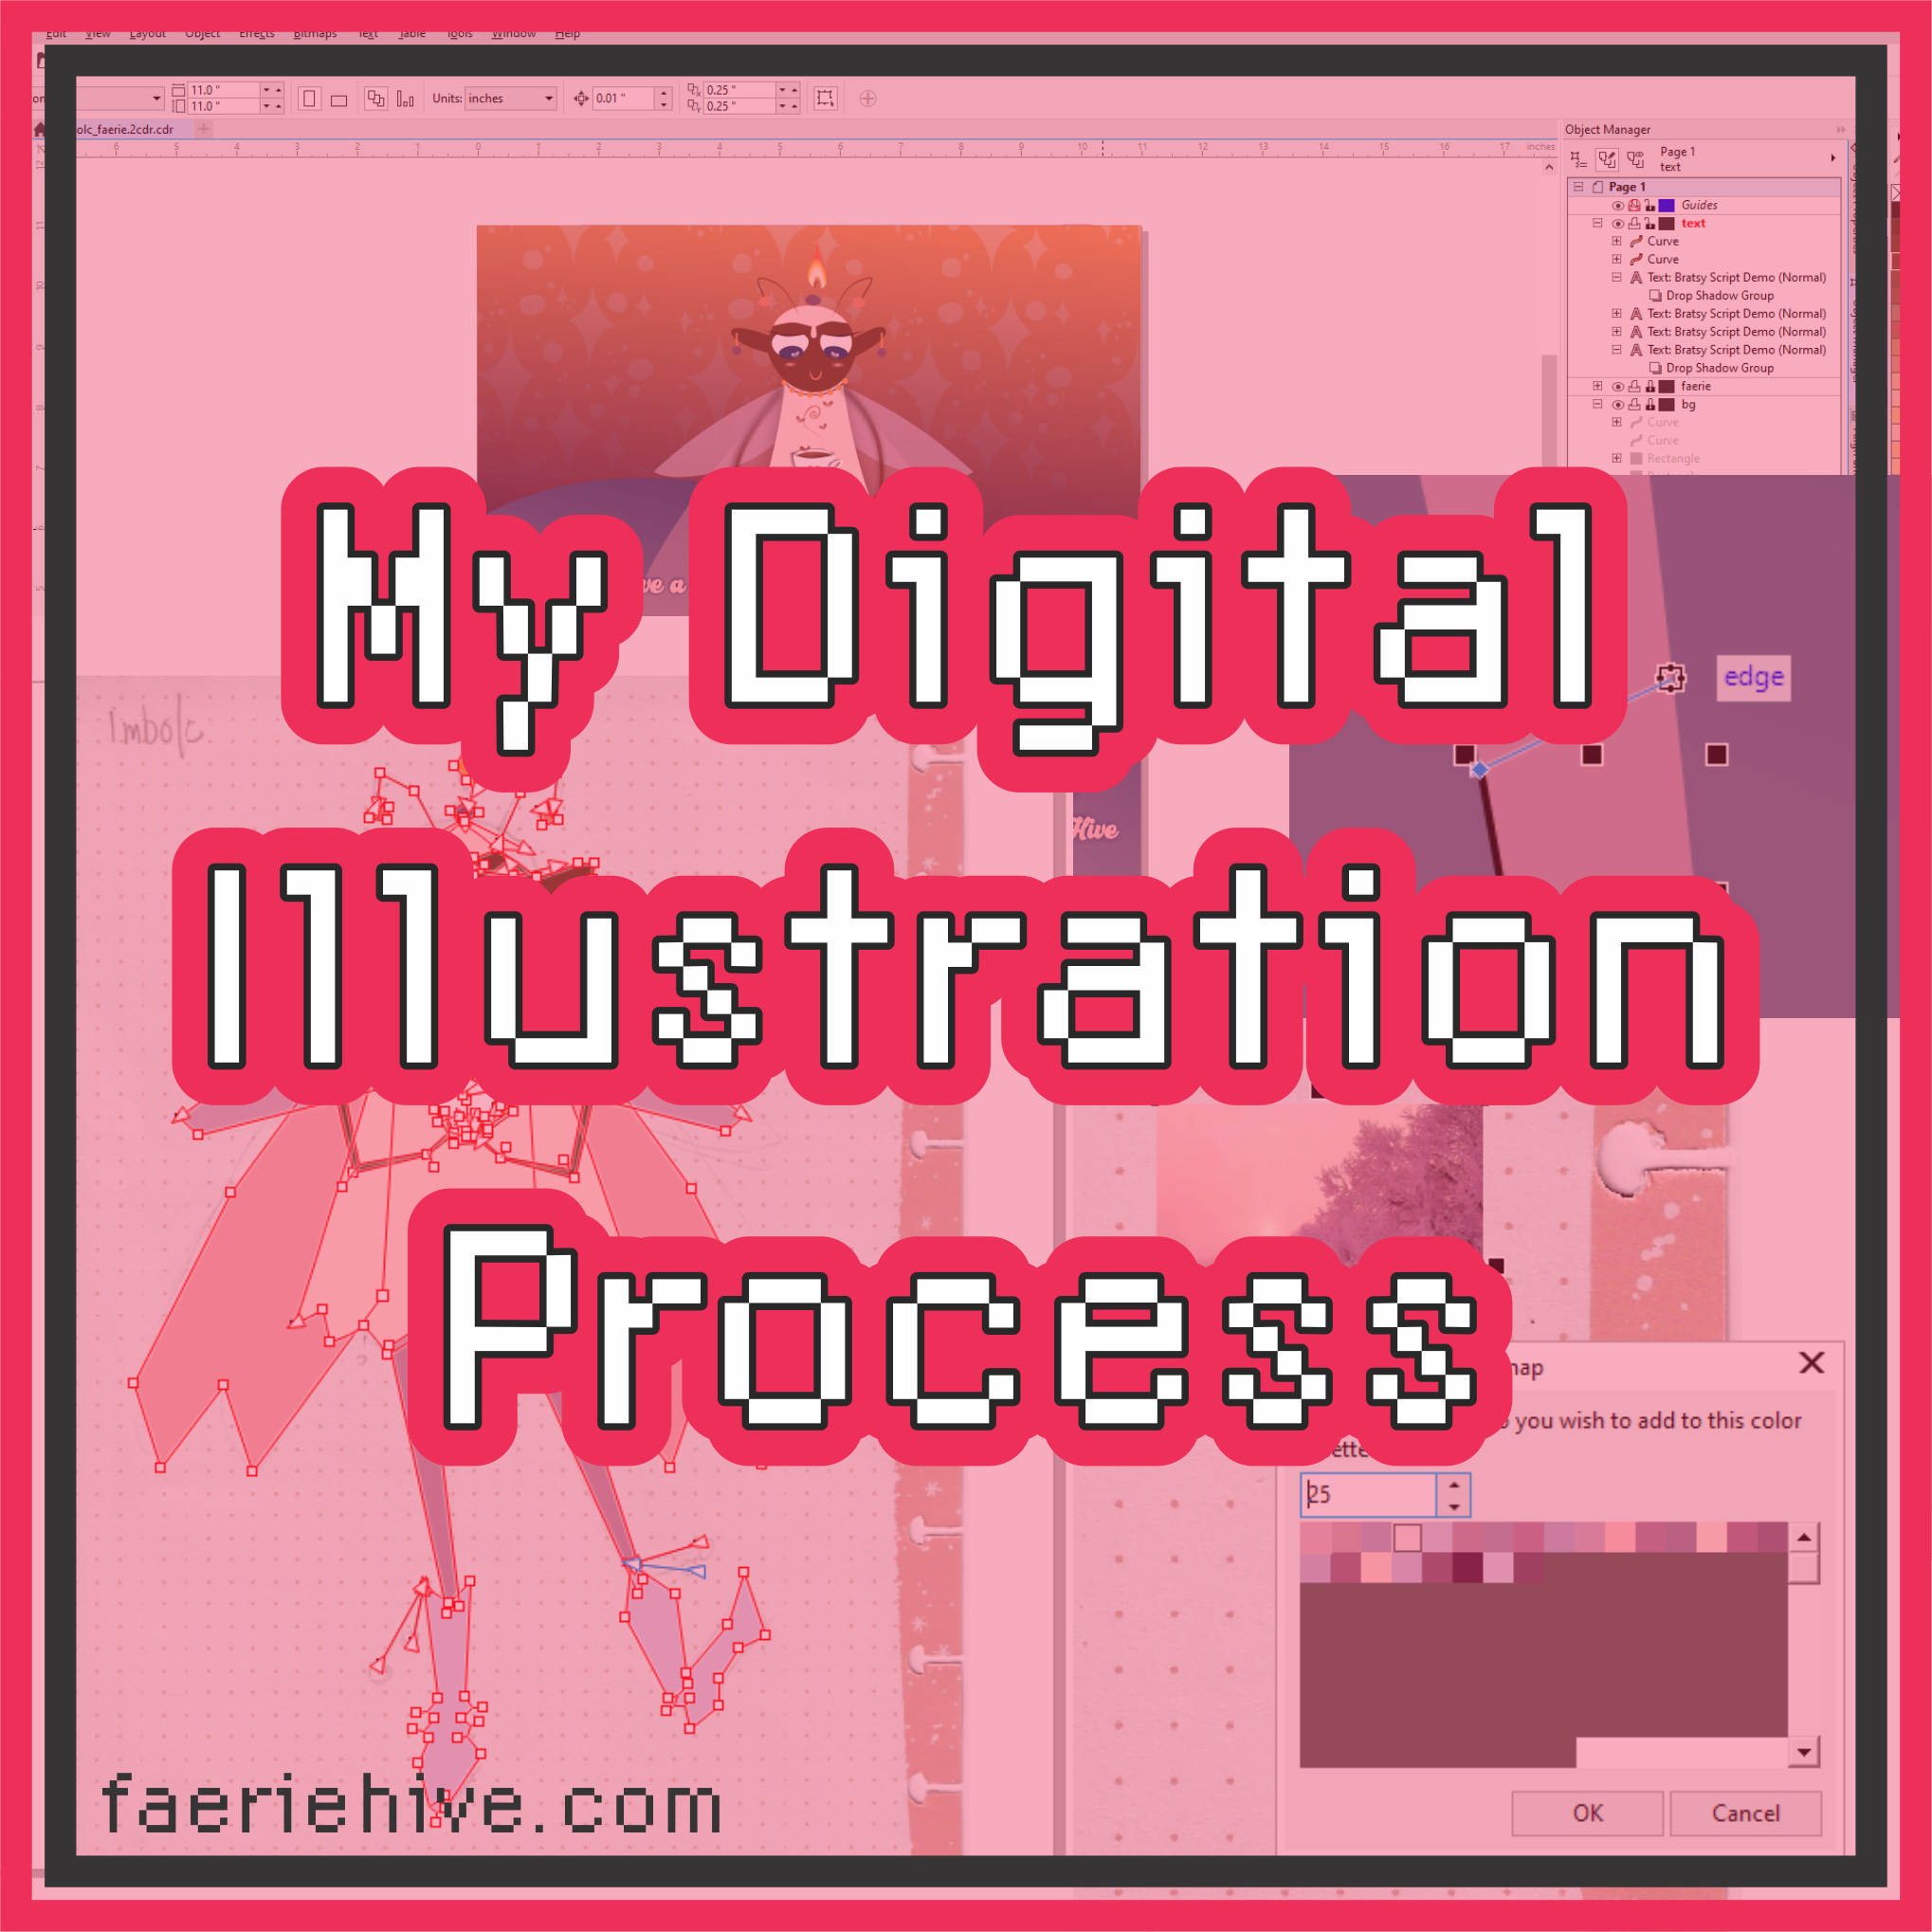
This is my process for how I make my digital illustrations. In a world where AI-generated images are proliferating our Internet life, it’s important to understand the amount of planning and work that goes into actual illustrations made by artists.
What program do you use?
I use CorelDRAW, a vector-based drawing program. For over 15 years, I used Adobe Illustrator; but when the started offering a subscription-only model, I made the switch. For what it’s worth, Inkscape is a great open-source vector-based drawing system.
What is a vector-based drawing program?
Simply put, there are two types of images: raster and vector. Raster images use pixels to create a picture, vector images use math and geometry to create an image. Wikipedia has a more in-depth article on the topic.
Why vectors? Why not just draw on your iPad?
I use CorelDRAW for illustration, but also for designing 3D prints, text, sticker cut-outs, laser cutting, and more. I like the control I have over the elements of my designs as well as the ability to size and resize everything. Also I do not have an iPad; digital painting and I have never really “clicked”.
How long does this take you?
It varies. After importing a sketch, if I can sit down uninterrupted, a drawing can take me a few hours. Sometimes, “life” happens, and it can take a few days or weeks to get something completed.
What’s my process? Let’s follow along an illustration I did for “The Imbolc Faerie” for a pagan holiday.
Step 1: Import the Sketch
I almost always start somewhere in my sketchbook. After I have a doodle I’m happy with, I scan it in and import it into CorelDRAW.
Step 2: Rough in the Vectors
Here, I’m using vector lines to build rough polygons of the shapes in my drawing. At this stage, there are no curvy lines; I have to visualize where lines will curve and flow.
Step 3: Create a Color Palette
Sometimes, I will find an image with colors I like and want to use. In this case, I’ve found a picture with lots of soft pinks and lavenders, so I auto-extract the colors into a new palette.
I also have a number of palettes with custom spot colors, as well as patterns I’ve created.
Step 4: Color Blocking
After I’ve a palette, I fill in all those polygons with blocks of color. The image kinda looks like paper cut-outs at this point. It is at this stage I can shuffle what order my shapes are in: some shapes should be in the front, some should be at the back. I also can determine which lines are going to be thicker, or become specialty shapes that simulate brush strokes.
Step 5: Convert to Curves
Now I tell the program that I don’t actually want all of my polygons to be straight-edged polygons: I want them to be curvy shapes.
Every dot you see on the screen is a point where I can adjust the curve of a shape, called a bezier curve. The general rule in vector drawing is less points. Mo’ points = Mo’ problems
Step 6: Adjust the Curves
This part takes the longest; time to fiddle with all the points and curves to make it look less like paper cut-outs and more like a drawing.
Sometimes I will use freehand curves rather than drawing polygon shapes if I can’t get the look I want.
Step 7: Background Colors/Designs
After most things are shaped and colored in, I’ll fiddle with the background colors. Sometimes a choice in background necessitates changing the main subject’s colors.
Step 8A: Gradients, Shadows, & Transparencies
Now I start to play with adding gradients, transparencies, and shadows to help define objects in the image.
Step 8B: Custom Fills
I have a number of custom fills I’ve made. This, for example, is a fill that simulates what I want a flame to look like.
Step 9: More Details
At this end-stage, I may add more details in that weren’t in my original sketch, or things that I feel like give the final image a little more sparkle.
In this image, I’m adding some stripes to the faerie’s legs.
Step 10: Add Text and 1,000 Tiny Adjustments
Finally, if the image calls for text, I add that in. Not pictured, the thousands of tiny adjustments, changes, and whatnot that lead to the final image.
So there you have it! How to make an image in 10 EZ steps! Seriously, though, while I follow this general procedure, the reality of drawing is that I flip flop back and forth between adjusting shapes, adding them in, changing colors, and so forth.
This is how I draw the illustrations for my oracle deck, Tarot cards, and more.
I’ve been playing around with different media while it’s hot out! Here’s a lil’ short to watch while I work on a longer video about jellygraphs/hectographs/gelliplates.
Next Show
ETX Pagan Pride October 26, 2024 at 3:00 pm – 9:00 pm
Tyler City Square, Tyler, TX 75702, USA