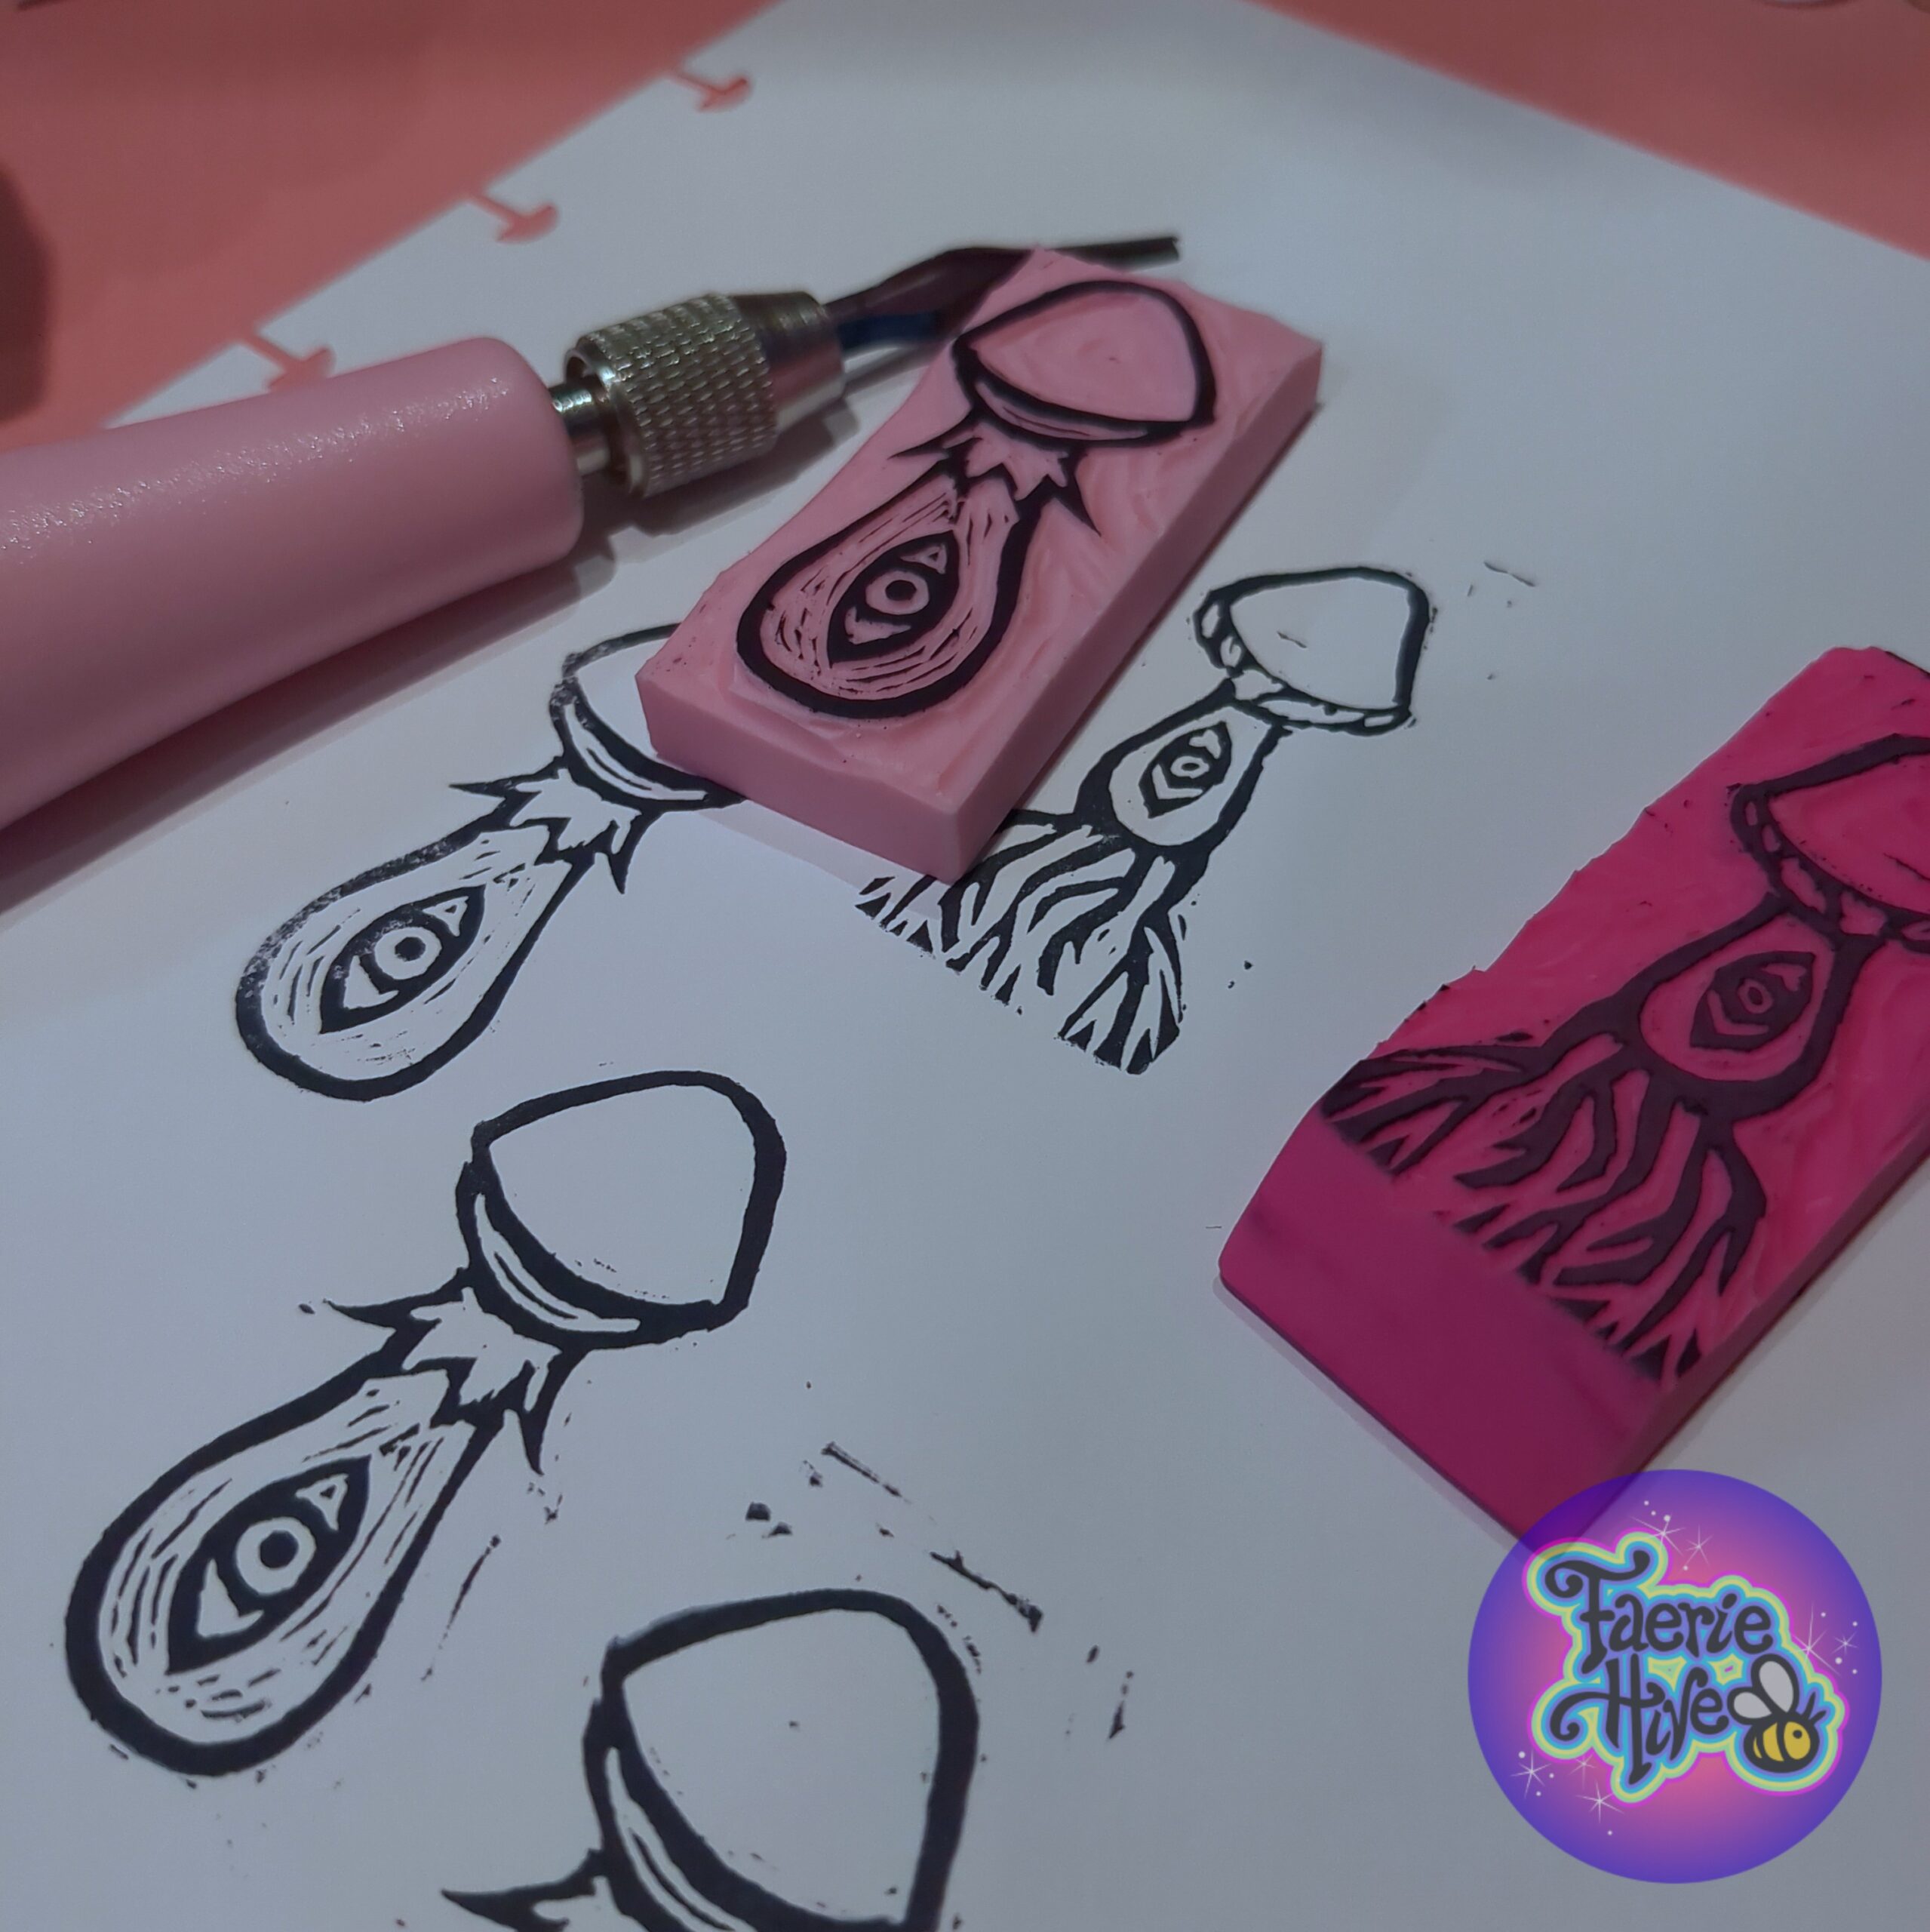
I spent a few weeks working with a gelatin-based printing platen! Join me as I explore using this device steeped in zine history, ramble about defunct technologies, and in general have…fun!
Get a Zine!

Jellyzine – Hectograph Edition
Jellyzine talks about how to make your own homemade version of a jellygraph/hectograph/gelatin press. It’s part of zine history! This version is an imperfect reproduction done on a jellygraph. Darkness of the ink will vary!
8 in stock

Jellyzine – Inkjet Edition
Jellyzine talks about how to make your own homemade version of a jellygraph/hectograph/gelatin press. It’s part of zine history! This version is an inkjet printout.
13 in stock

Jellyzine – Free PDF
Jellyzine talks about how to make your own homemade version of a jellygraph/hectograph/gelatin press. It’s part of zine history! You’re welcome to print out and distribute this zine without modification.
6 in stock
Resources
The Boy Mechanic – 700 Things for Boys to Do by Popular Mechanics – 1913. See page 326.
While these are obviously maker projects anybody can do, this book is filled with projects from the benign hectograph recipe I feature, to dangerous wiring projects guaranteed to burn grandma’s house down. Use common sense and remember some of the chemicals featured are dangerous.
Not in the recipe I put in my zine, tho. They’re all pretty inert; you’re more likely to make a sticky mess or stain things. Note that on page 240, there is a clay-based hectograph, which I have not tried.
Wikipedia Article on Hectographs – Wikipedia is typically a great springboard to start off into a topic. The citations have a link to a Scientific American Cyclopedia with several hectograph recipes. (Hint, it’s on page 262, since the text is not searchable at the time of writing.)
Our Own Devices: Short: Hektograph – A well done short on the history of the hectograph; only 7 minutes!
Iowa University’s Library – A very nice blog post on making and using a hectograph. Chock full of photos and explanations of the demo.
Cheap Copies! – A MOST EXCELLENT book by Rich Dana on the hectographs, mimeographs, and spirit duplicators. Absolutely embodies the spirit of being a maker and zinester. Chock full of sources.
Copying Pencils – Related and of-interest. Pencils made largely with methyl violet for duplicating and non-erasure of documents (pre-ballpoint pen!). I would love to experiment with these, but they appear to be expensive and hard to find.
Supply Resources
I won’t provide direct links to products here, but rather specific names and types. Some things you will have to hunt for the best source for you in your area.
Gelatin – You want powdered gelatin, it’s typically found in the grocery store near the Jell-O, boxed pudding, and baking supplies. Store brand gelatin is just fine, no need for fancy Knox brand.
Glycerin – This is a liquid. You can also usually find it in the grocery store, near skin care products. Pharmacists will know where it is if you can’t find it. Fun facts, glycerin can also be used as a sweetener and helps skin to retain moisture when applied topically. Note! You can make a jellygraph without glycerin. However, it may be wetter and have a poorer constitution with pure gelatin. Experiment.
Transfer sheets – The most popular brand are known as “Spirit Transfer Sheets” as they also are used by tattoo artists for transferring art to skin in order to tattoo. There are many no-name brands of transfer sheets with people stating varying degrees of success and experience with their quality. These are essentially sheets with a very thin layer of methyl violet-based dye on them, and work like carbon transfer sheets. They work with both hand-drawn pressure, and with thermal printers.
Inks – For folks who don’t want to use transfer sheets. You can get powdered methyl violet in small quantities from science companies who provide for schools and home enthusiasts. In the Popular Mechanics article listed above, there’s a recipe that calls for using methyl violet. I have experimented with gentian violet, obtained from my local pharmacy. It has much of the staining quality, but isn’t especially dark as compared to the transfer sheets. In my exploring, I found that some tattoo supply companies carry “hektograph ink” which, supposedly is the same formulation as was used in days of yore. I have not purchased any at the time of this writing, so cannot comment as to its efficacy.
Thermal Printer – Honestly, while I’ve not had any issues with my postage-label-sized thermal printer, or other receipt-sized printers I own, letter-sized thermal printers seem to be rife with mixed reviews and issues. My advice? Hunt down a thermal fax machine. It takes time, but you can rescue one from the landfill AND get a thermal bed that works great for various maker projects. It took a while, but I tracked down a Brother Intellifax 775 for $10, and only had to drive 10 minutes from my house. They’re out there, be patient.